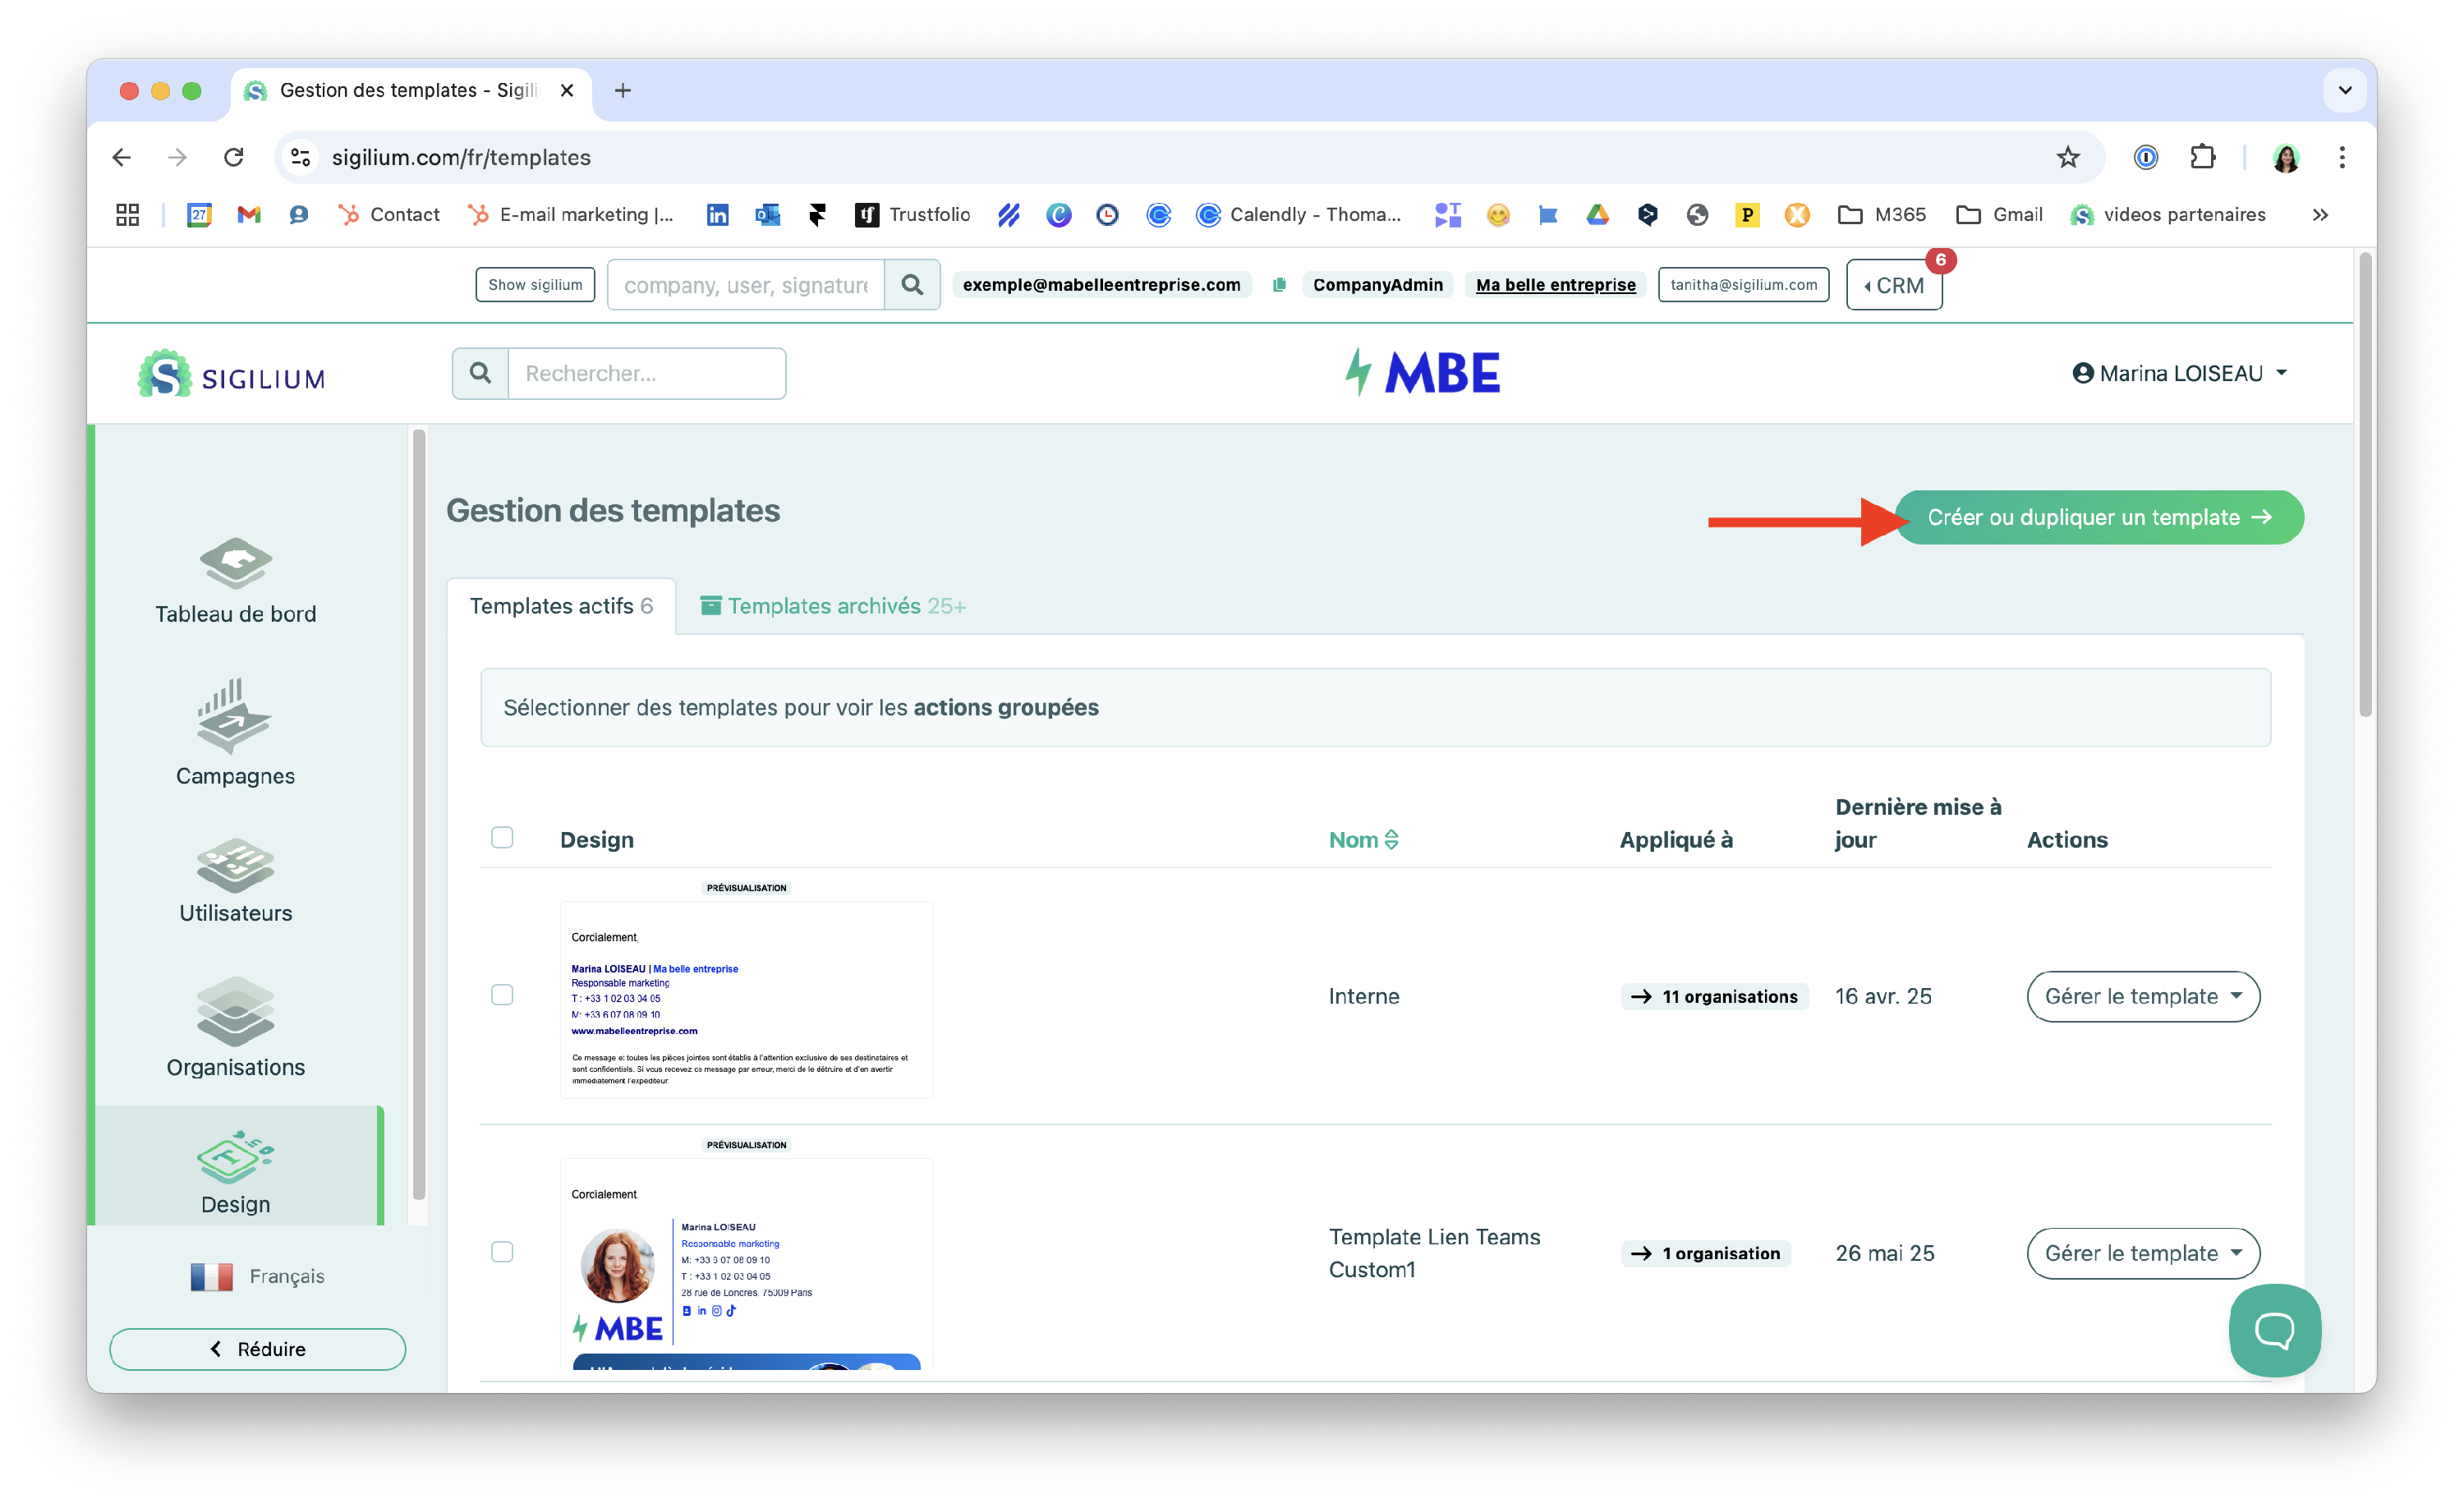
Your team has prepared a visual for a CTA button to be integrated into the email signature template.
This help article on the No-Code editor allows non-technical profiles to set up this powerful tool.

HTML - How to set up a personnalized button with a visual
Vos équipes techniques peuvent facilement mettre en place un bouton personnalisé avec un visuel grâce à l'éditeur HTML
Including a call to action in your signature's contact details allows you to communicate about two different topics effectively!
The setup will be done in two steps:
import the visual prepared by your team
assign the desired custom link to it
When you create a new template, no-code templates have a badge
(HTML templates do not).
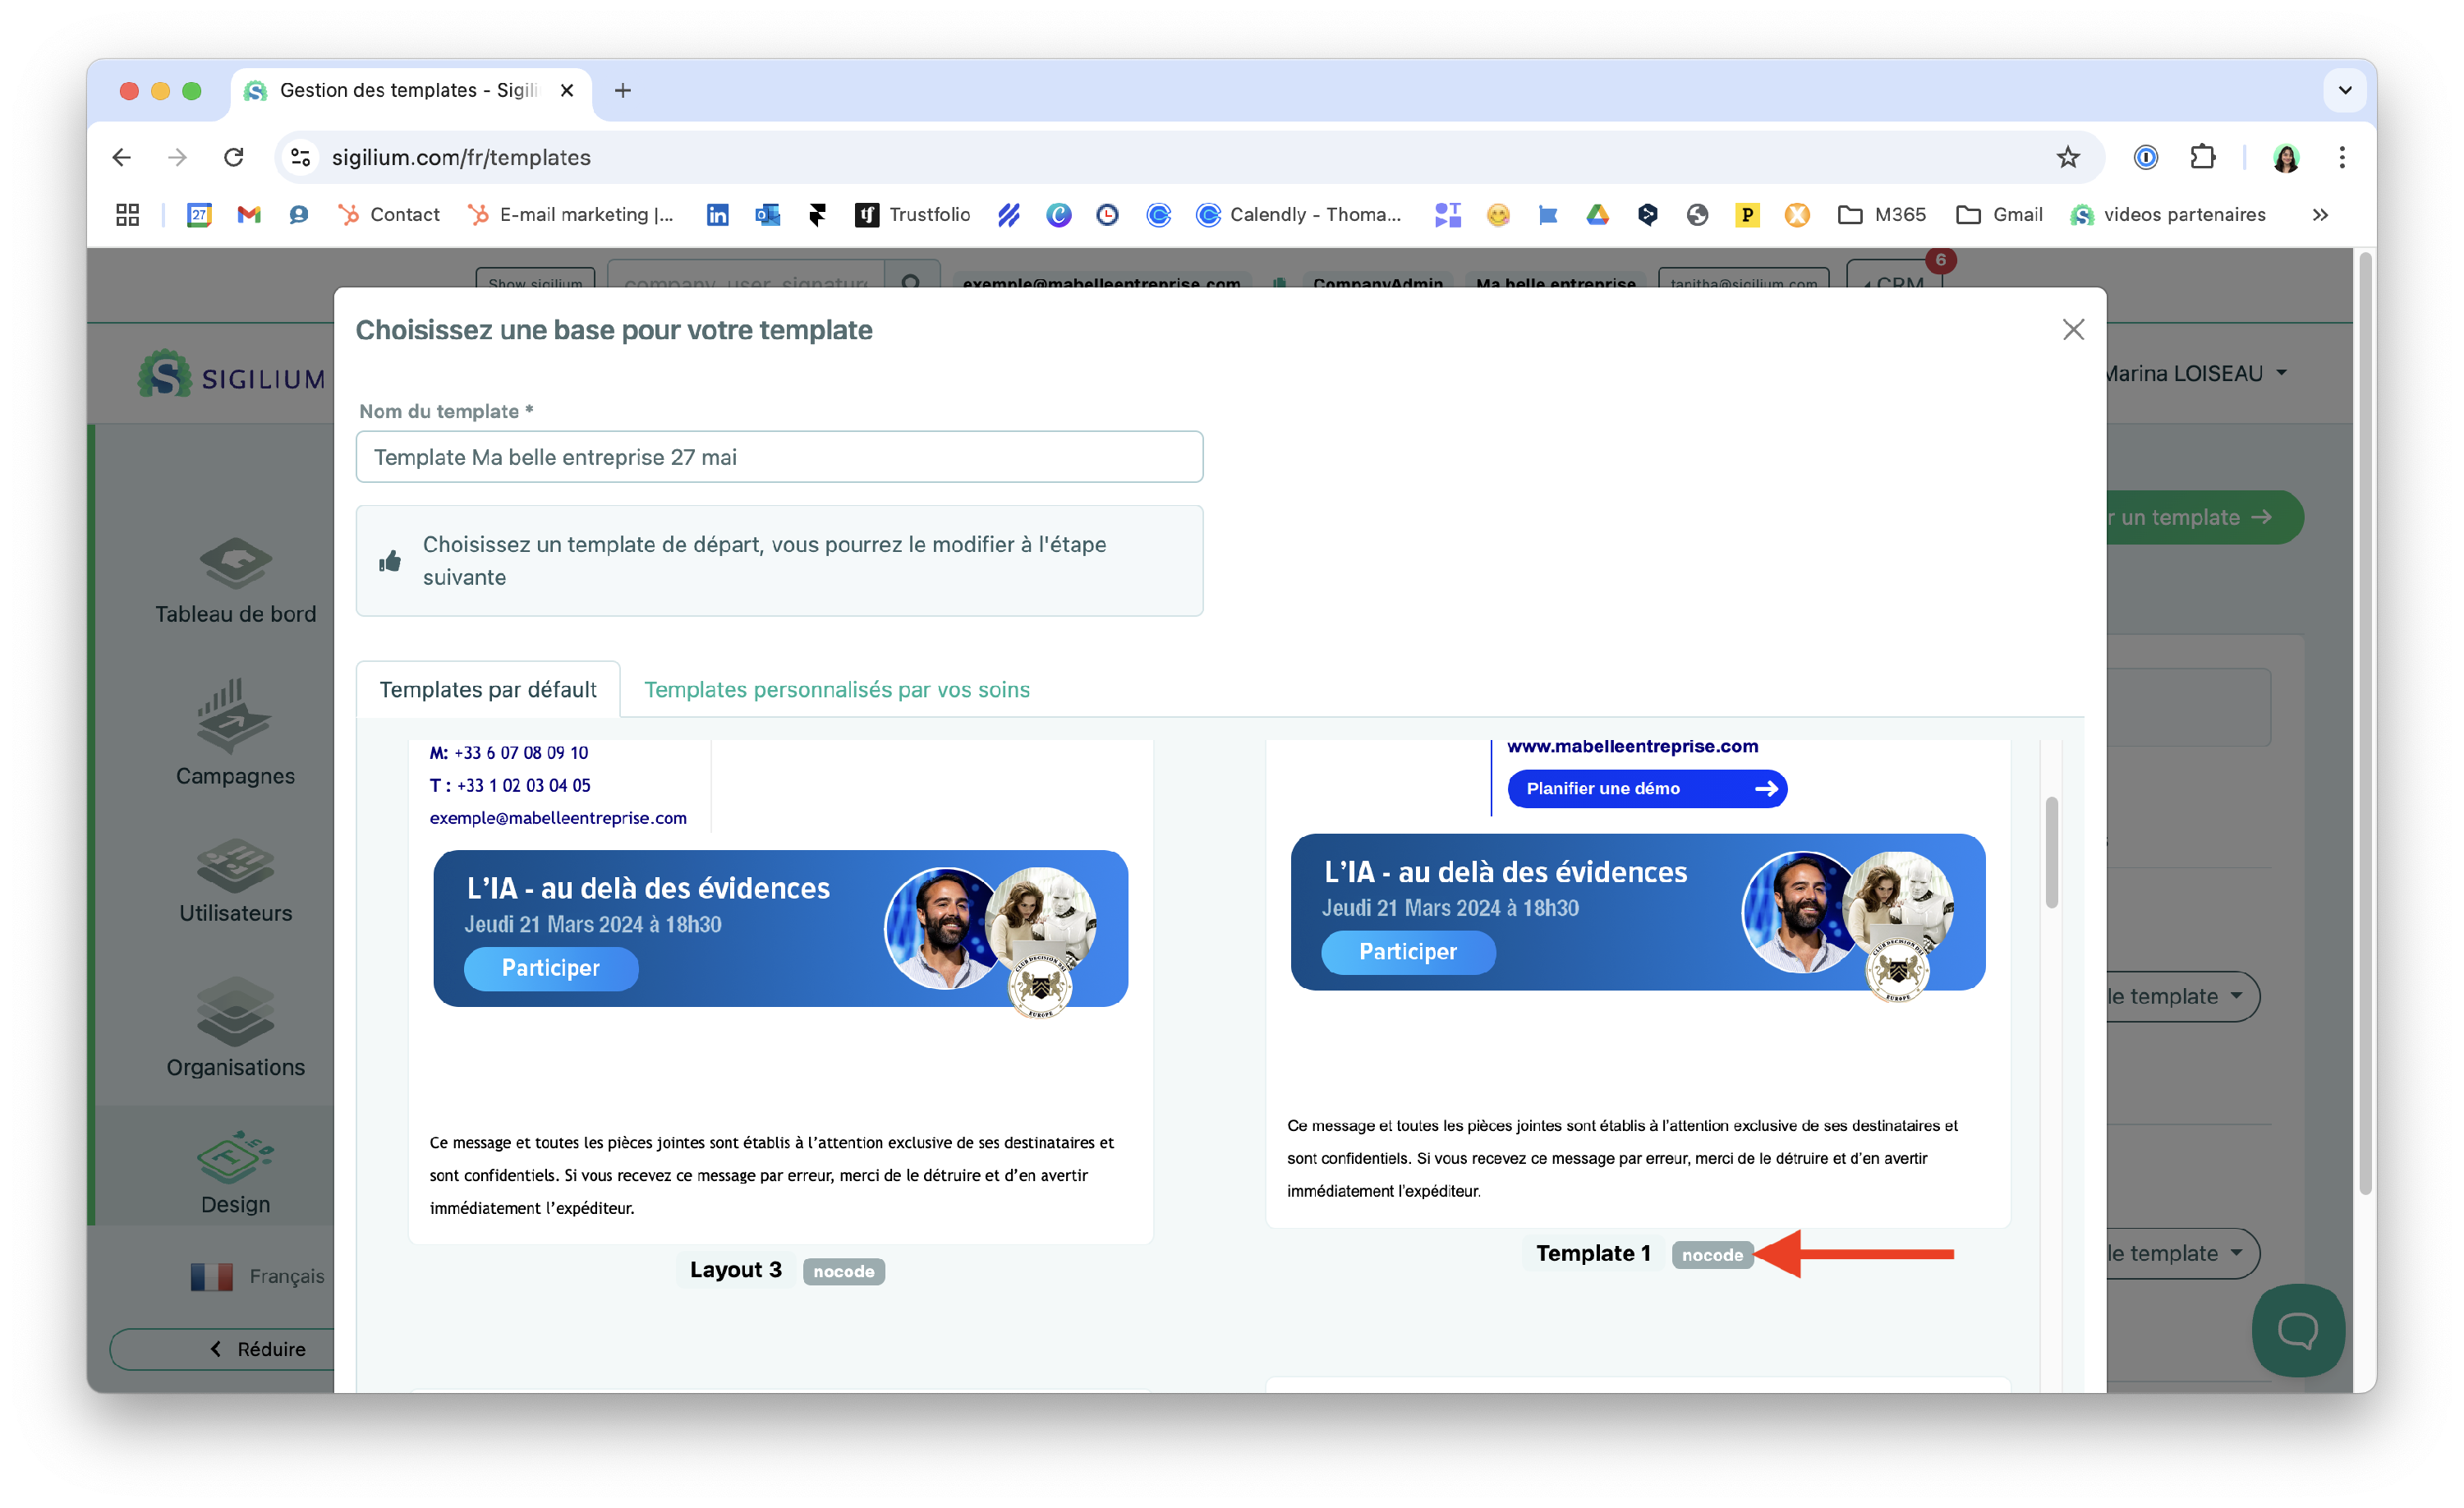
Choose the one that suits you from the list. We have chosen Template 1 No-Code for our example.
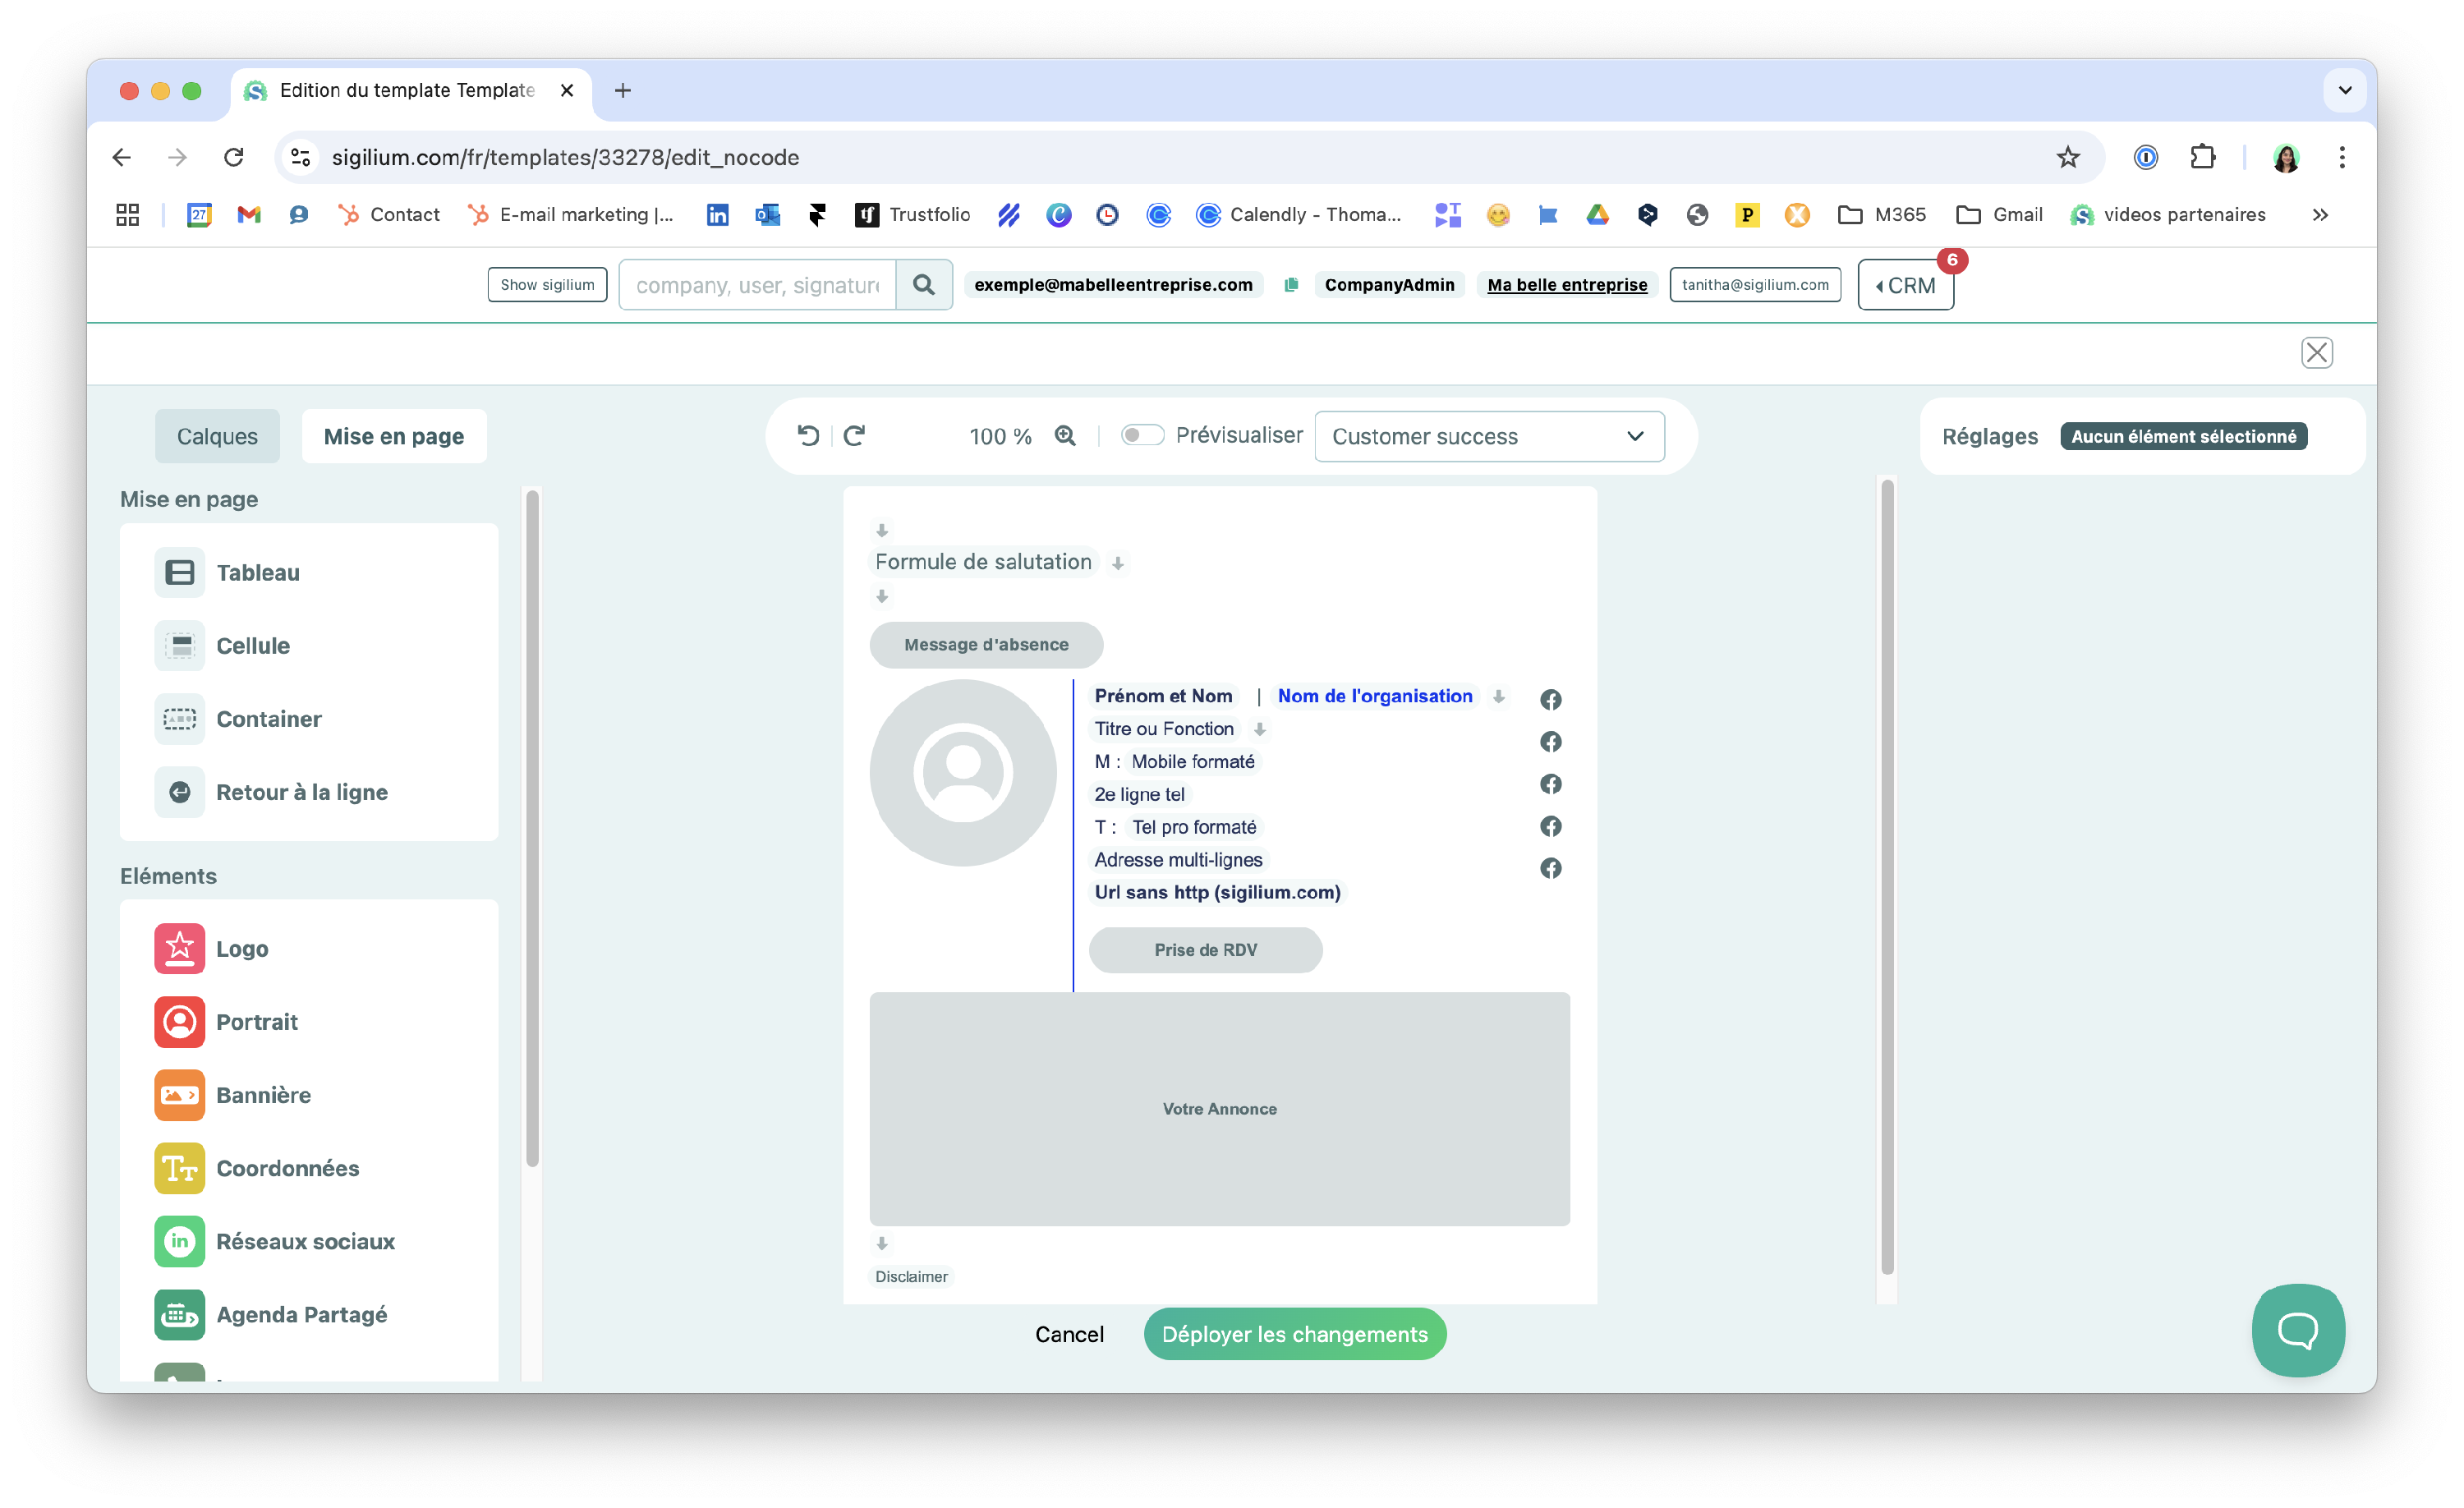
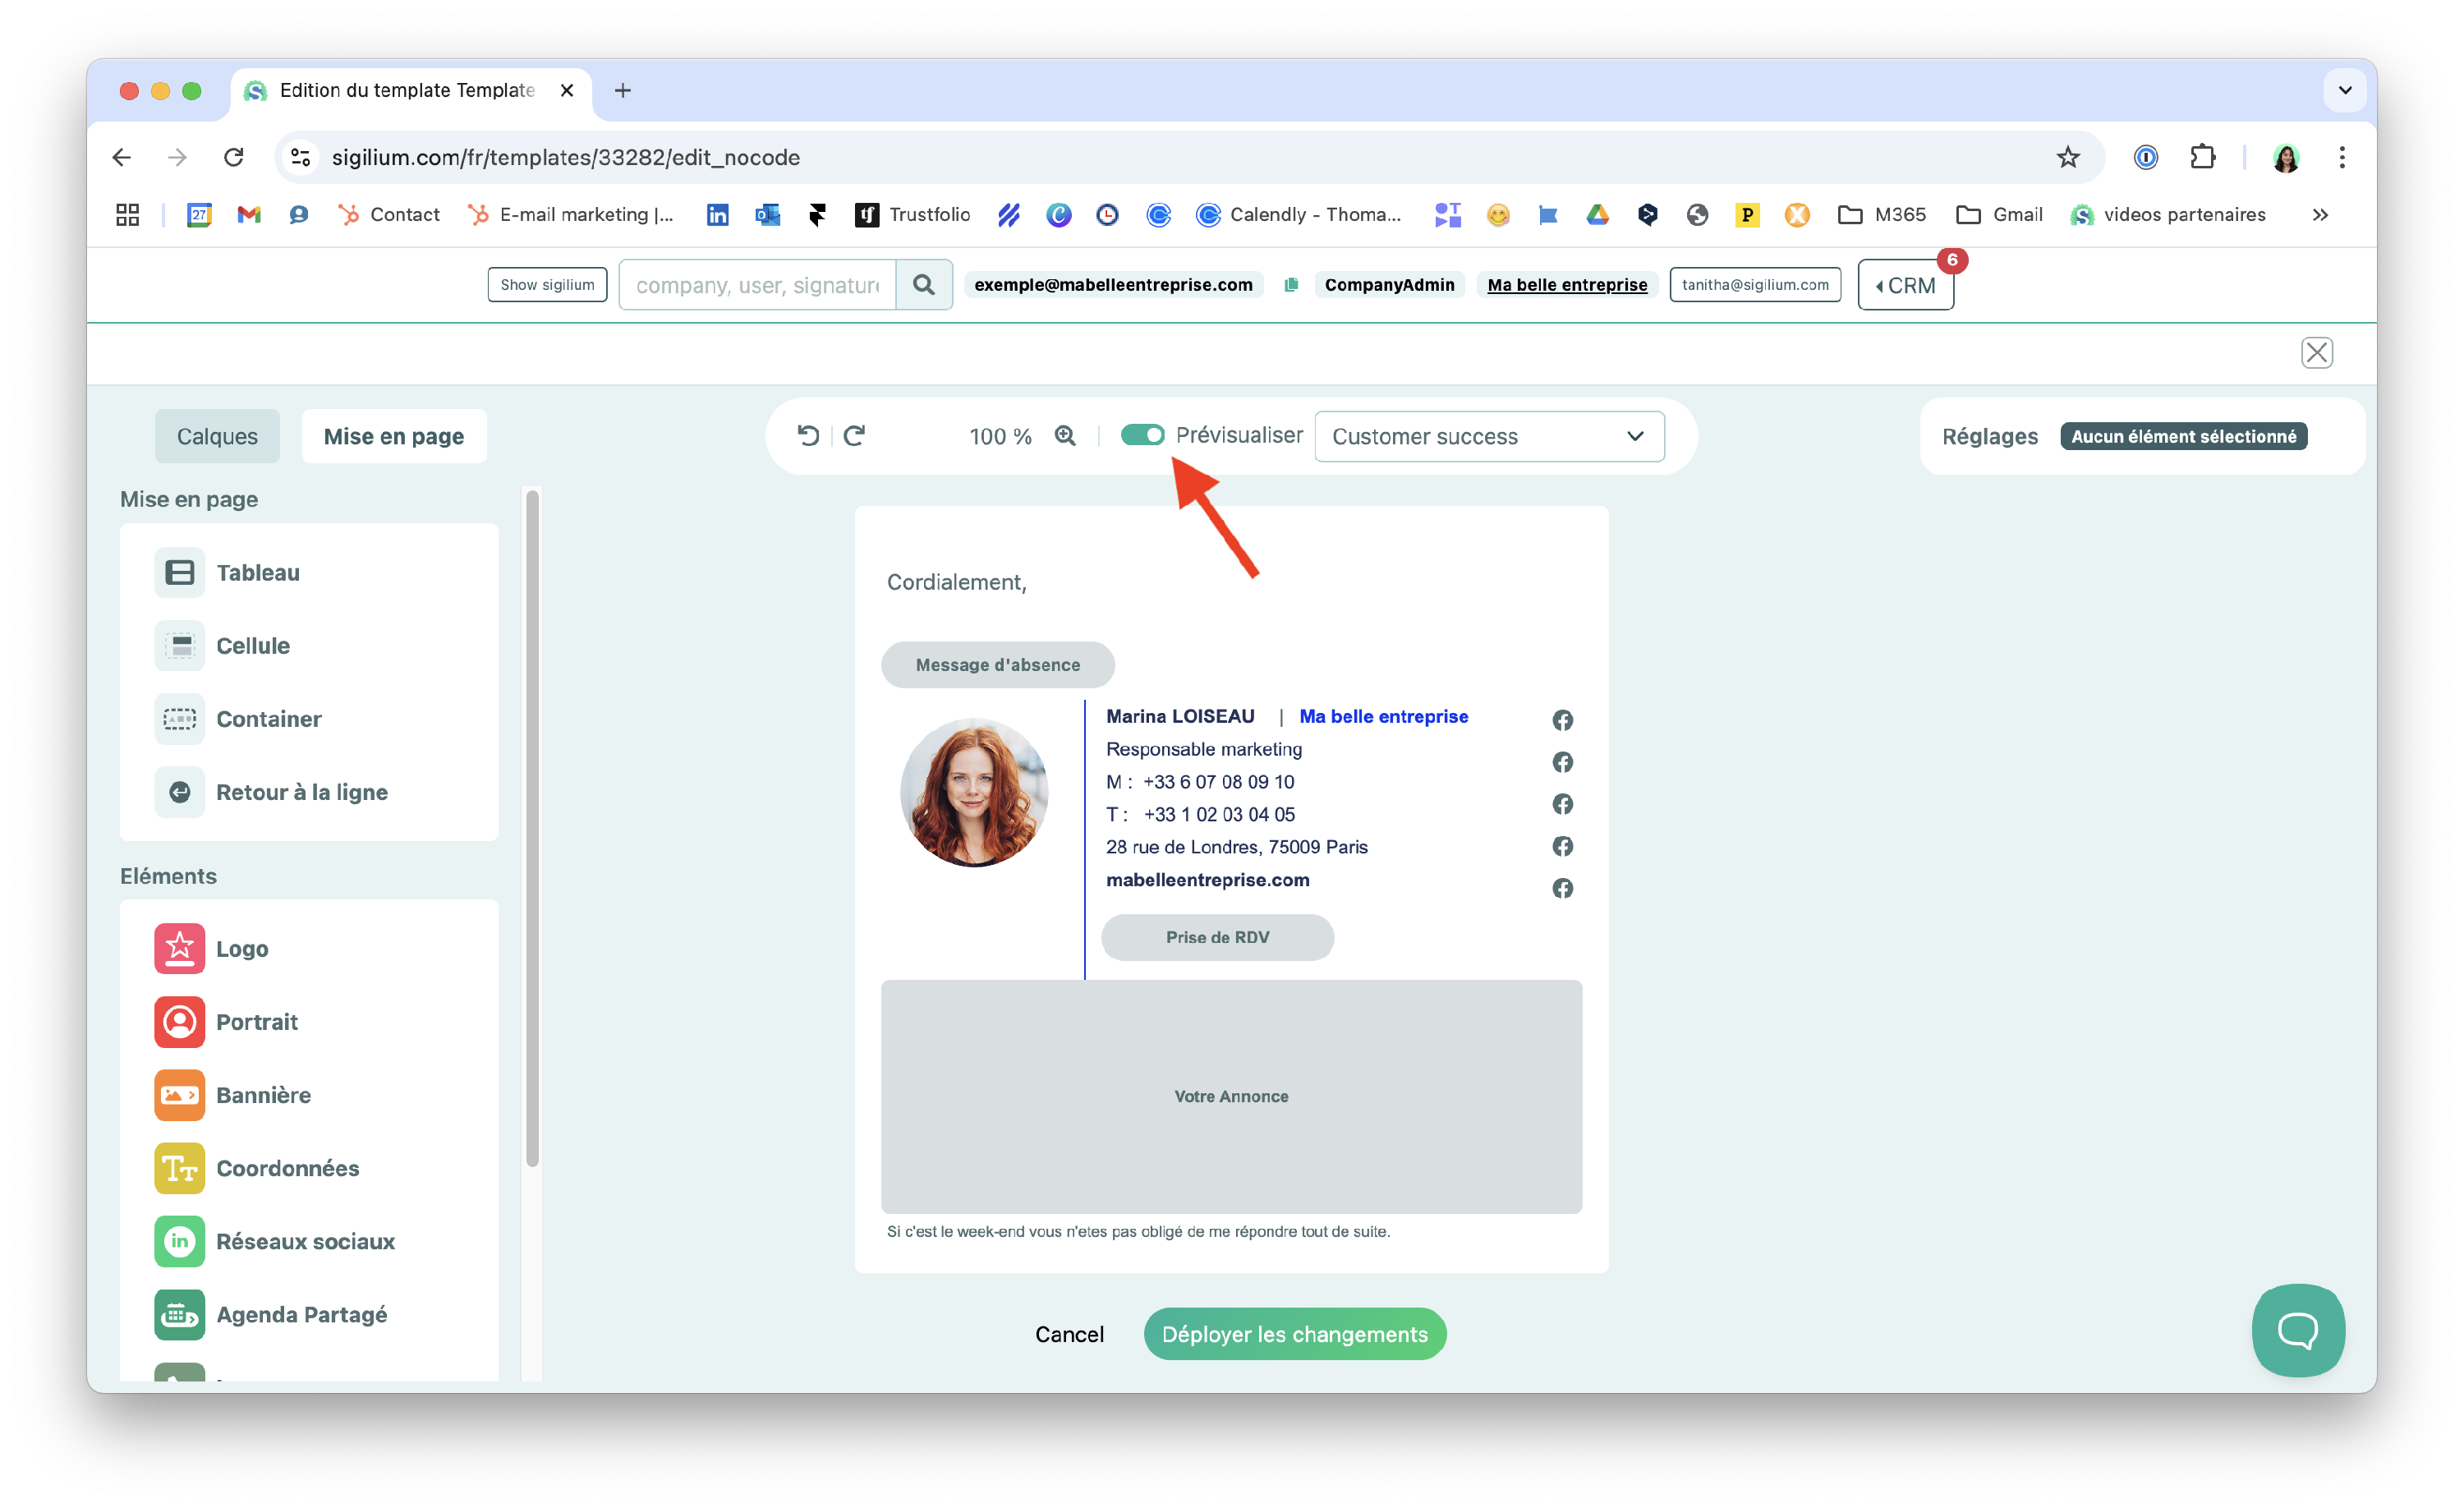
You can choose to preview the result while you work on the template to see the changes live.
1 / Choose a reference element to place your button above or below.
In our case, it will be the postal address, and we want to place the button below it.
So click on the element and select the parent:
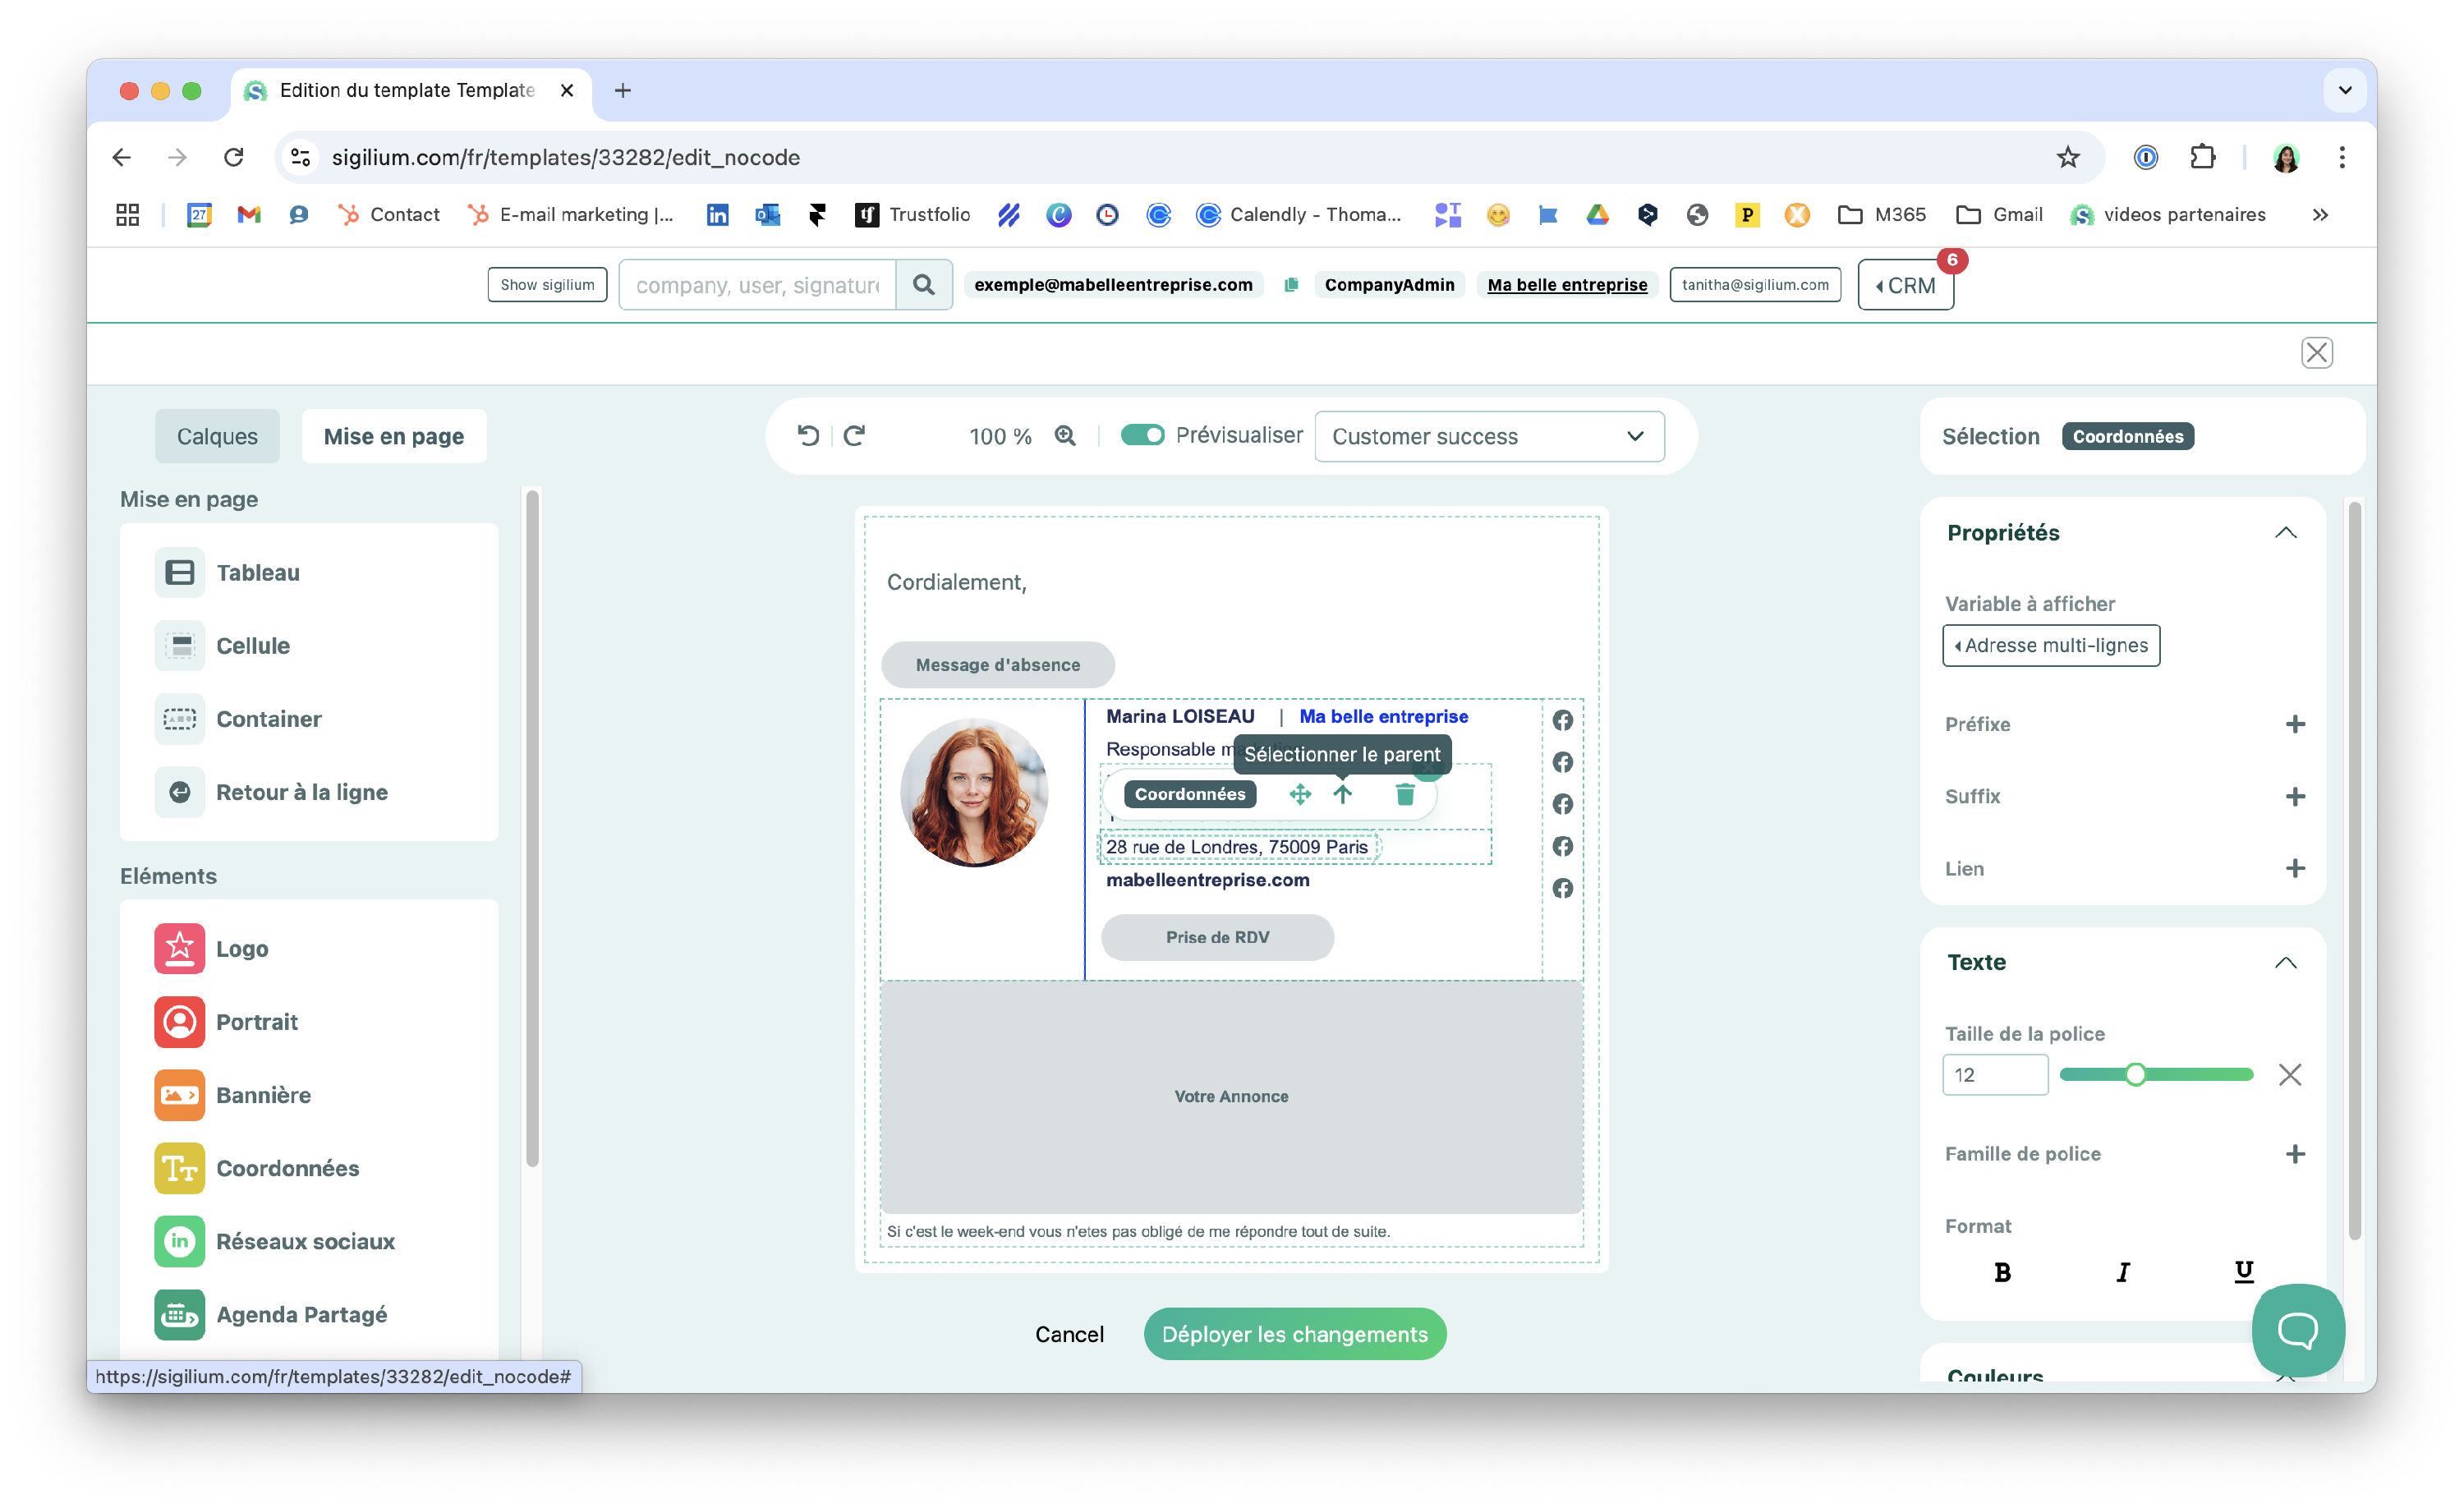
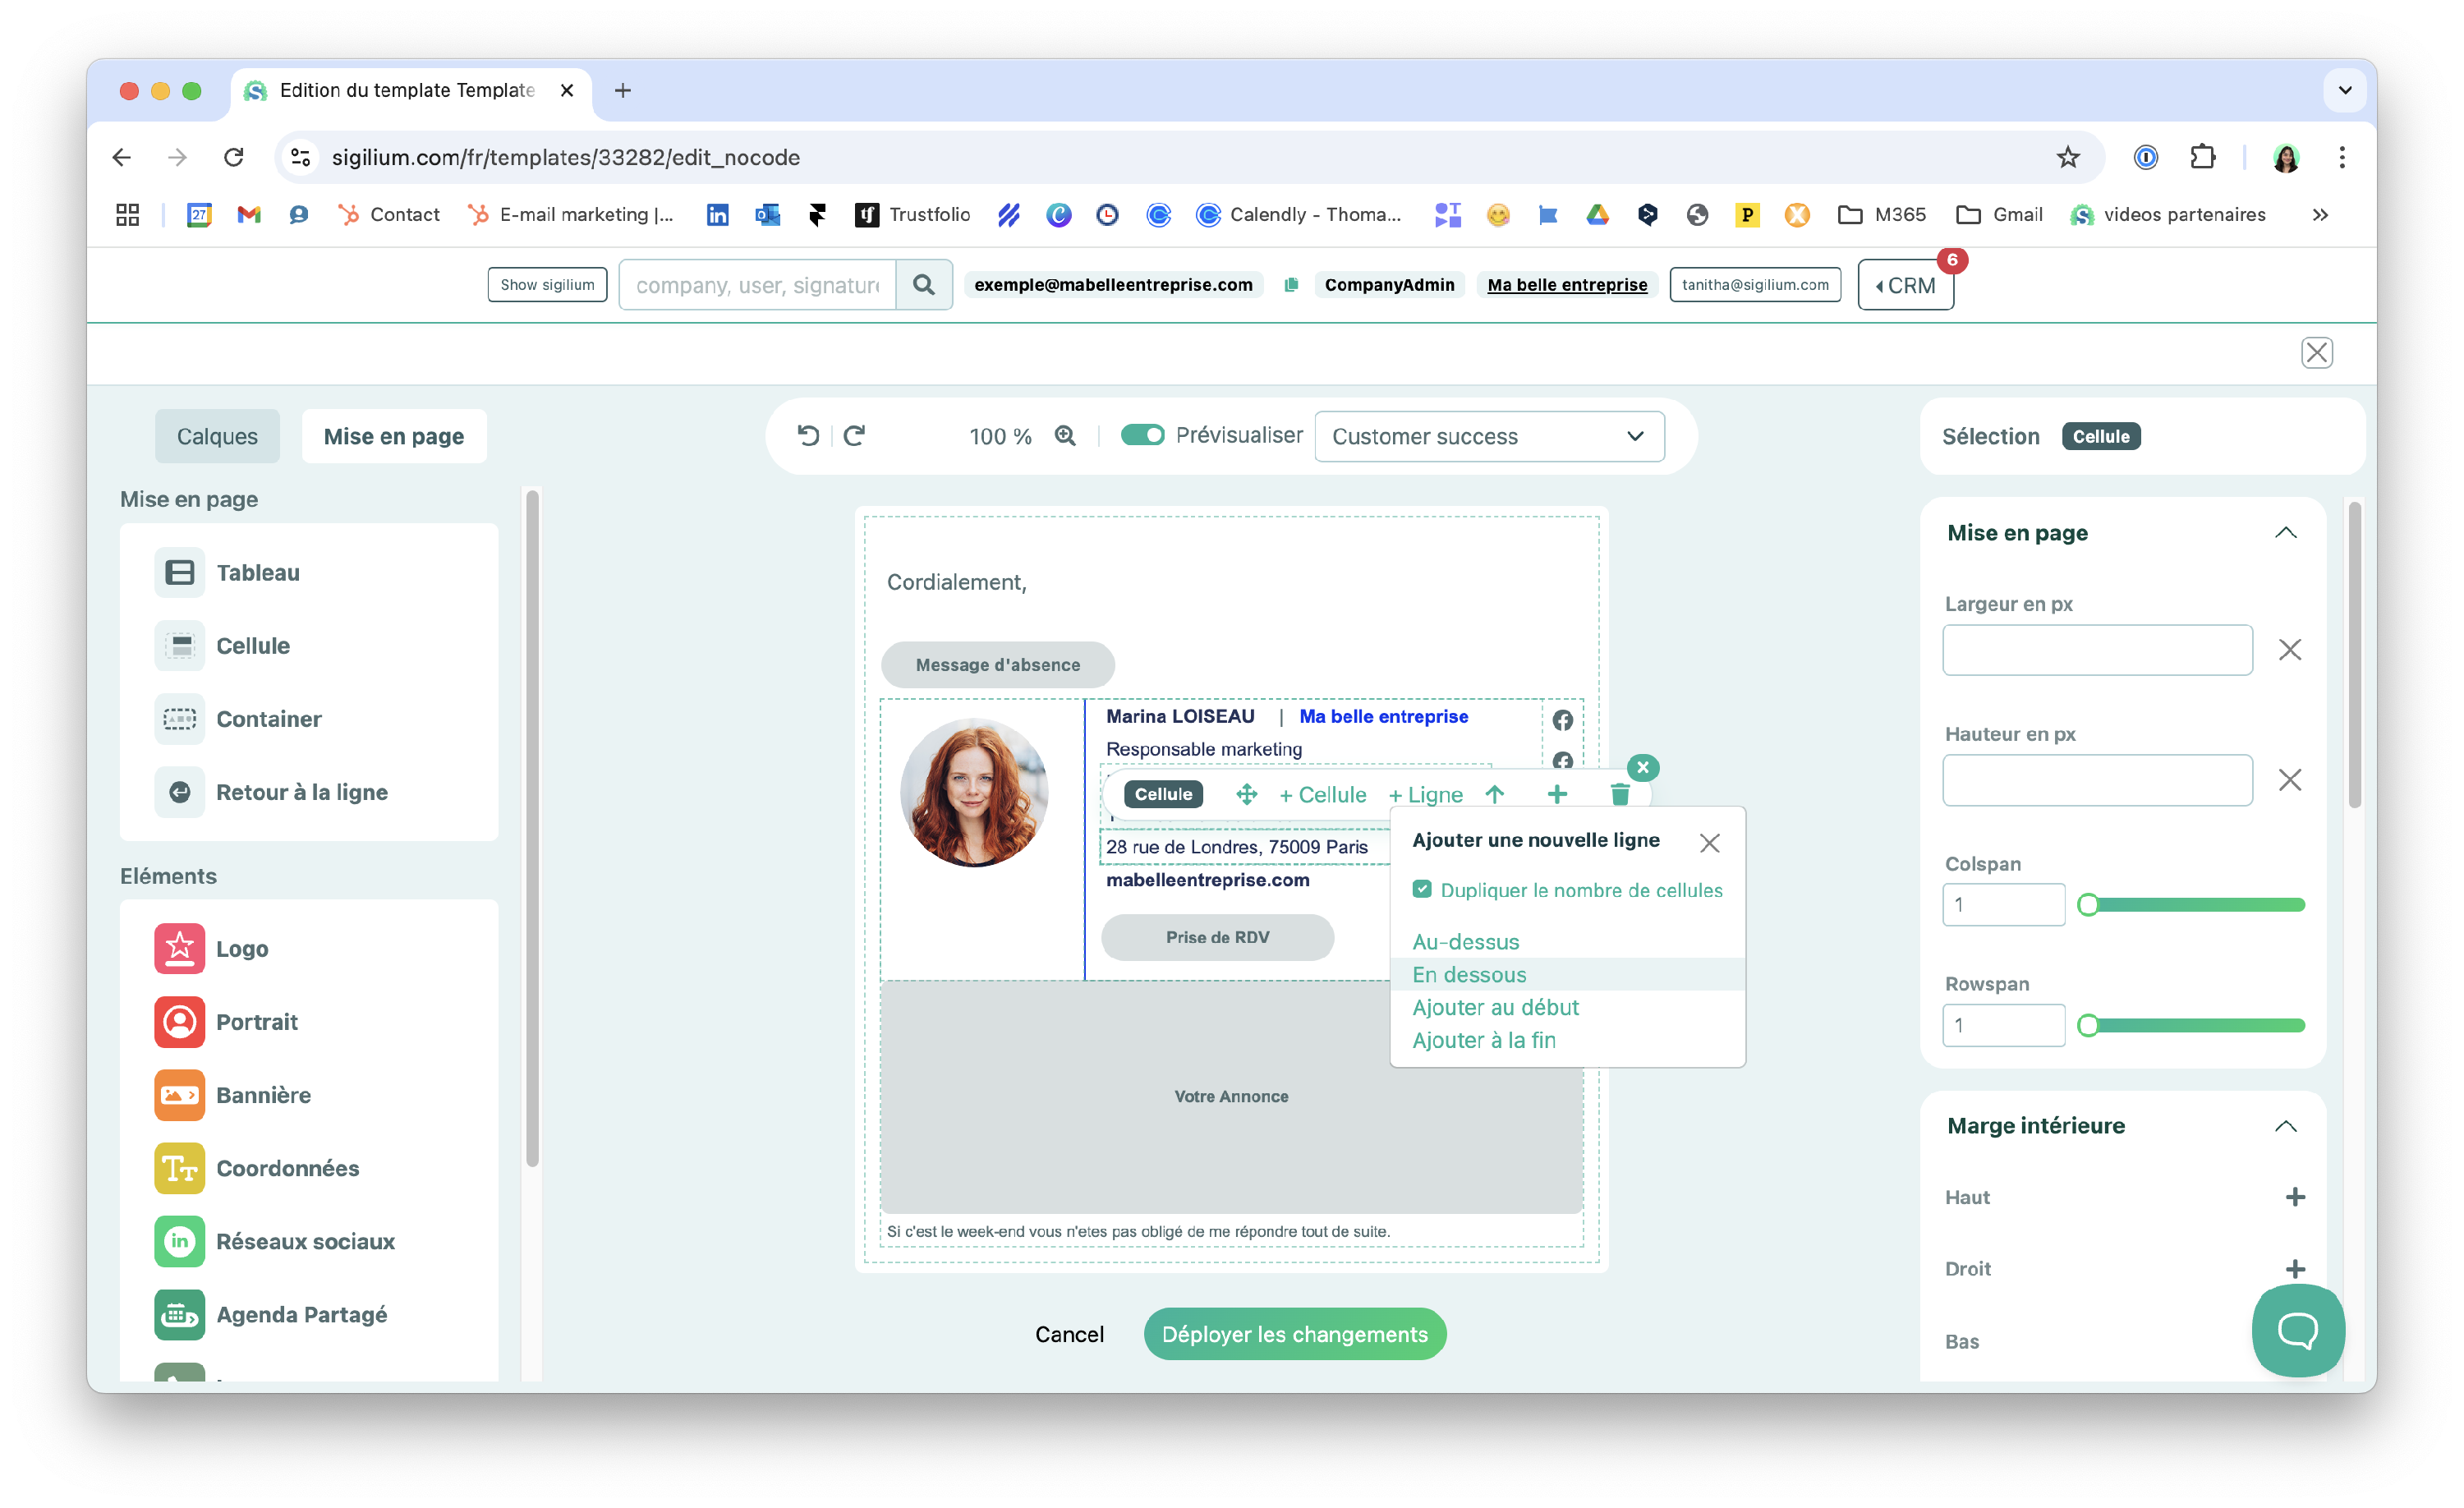
A new cell has been created below; be sure to exit the reference element you are still on before continuing.
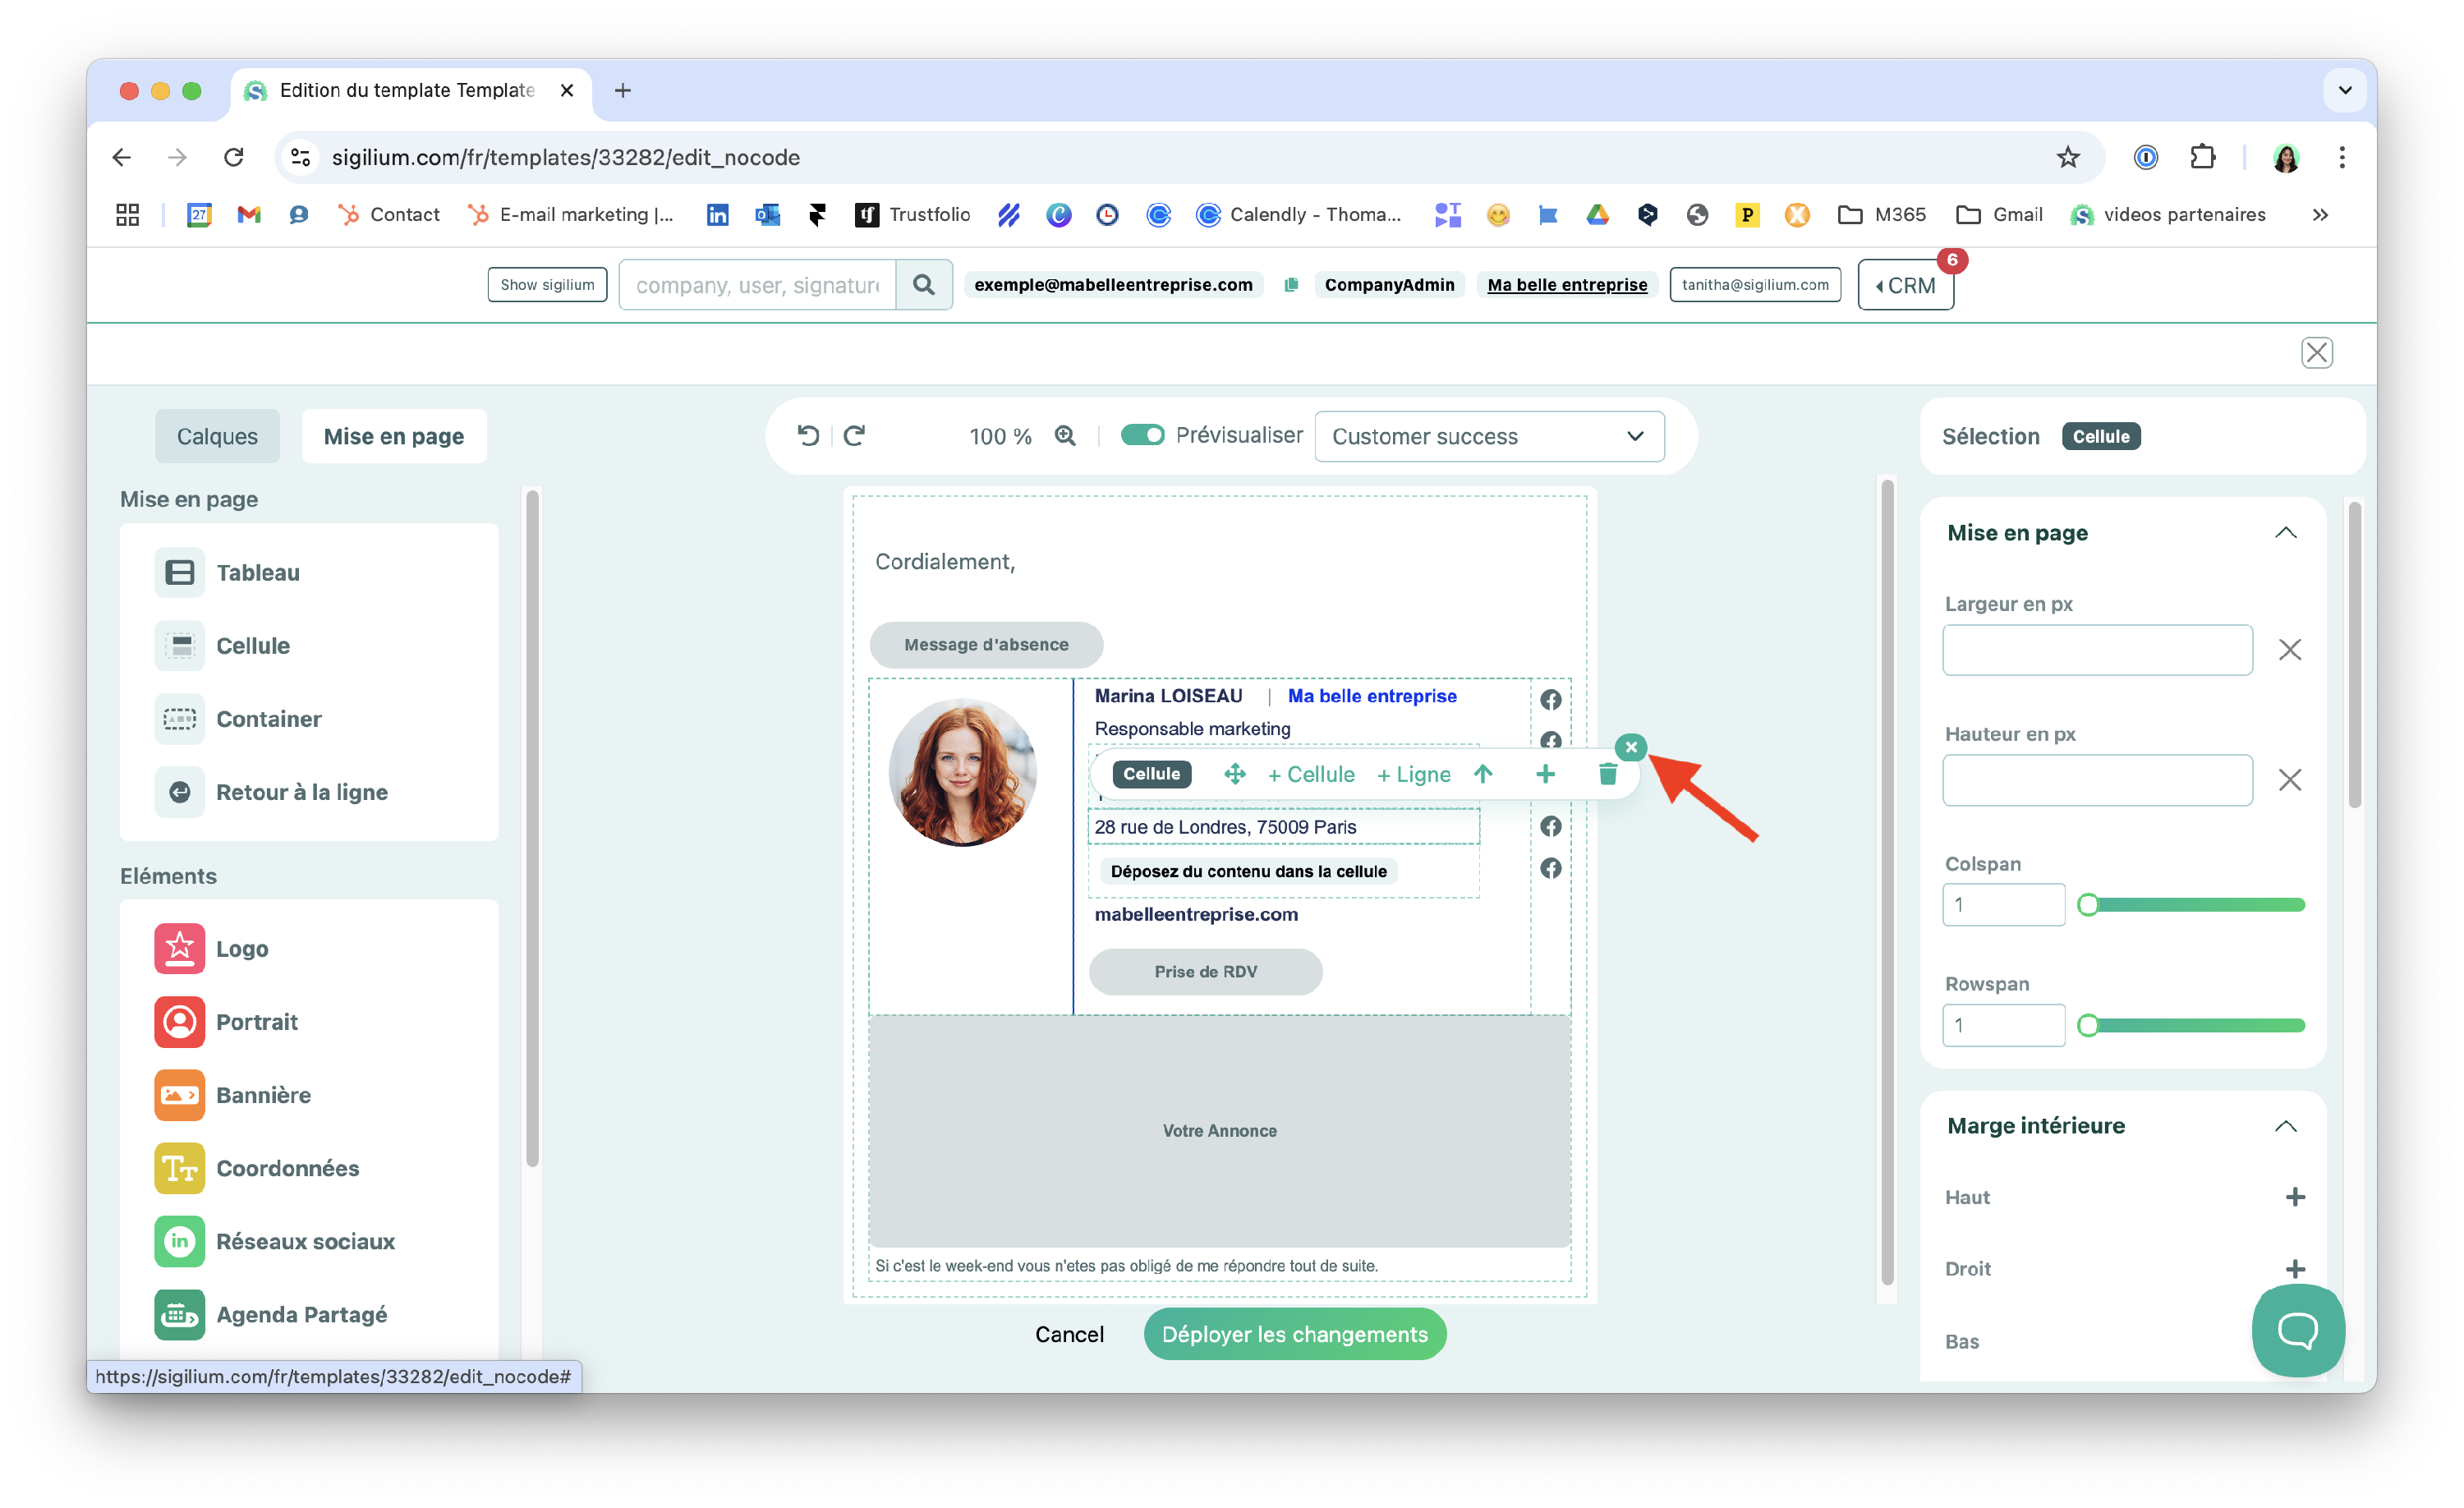
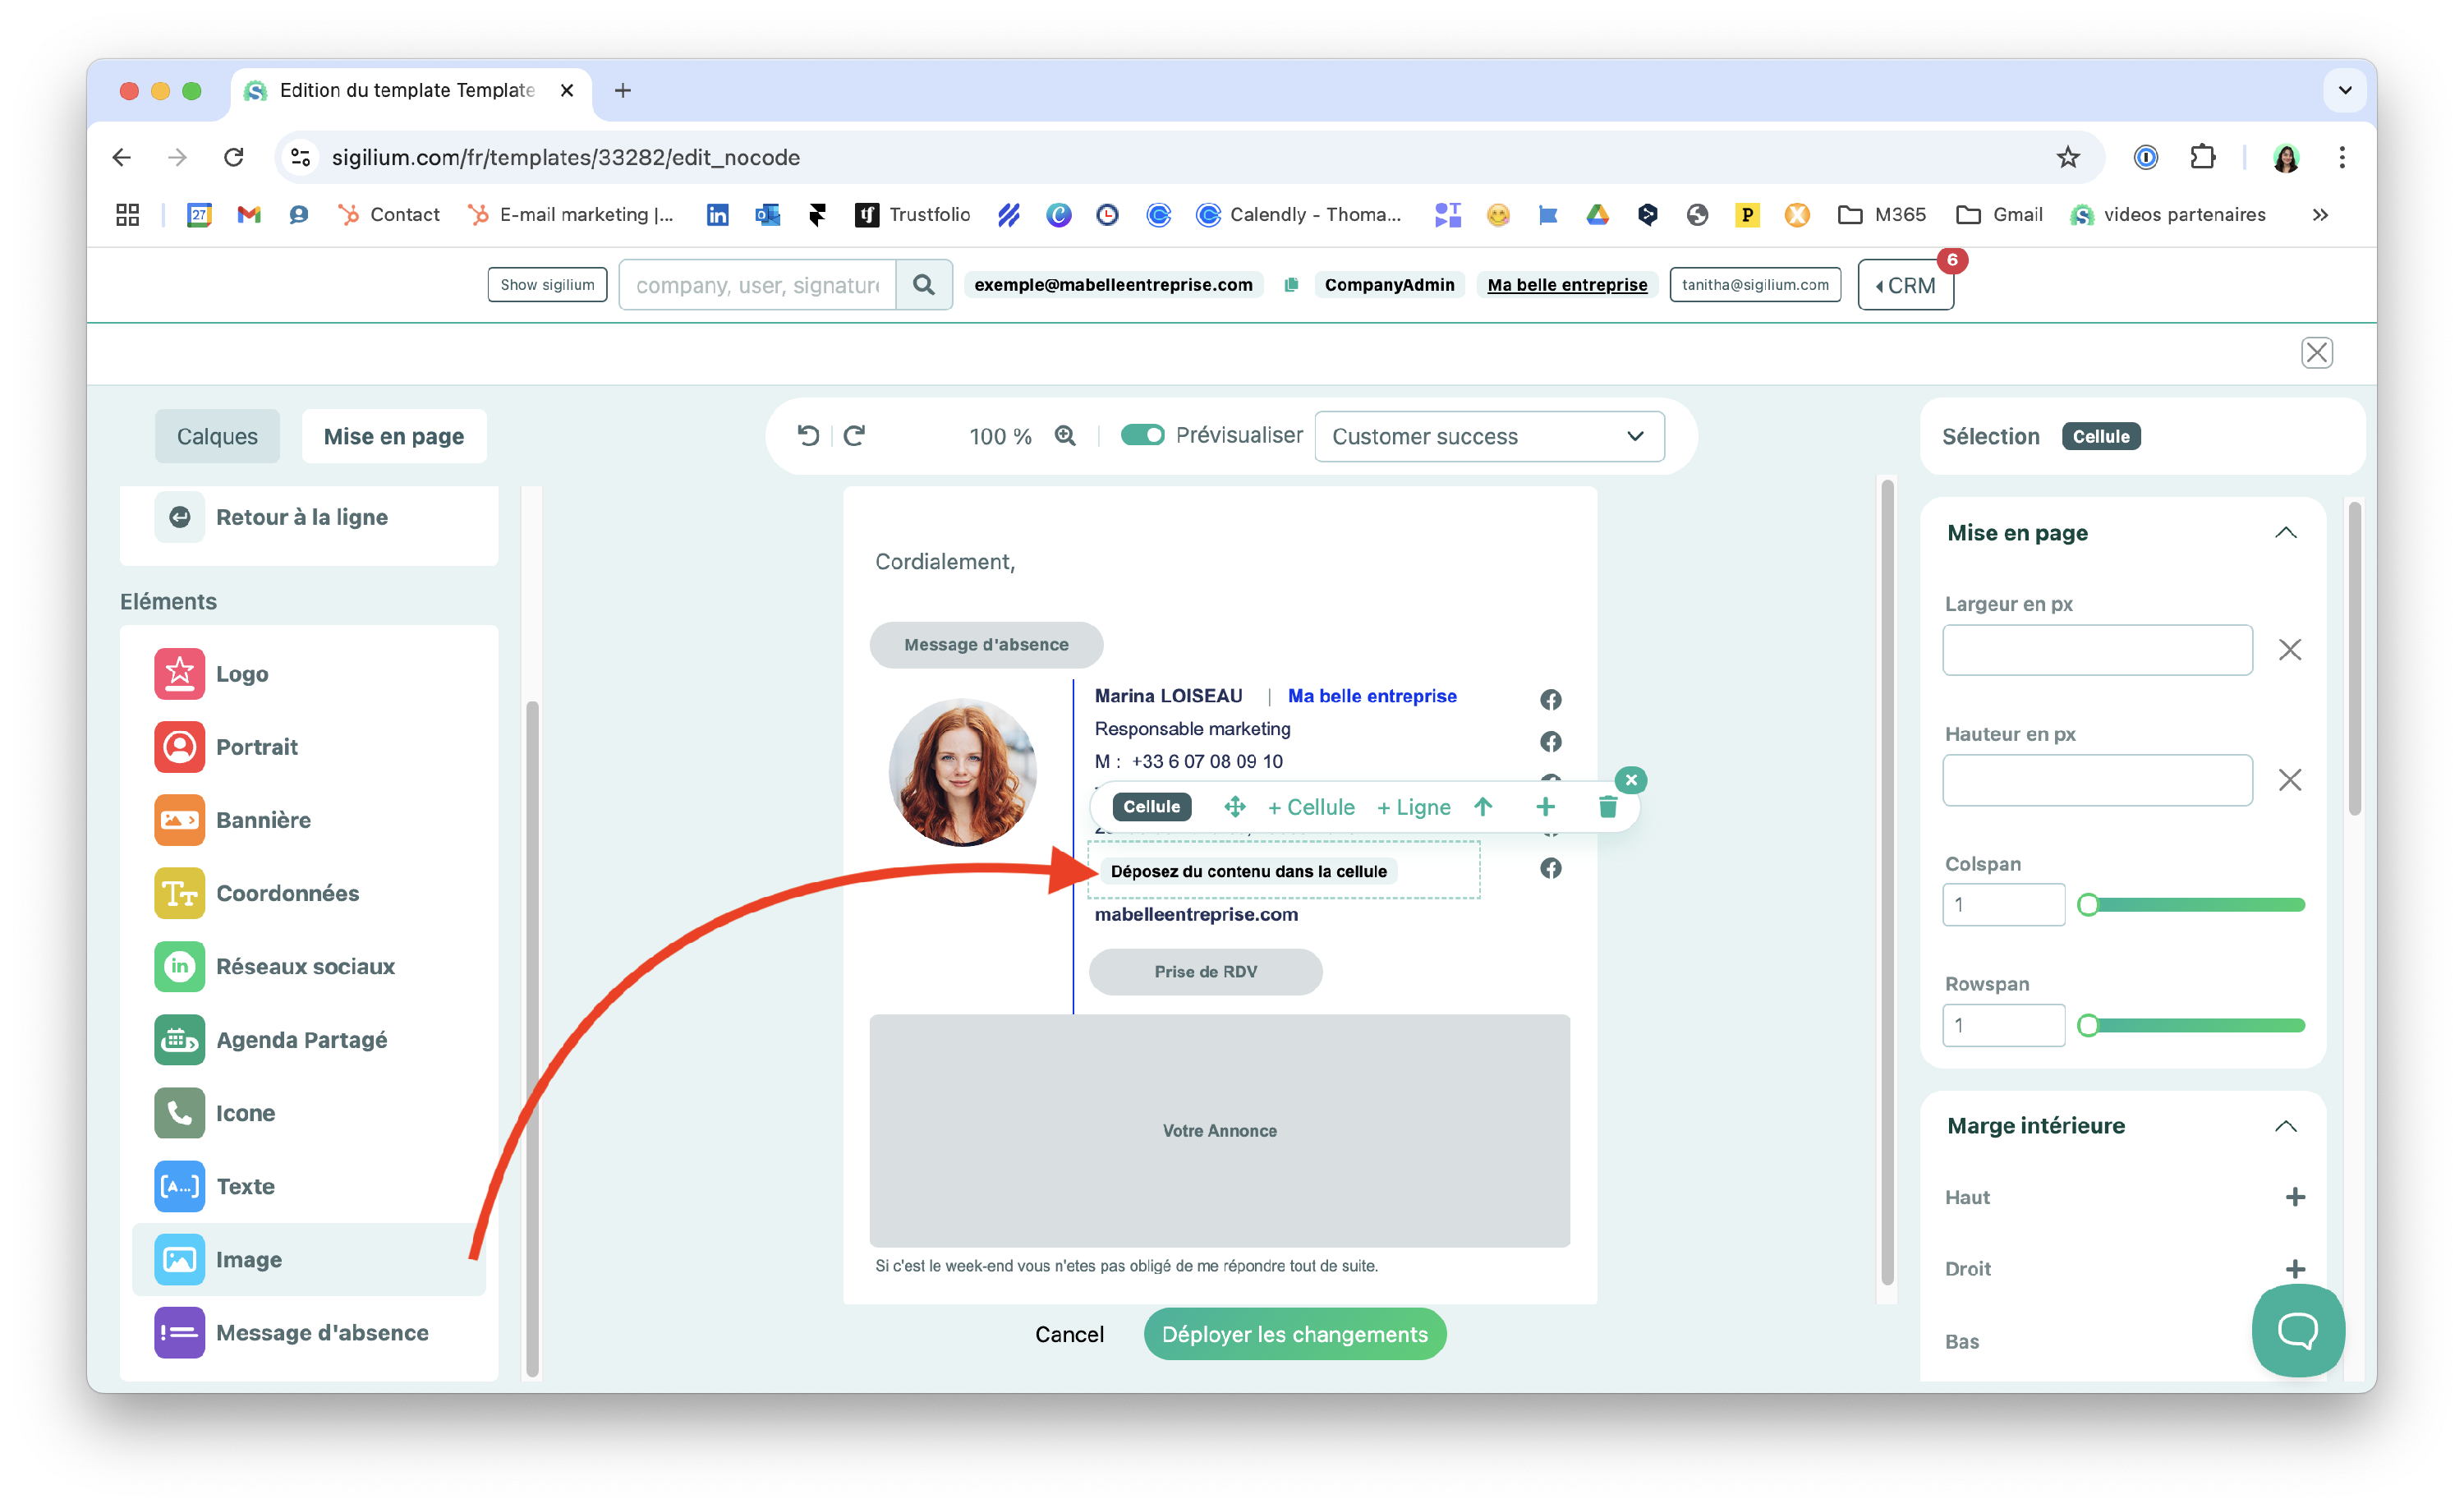
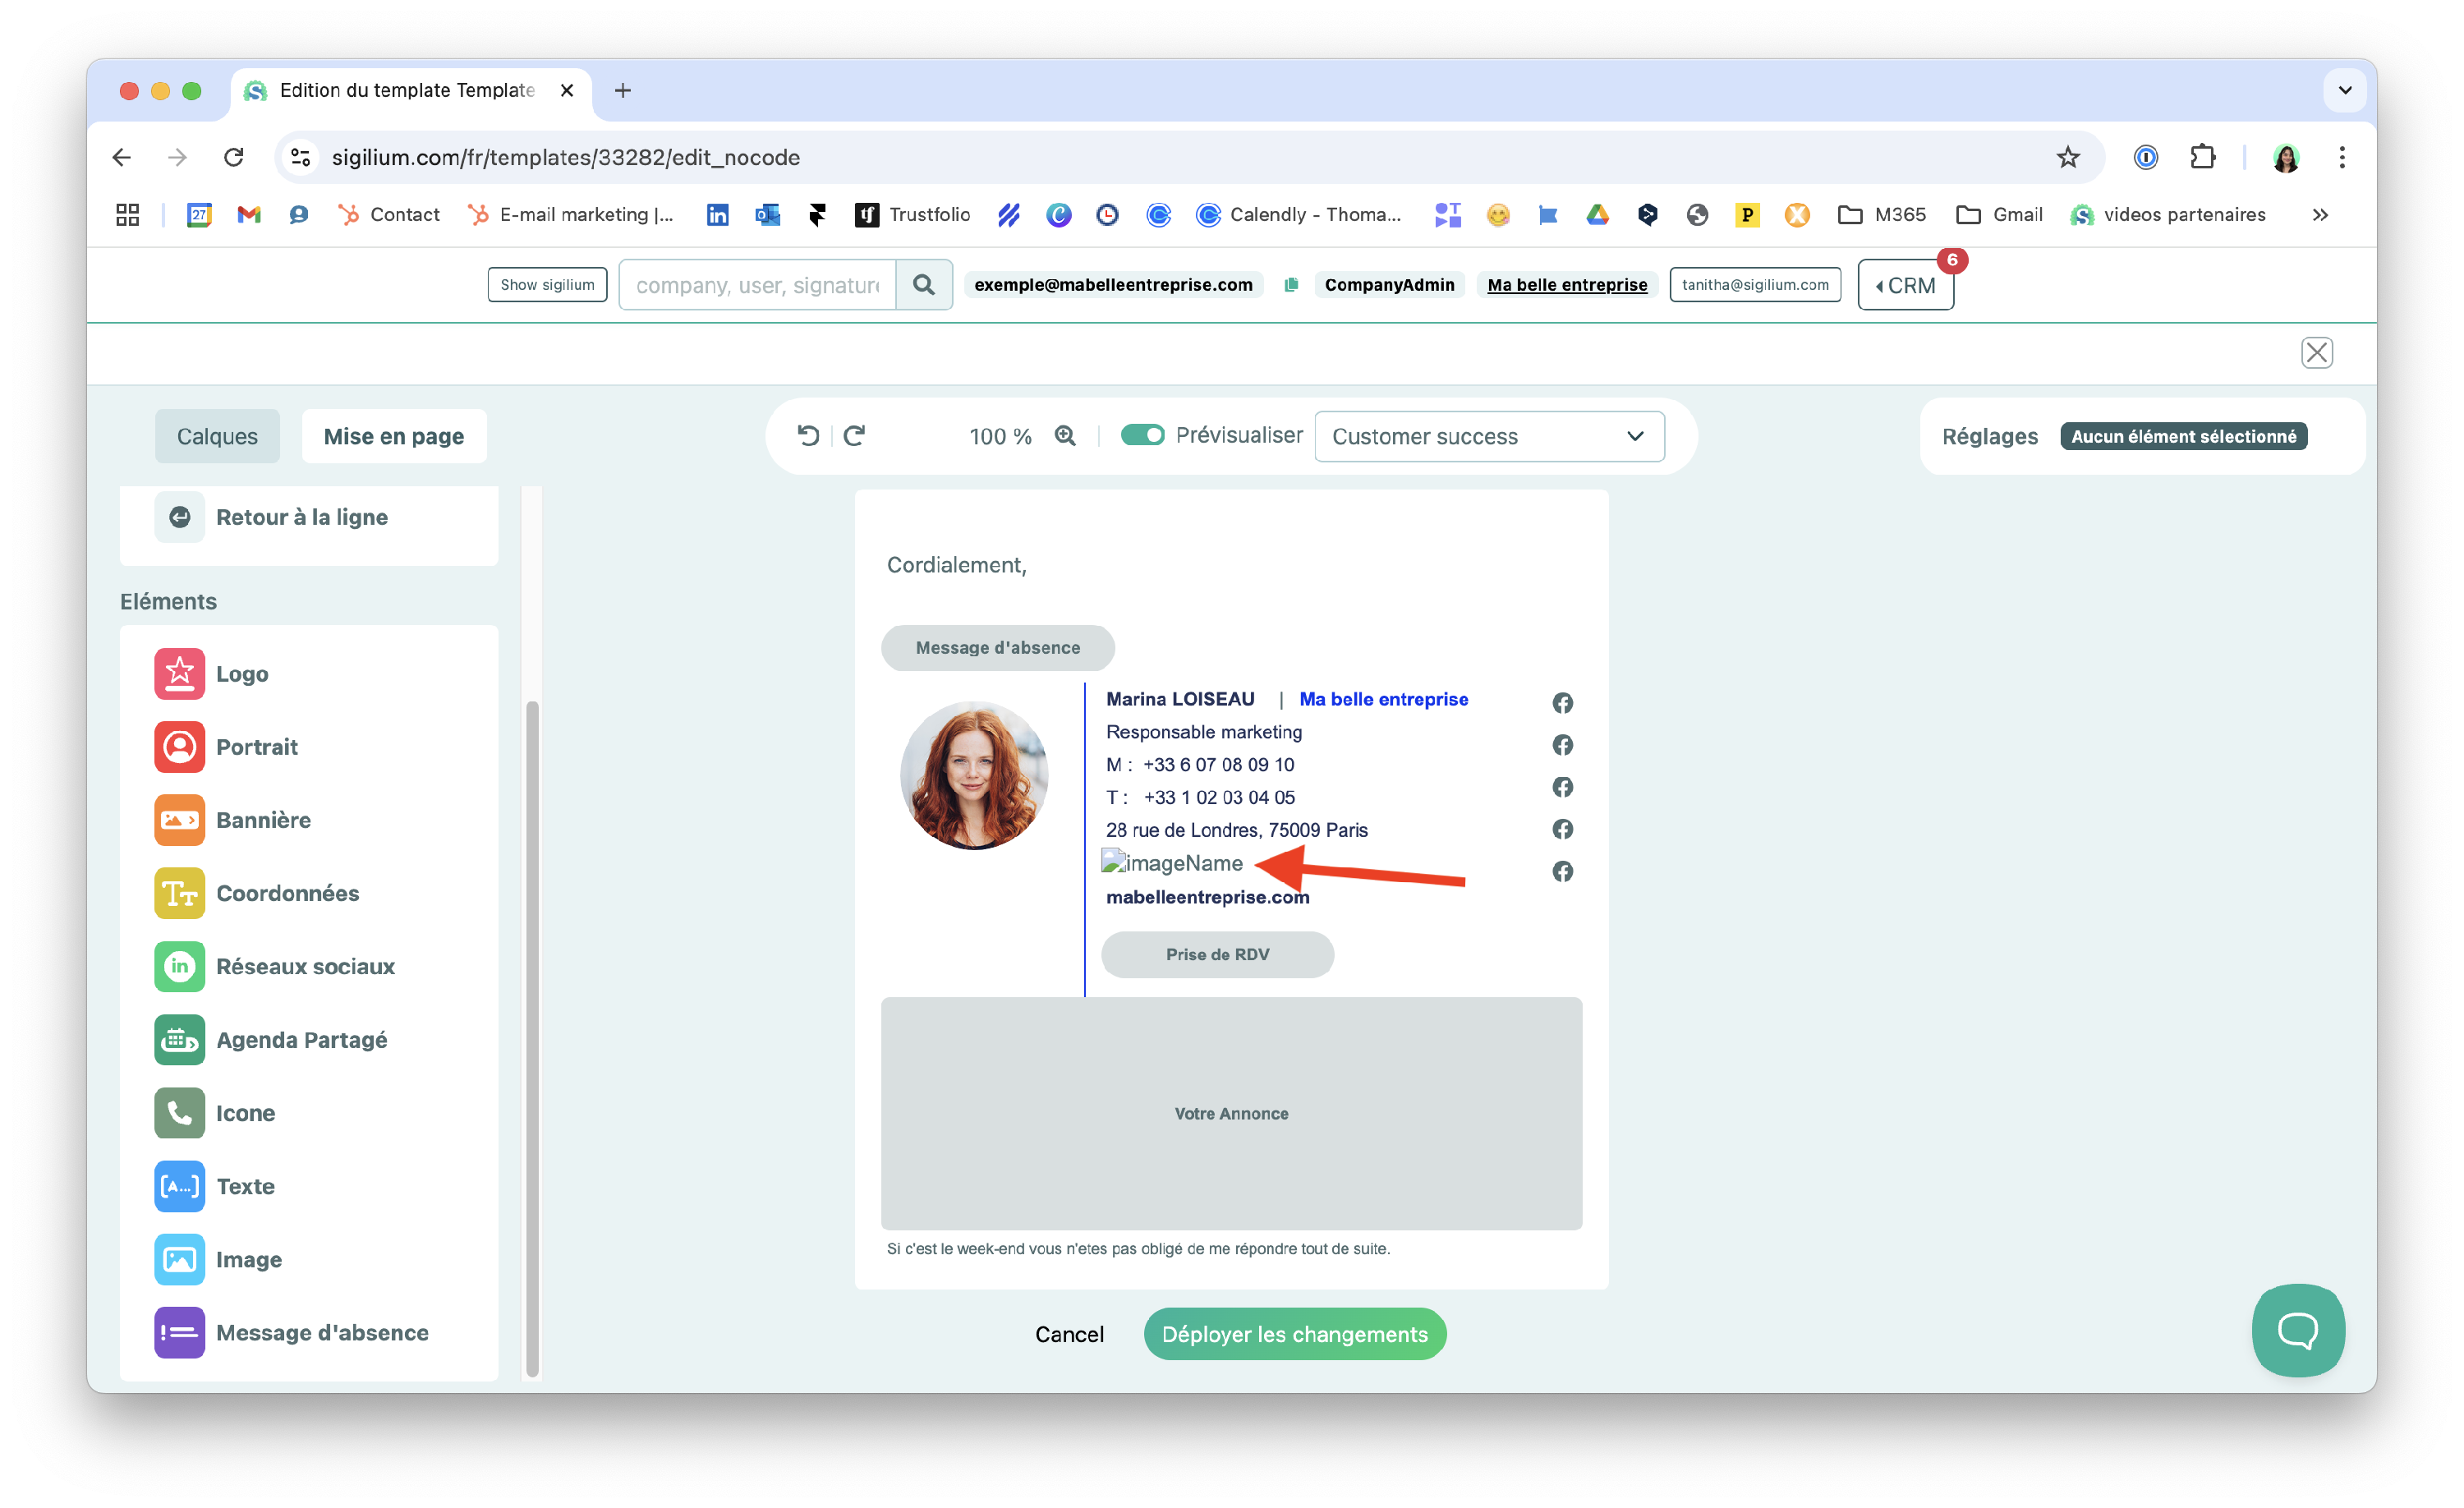
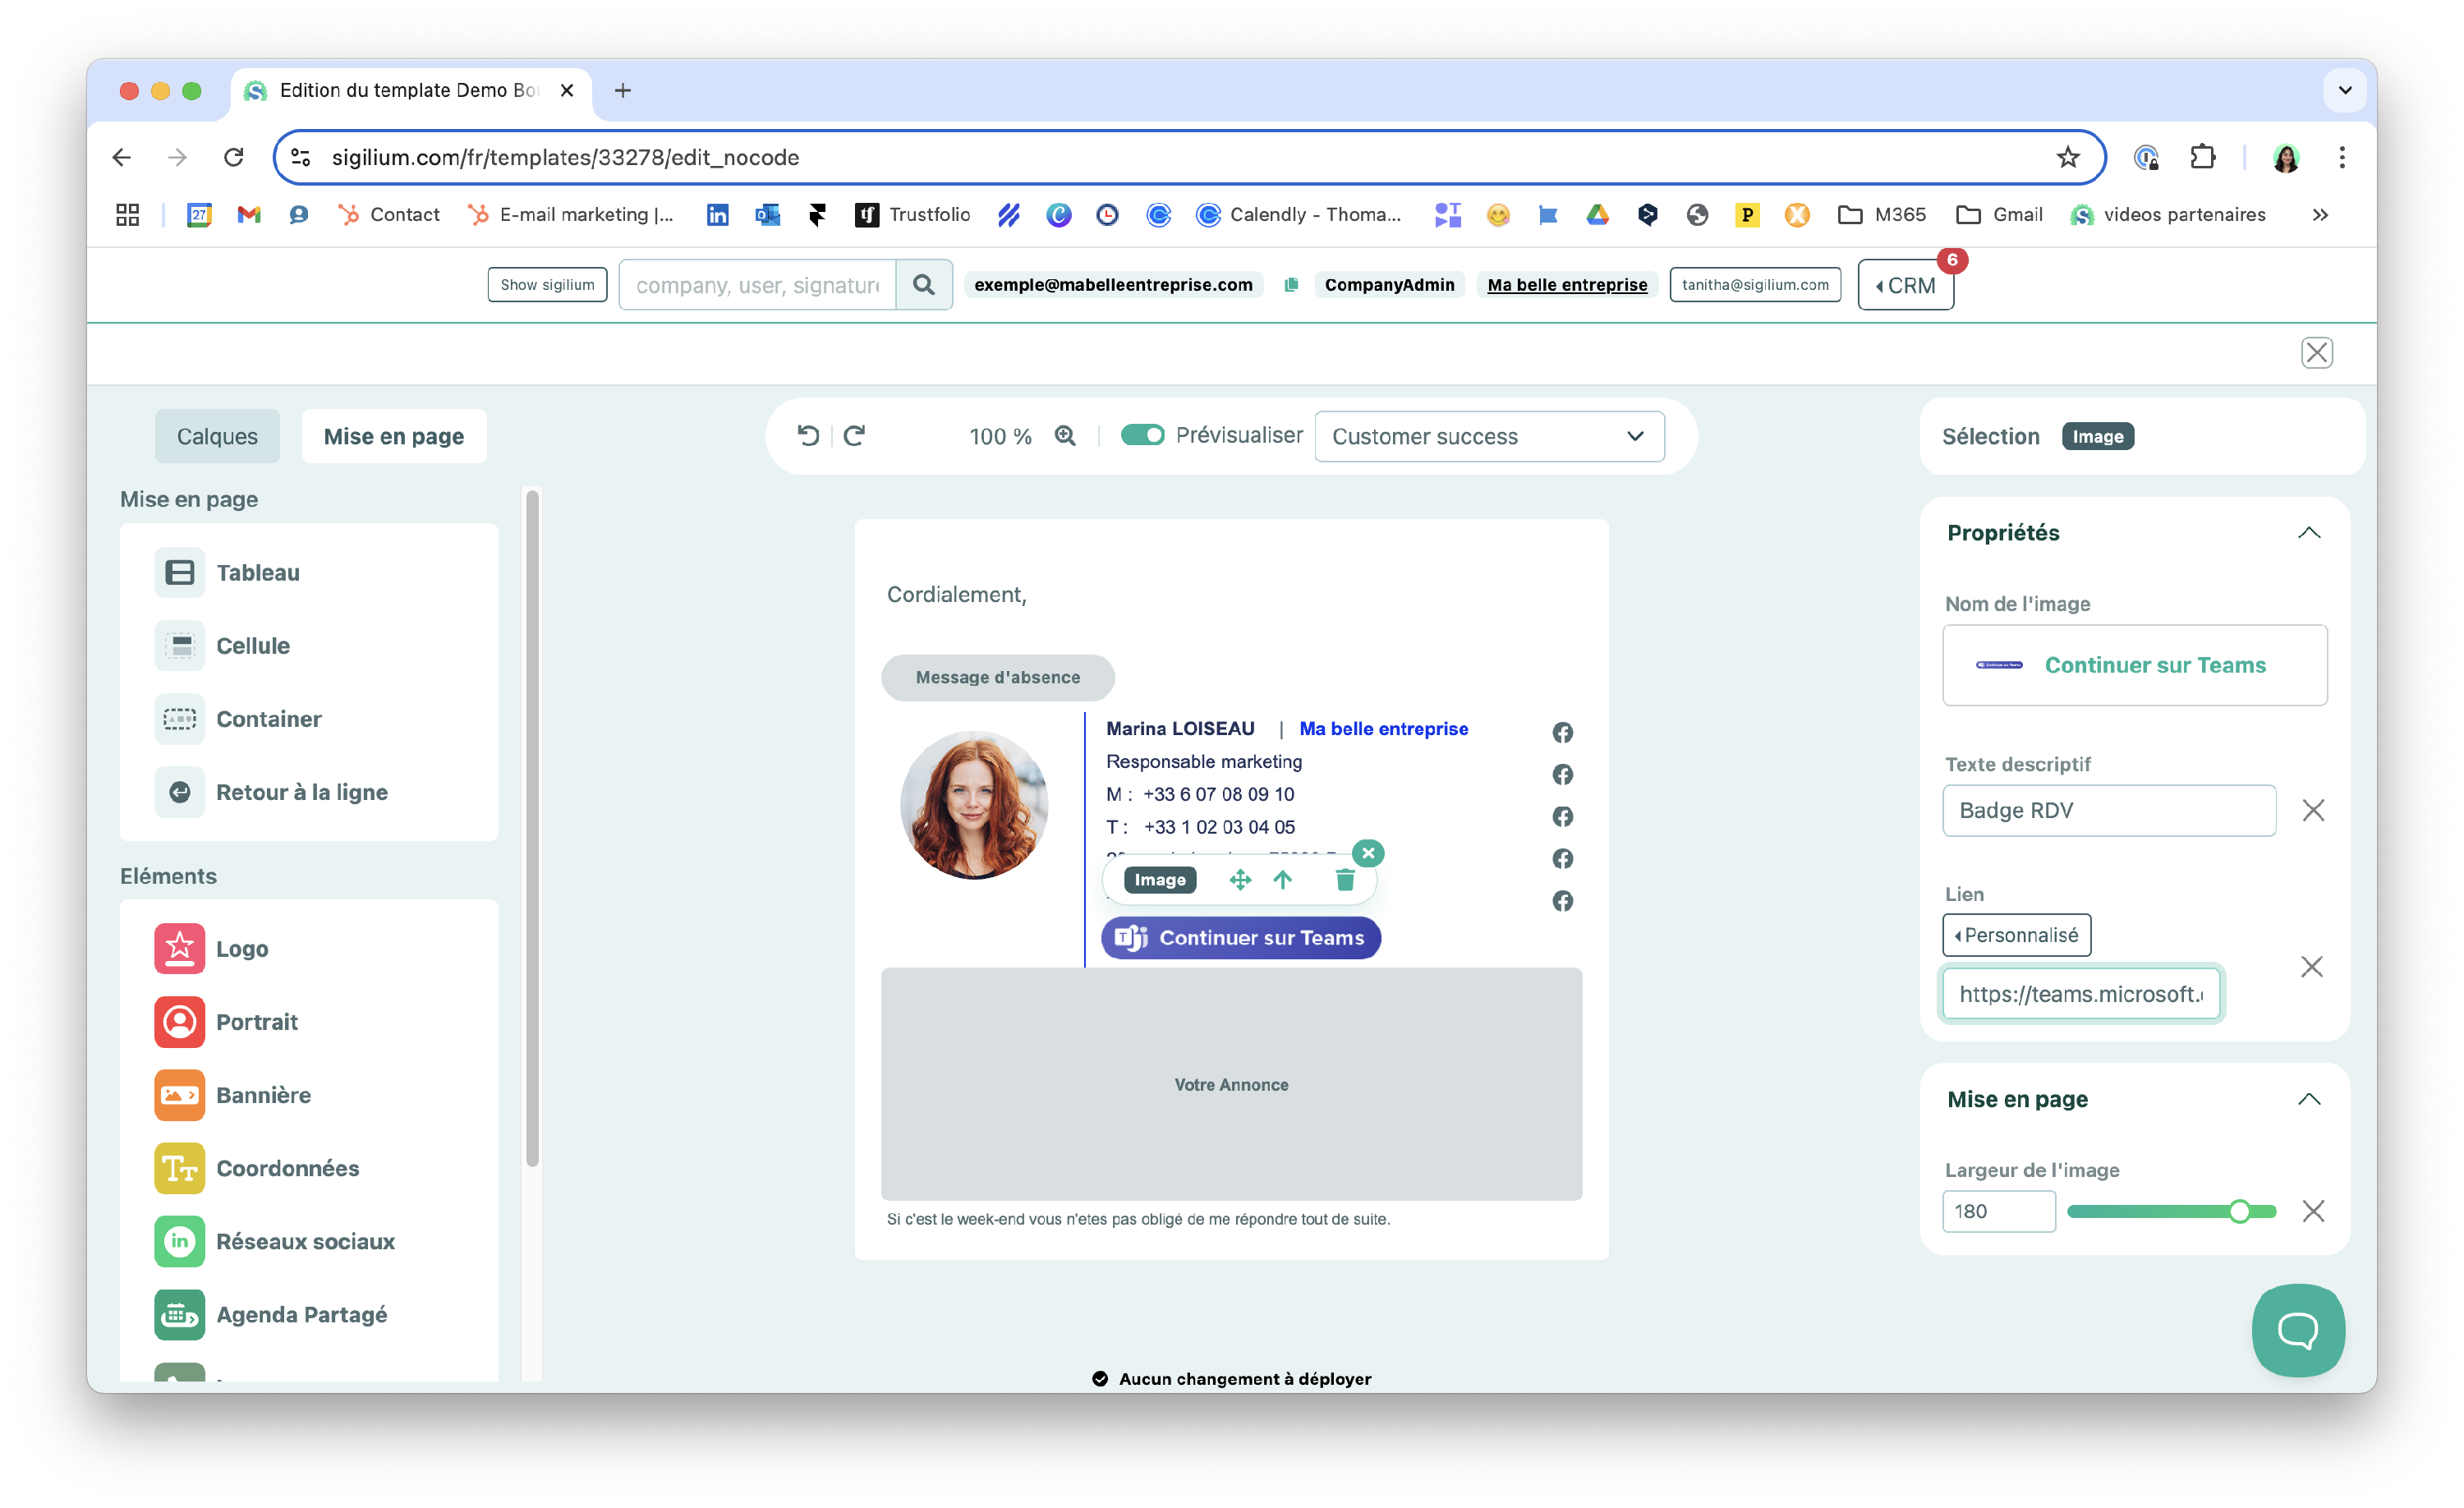
2 / You can now click on the new item and drag and drop the Image icon onto it.
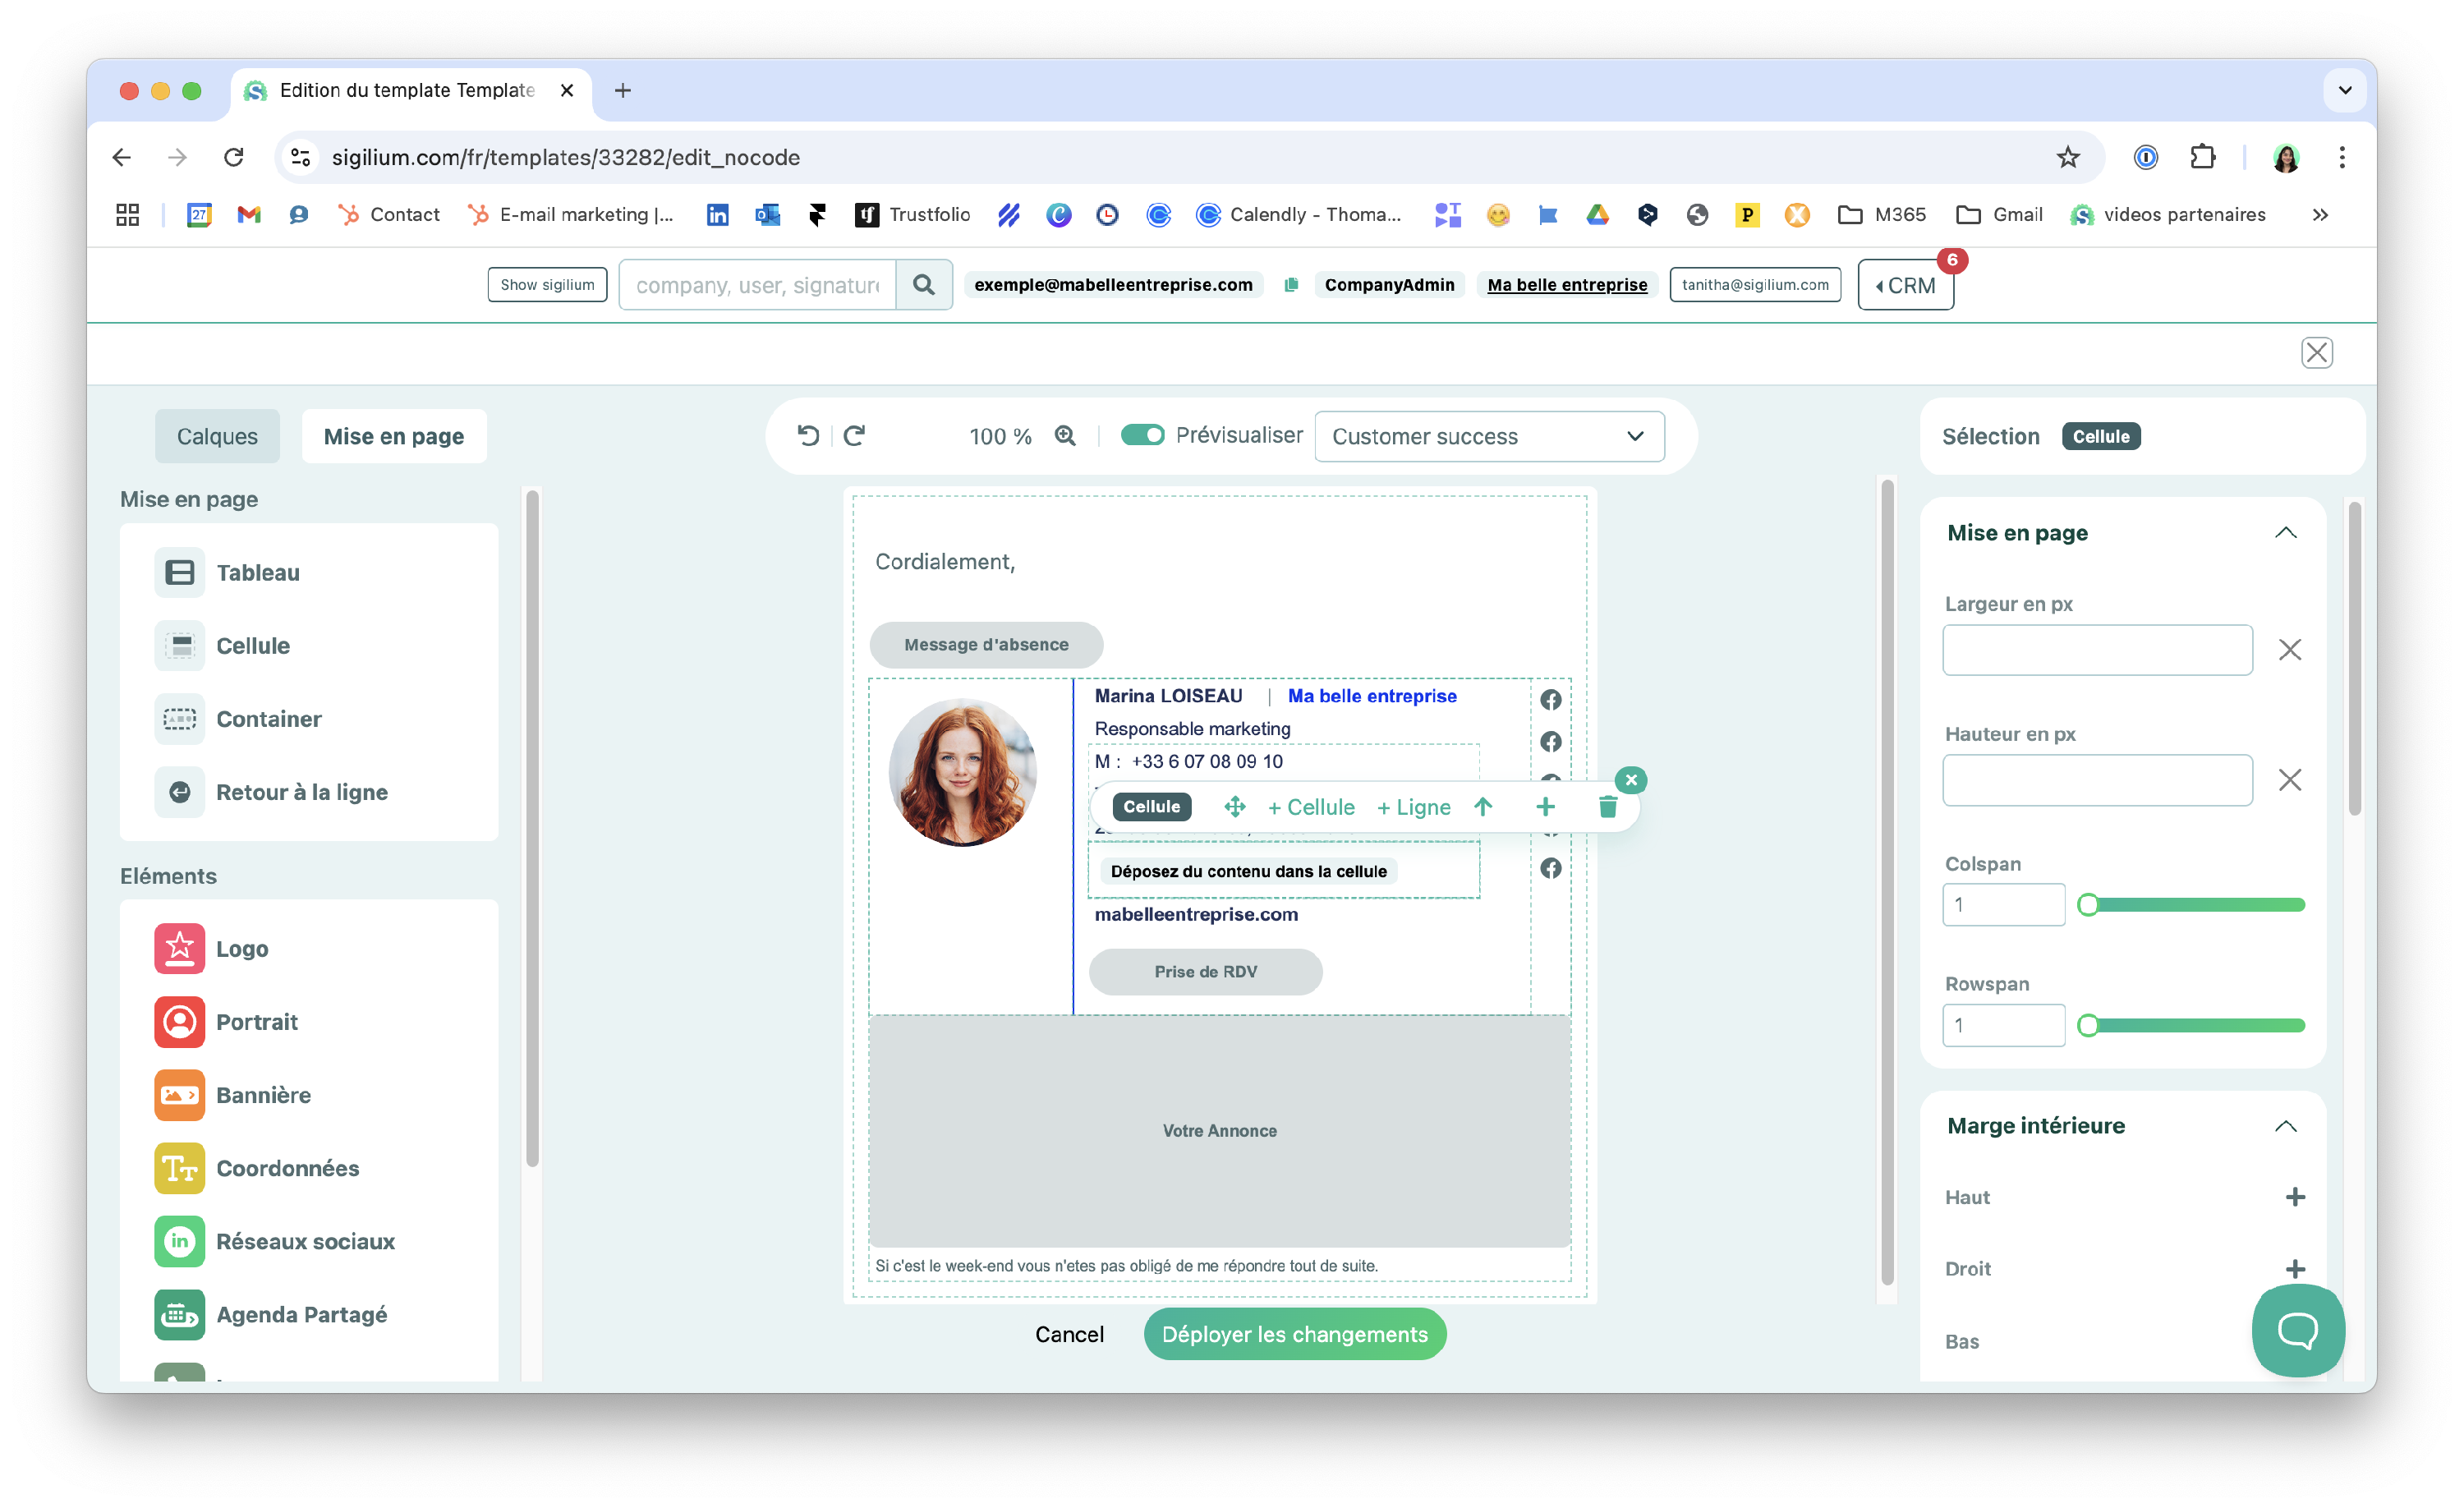
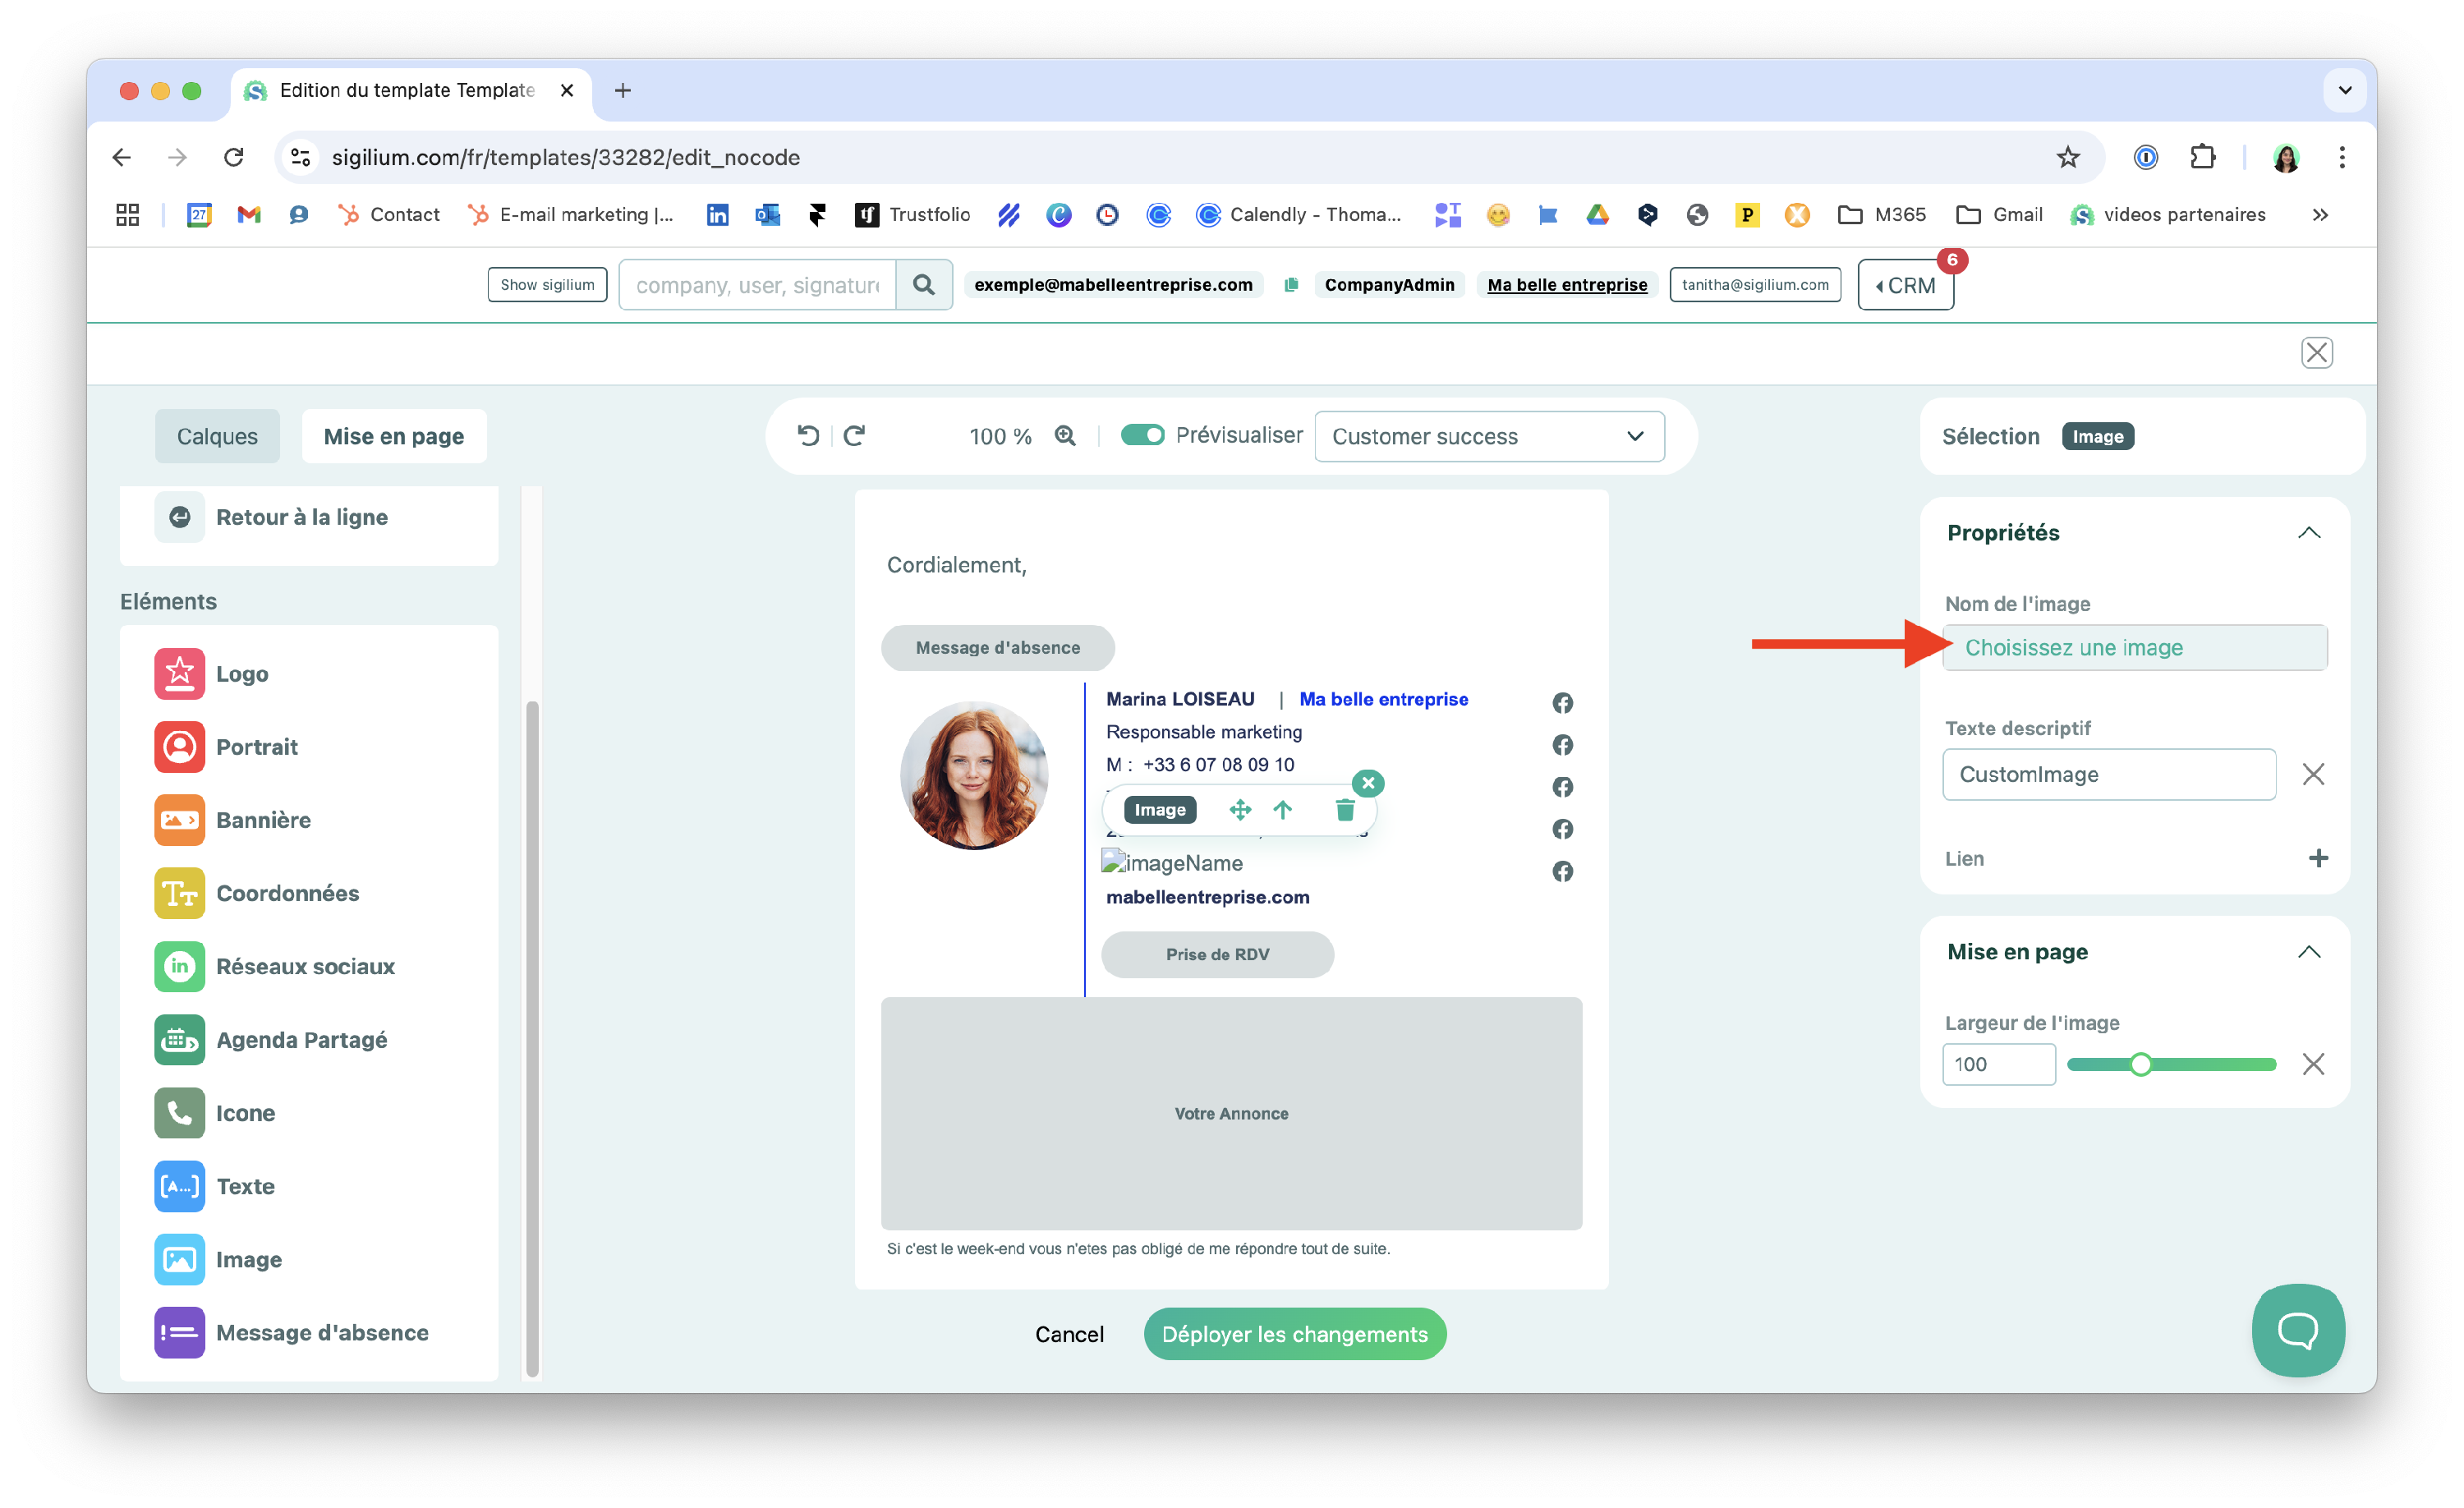
3 / Clicking on the image will open a menu on your right.
Import the new image from the drop-down menu.
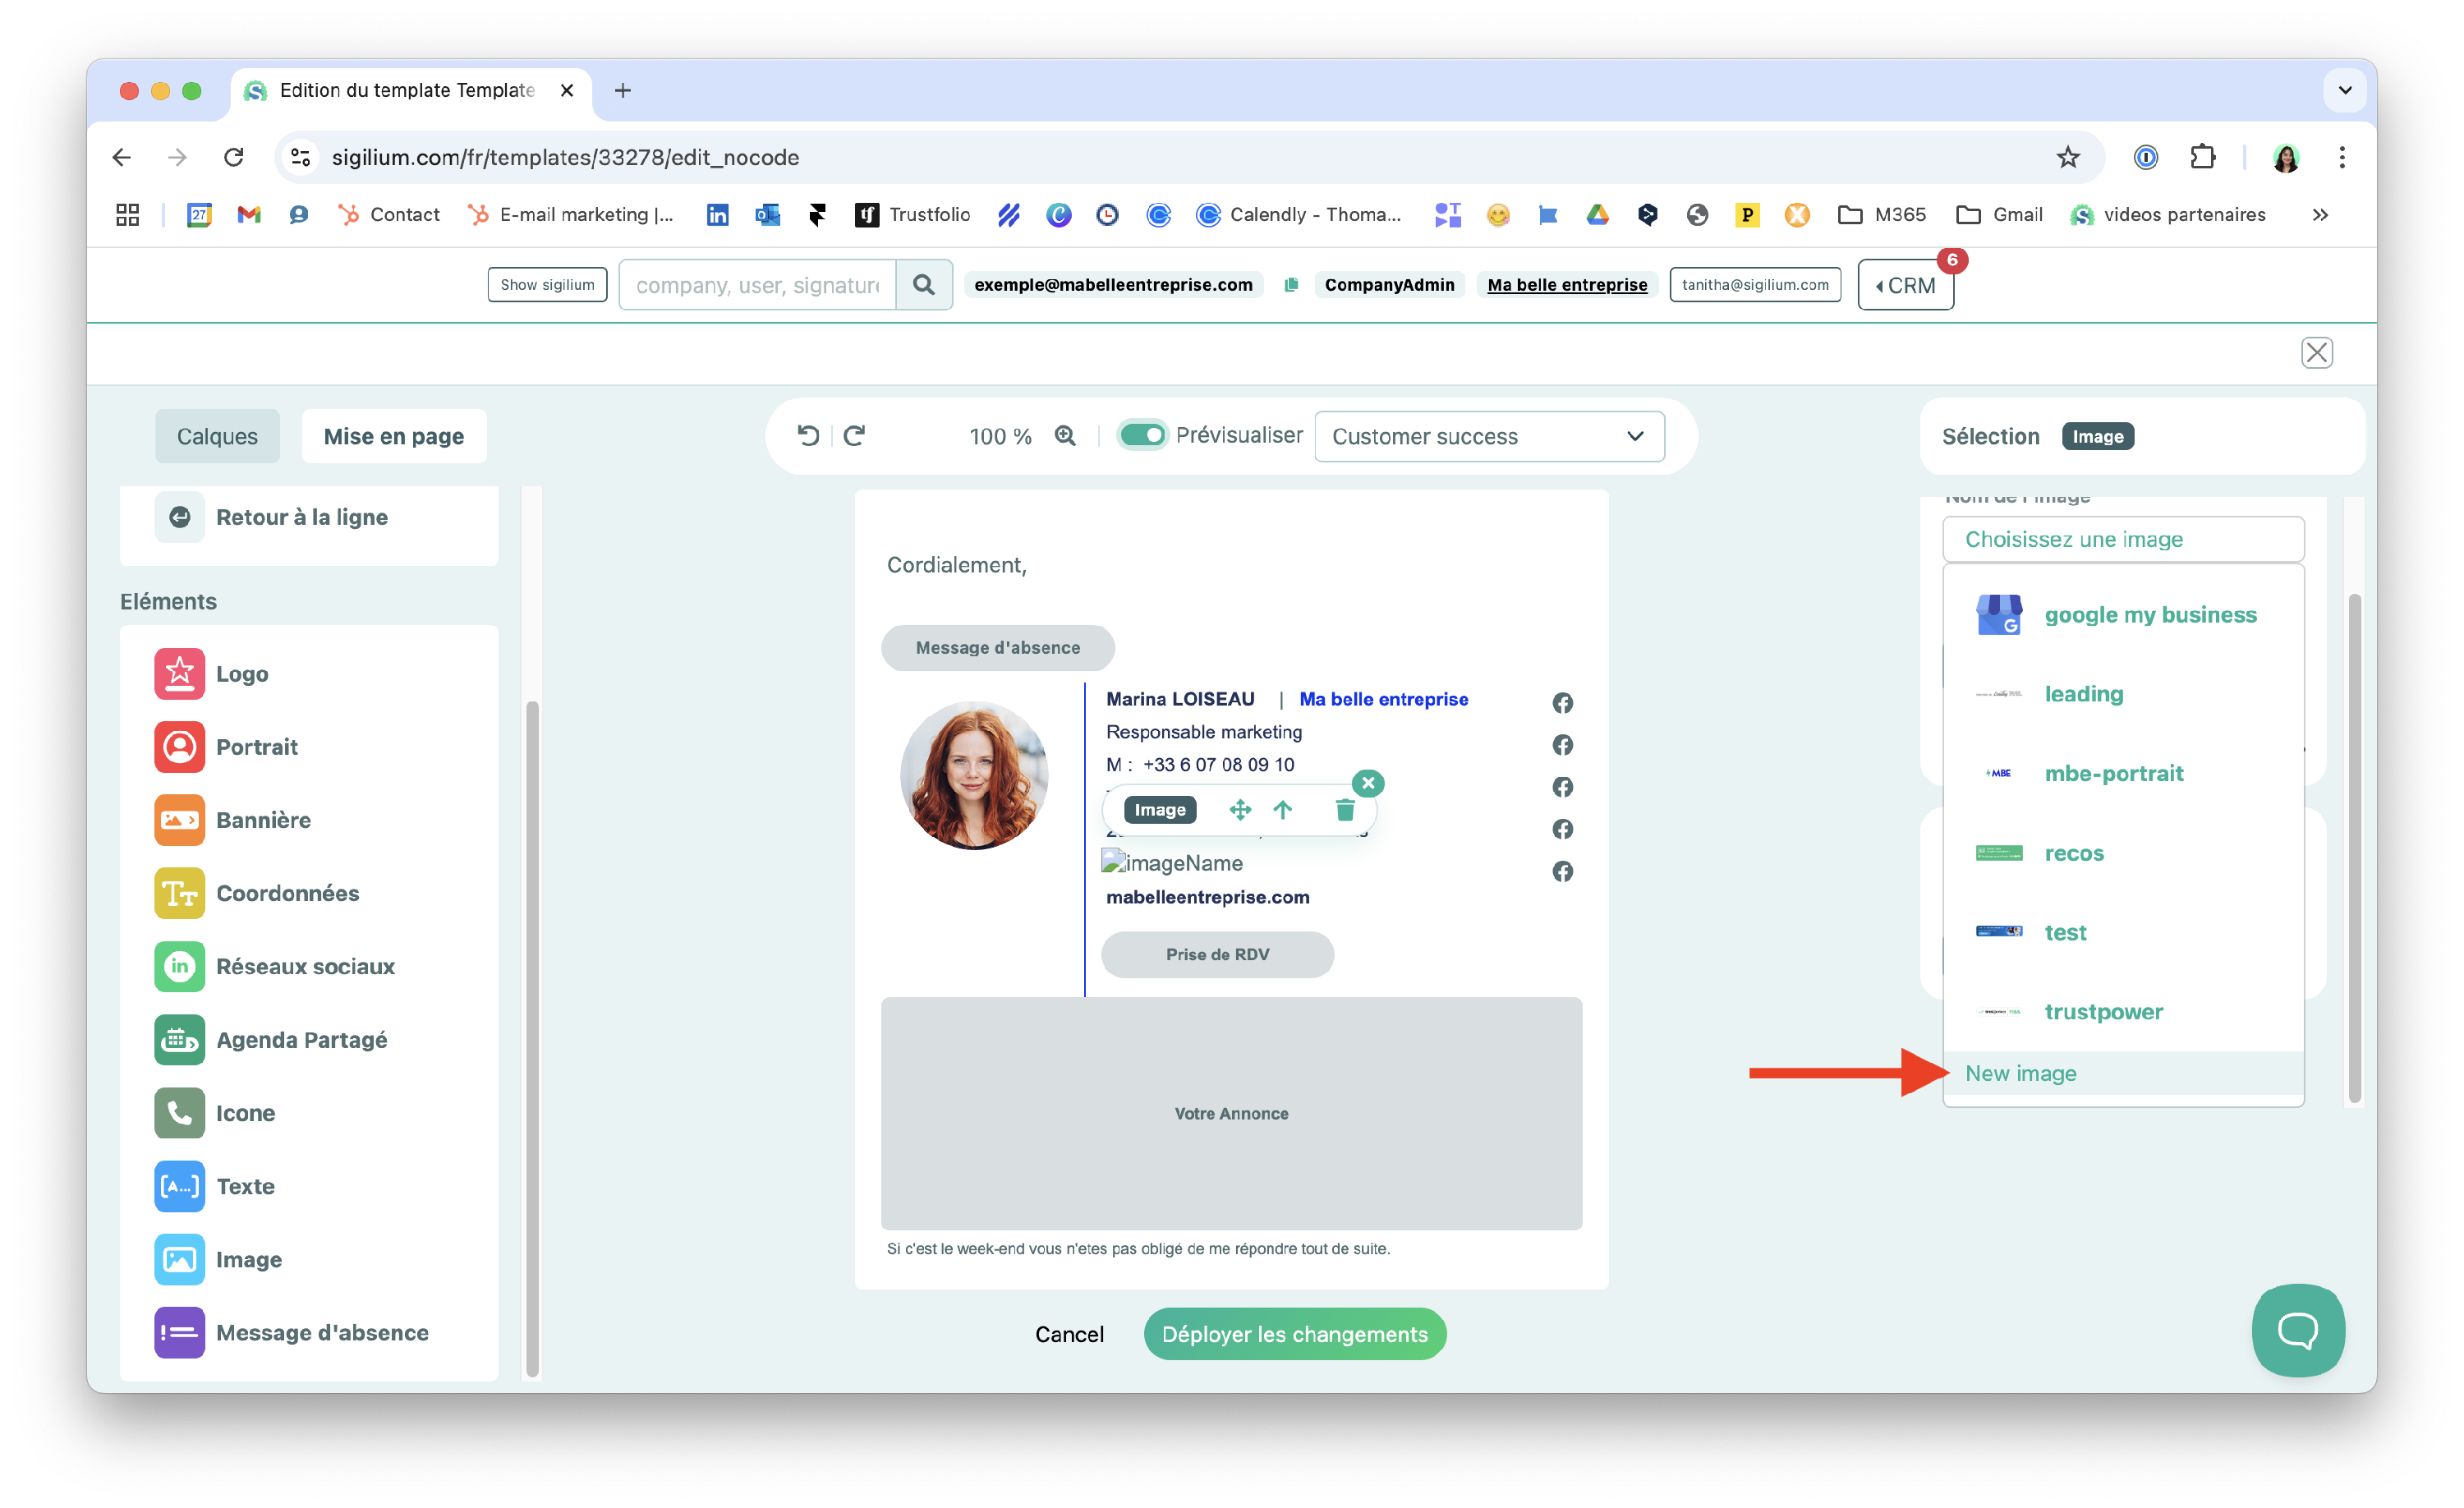
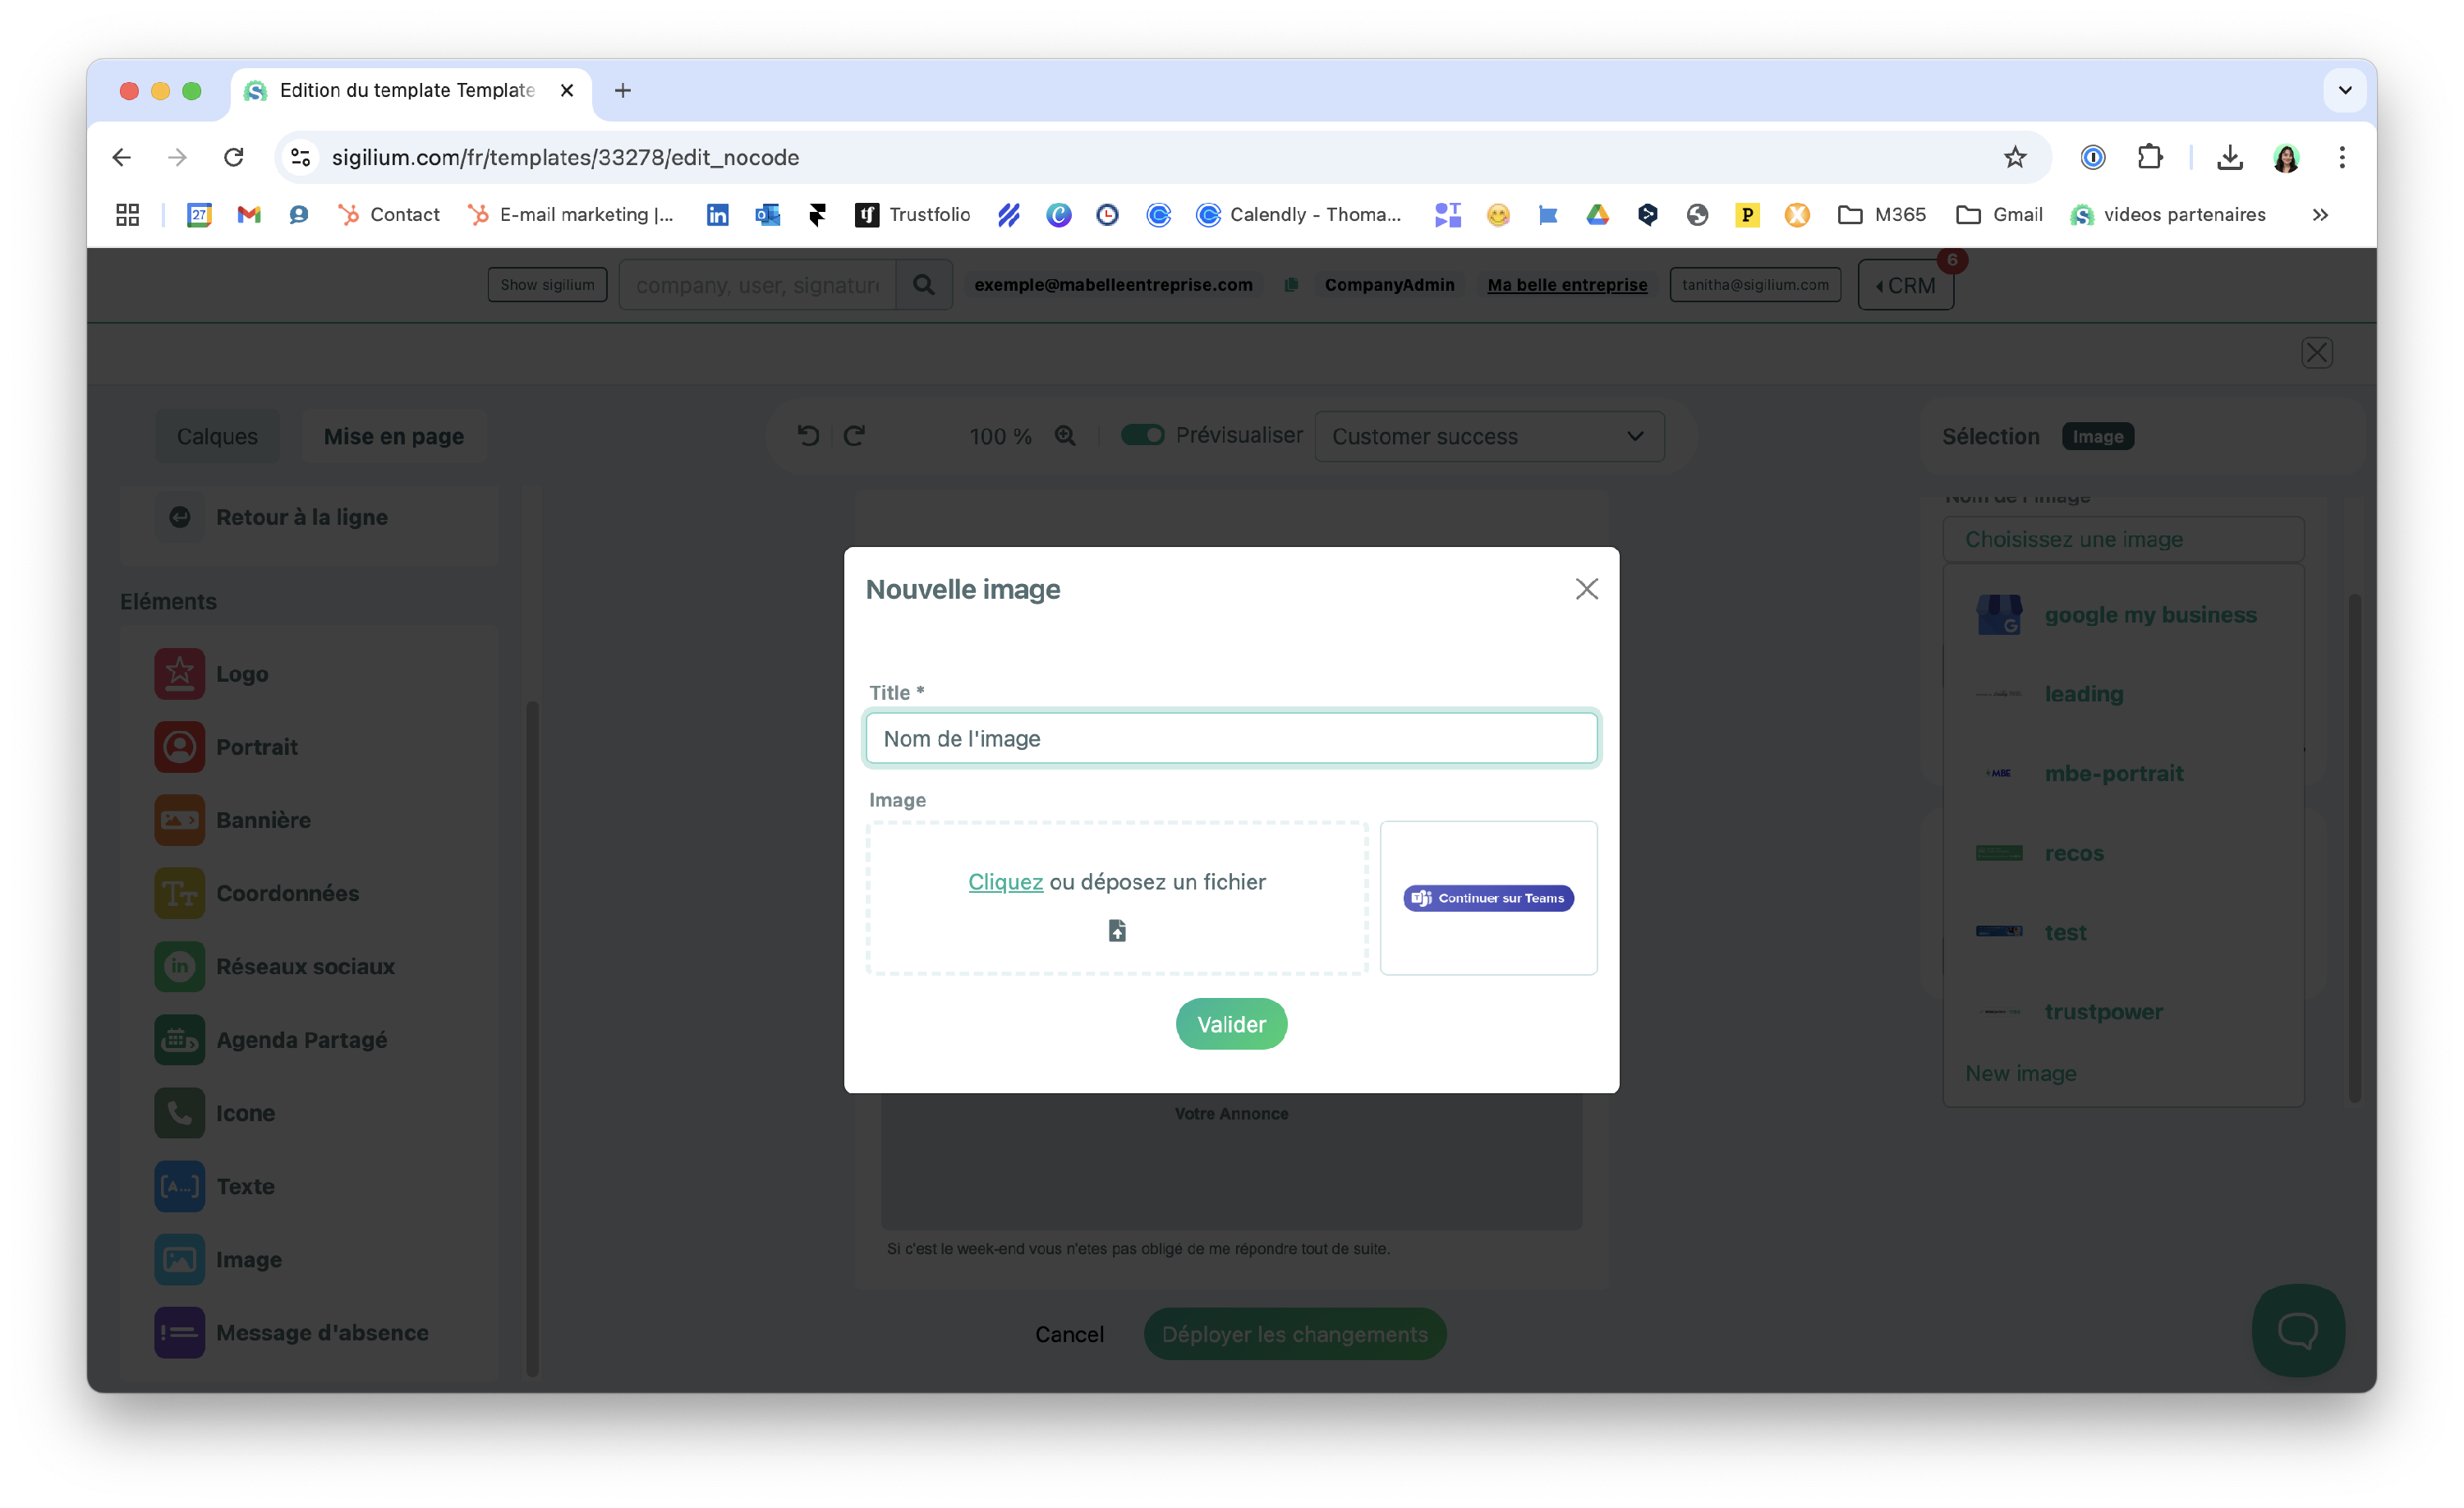
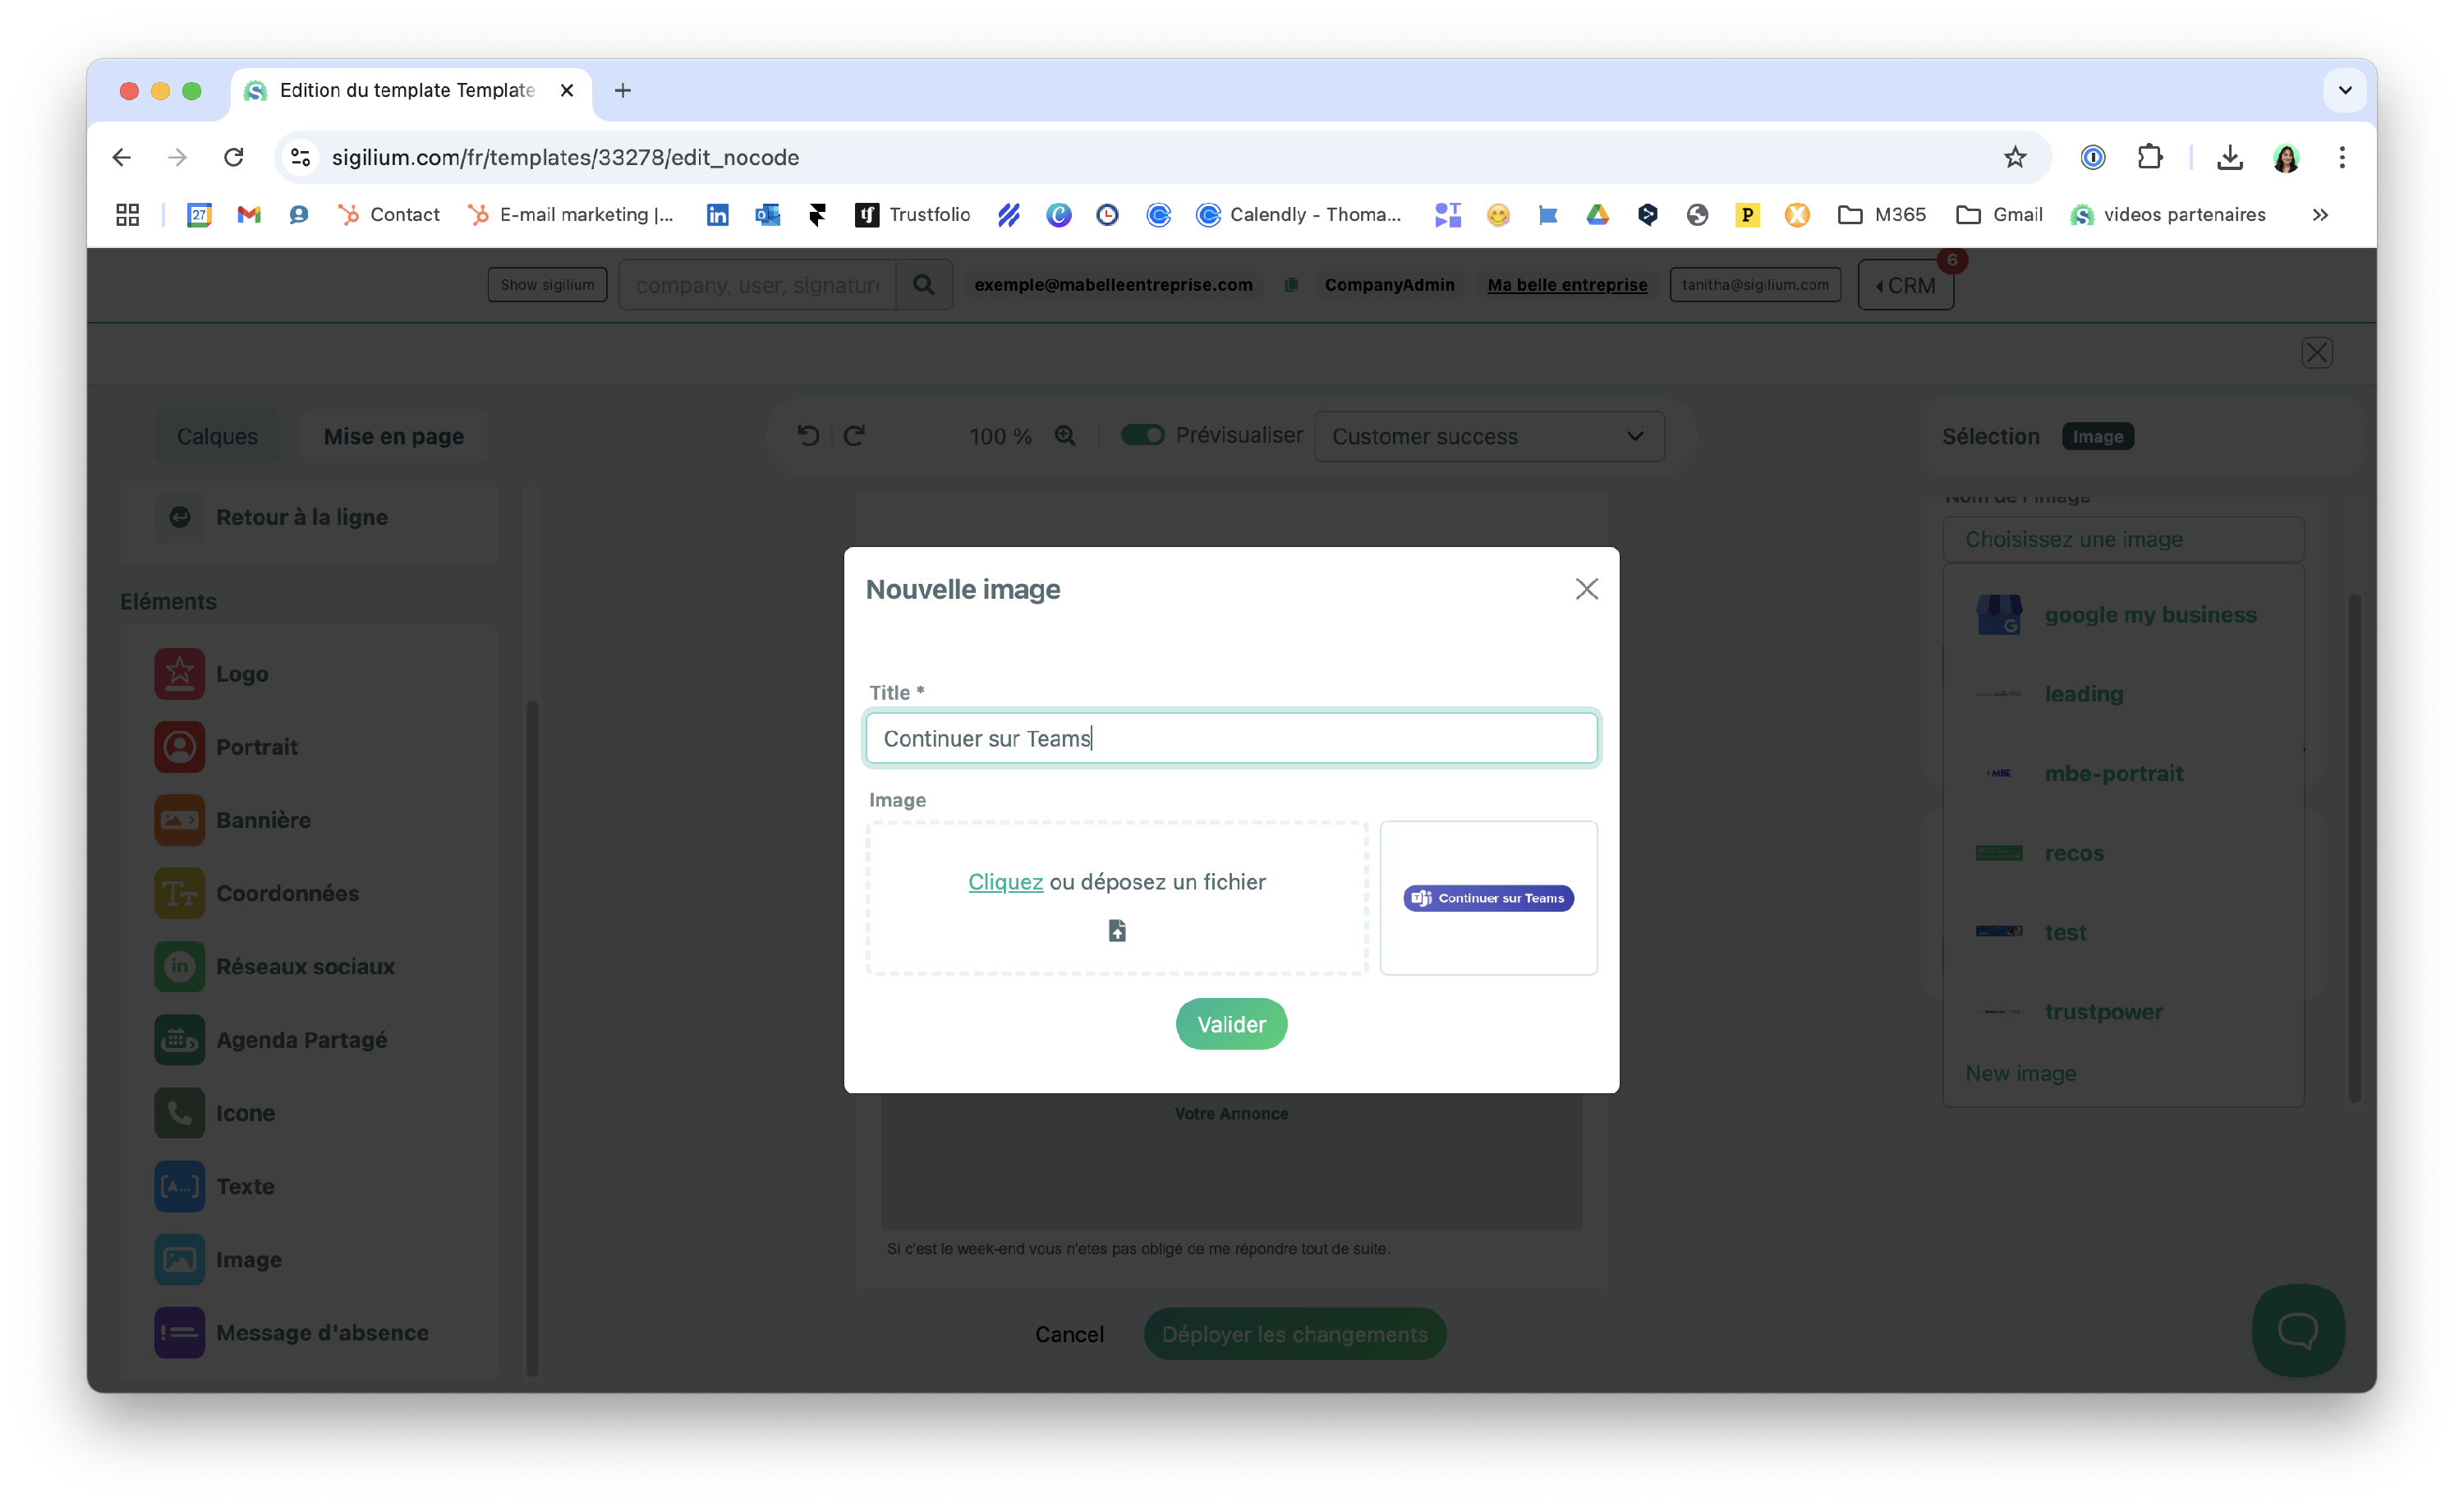
The image is now available in the drop-down menu. You can select it and name it so that it appears in the email signature template.
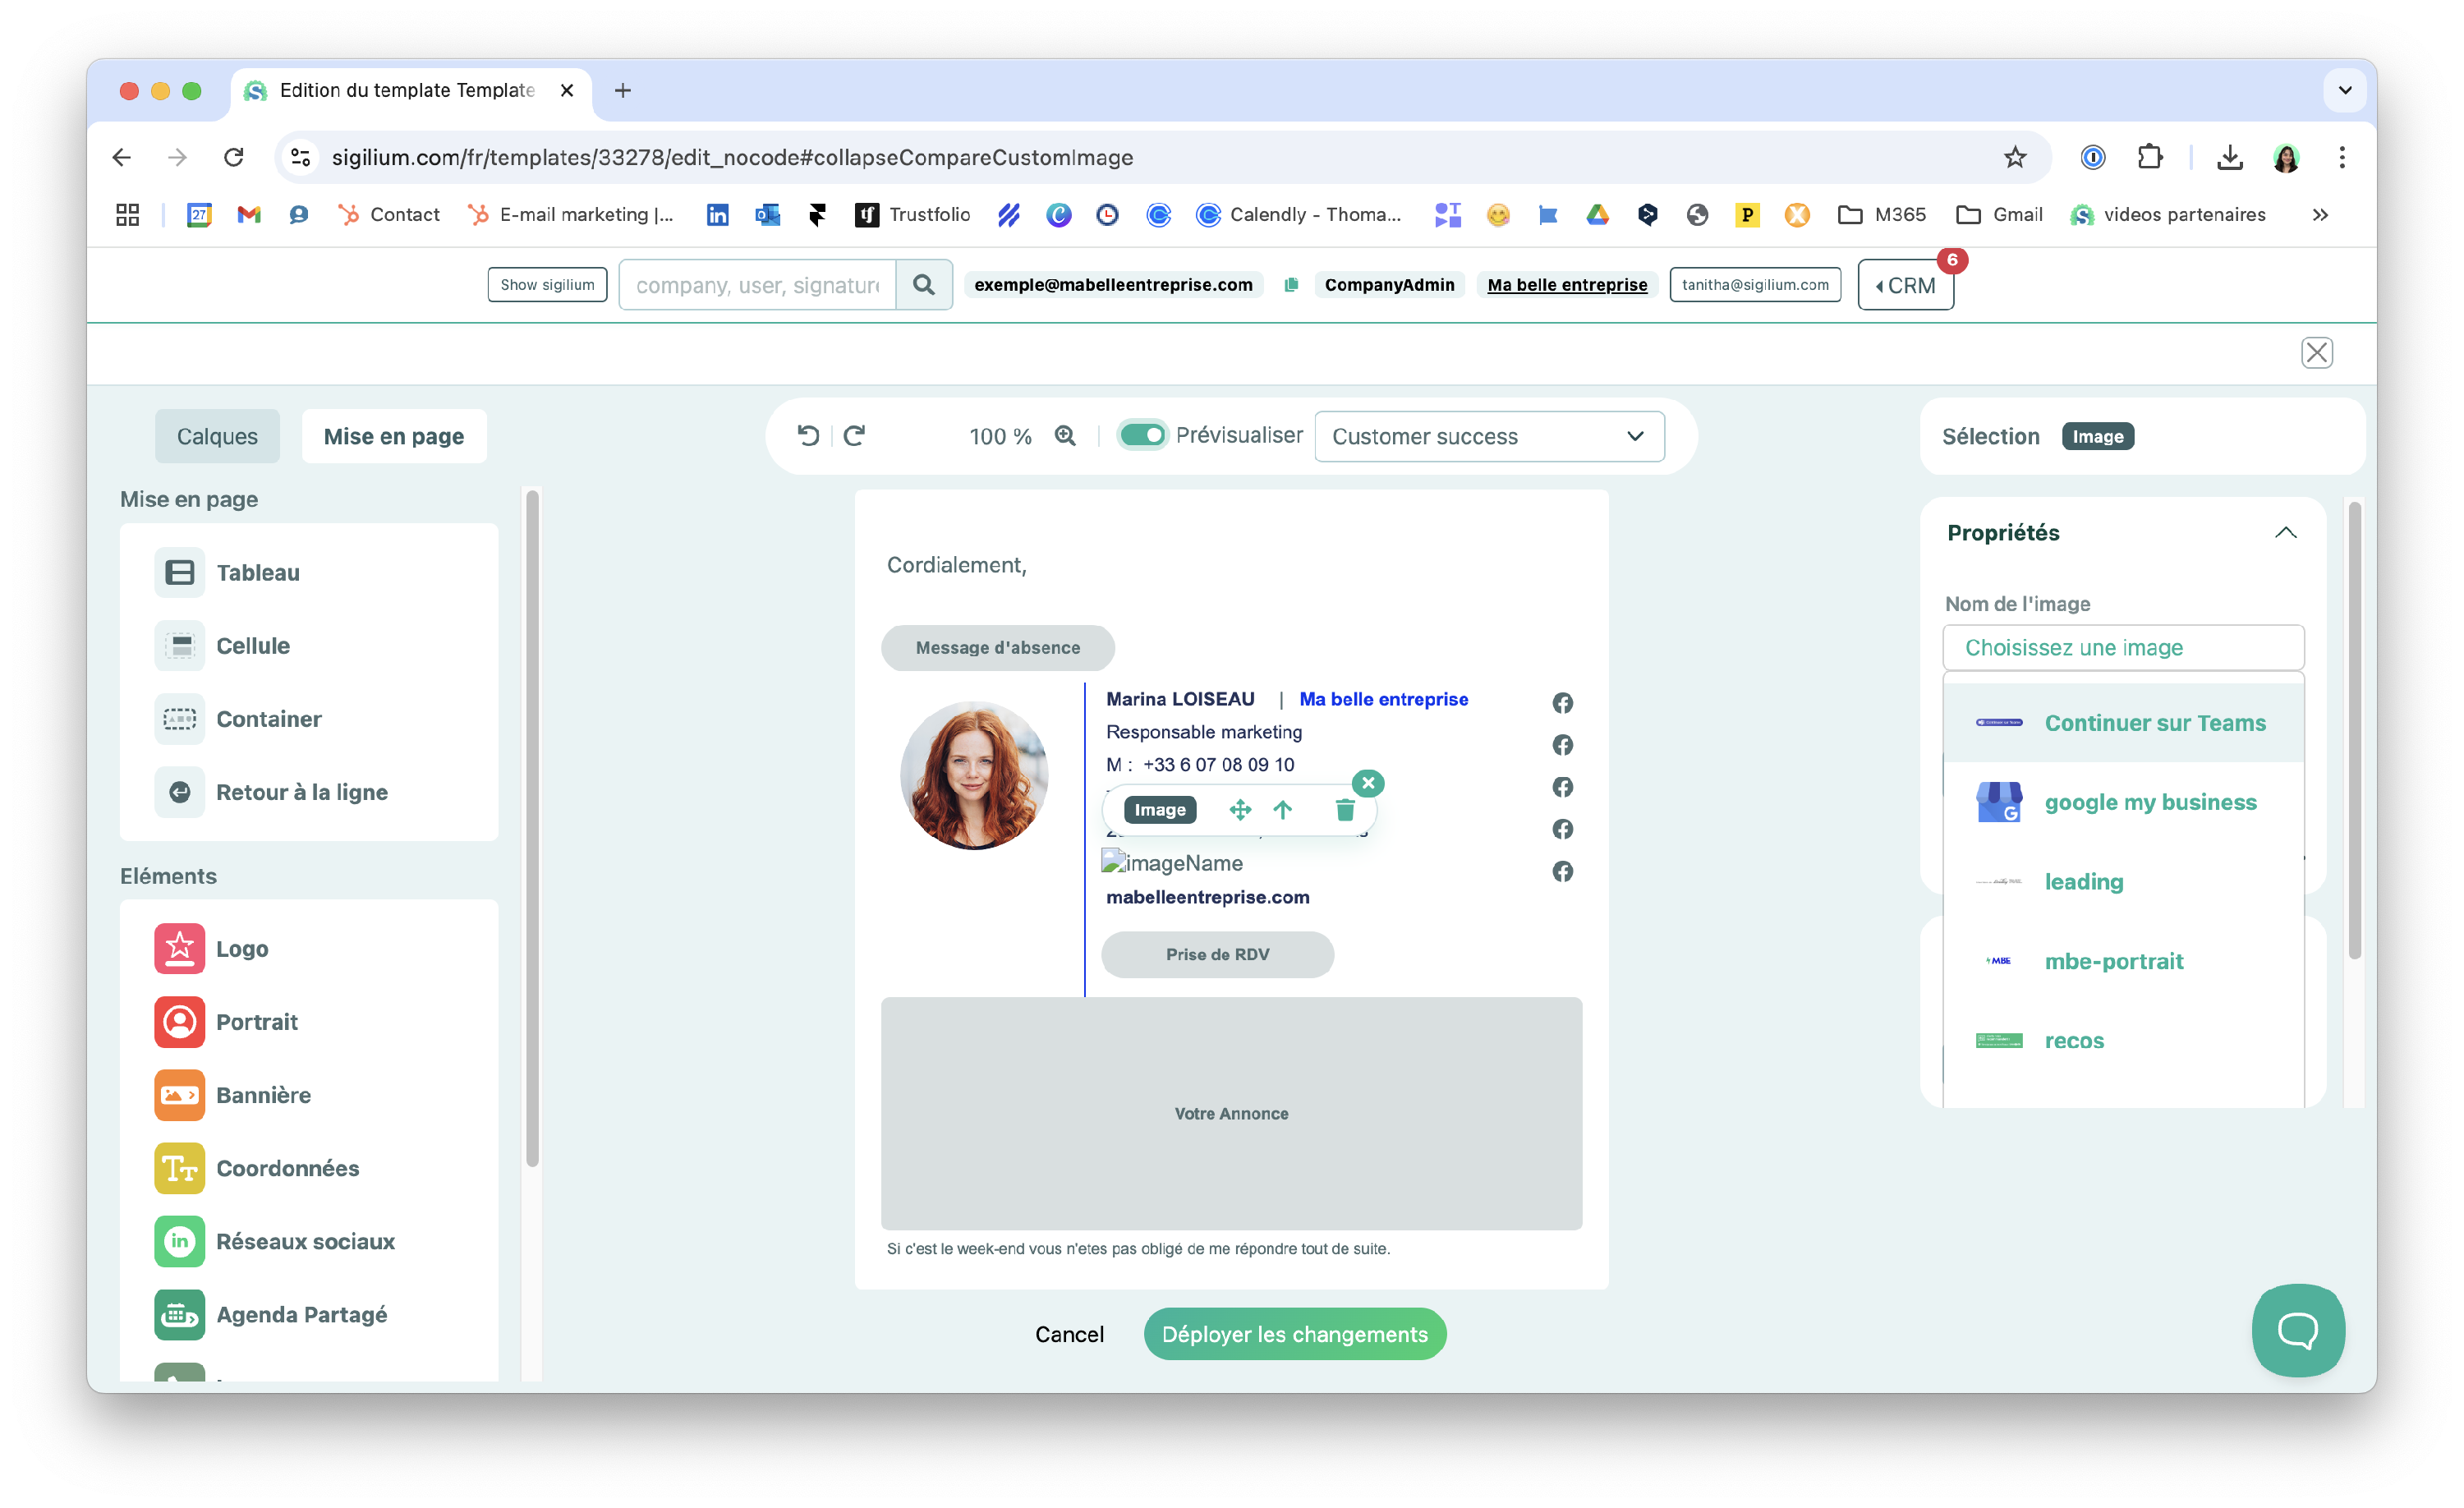
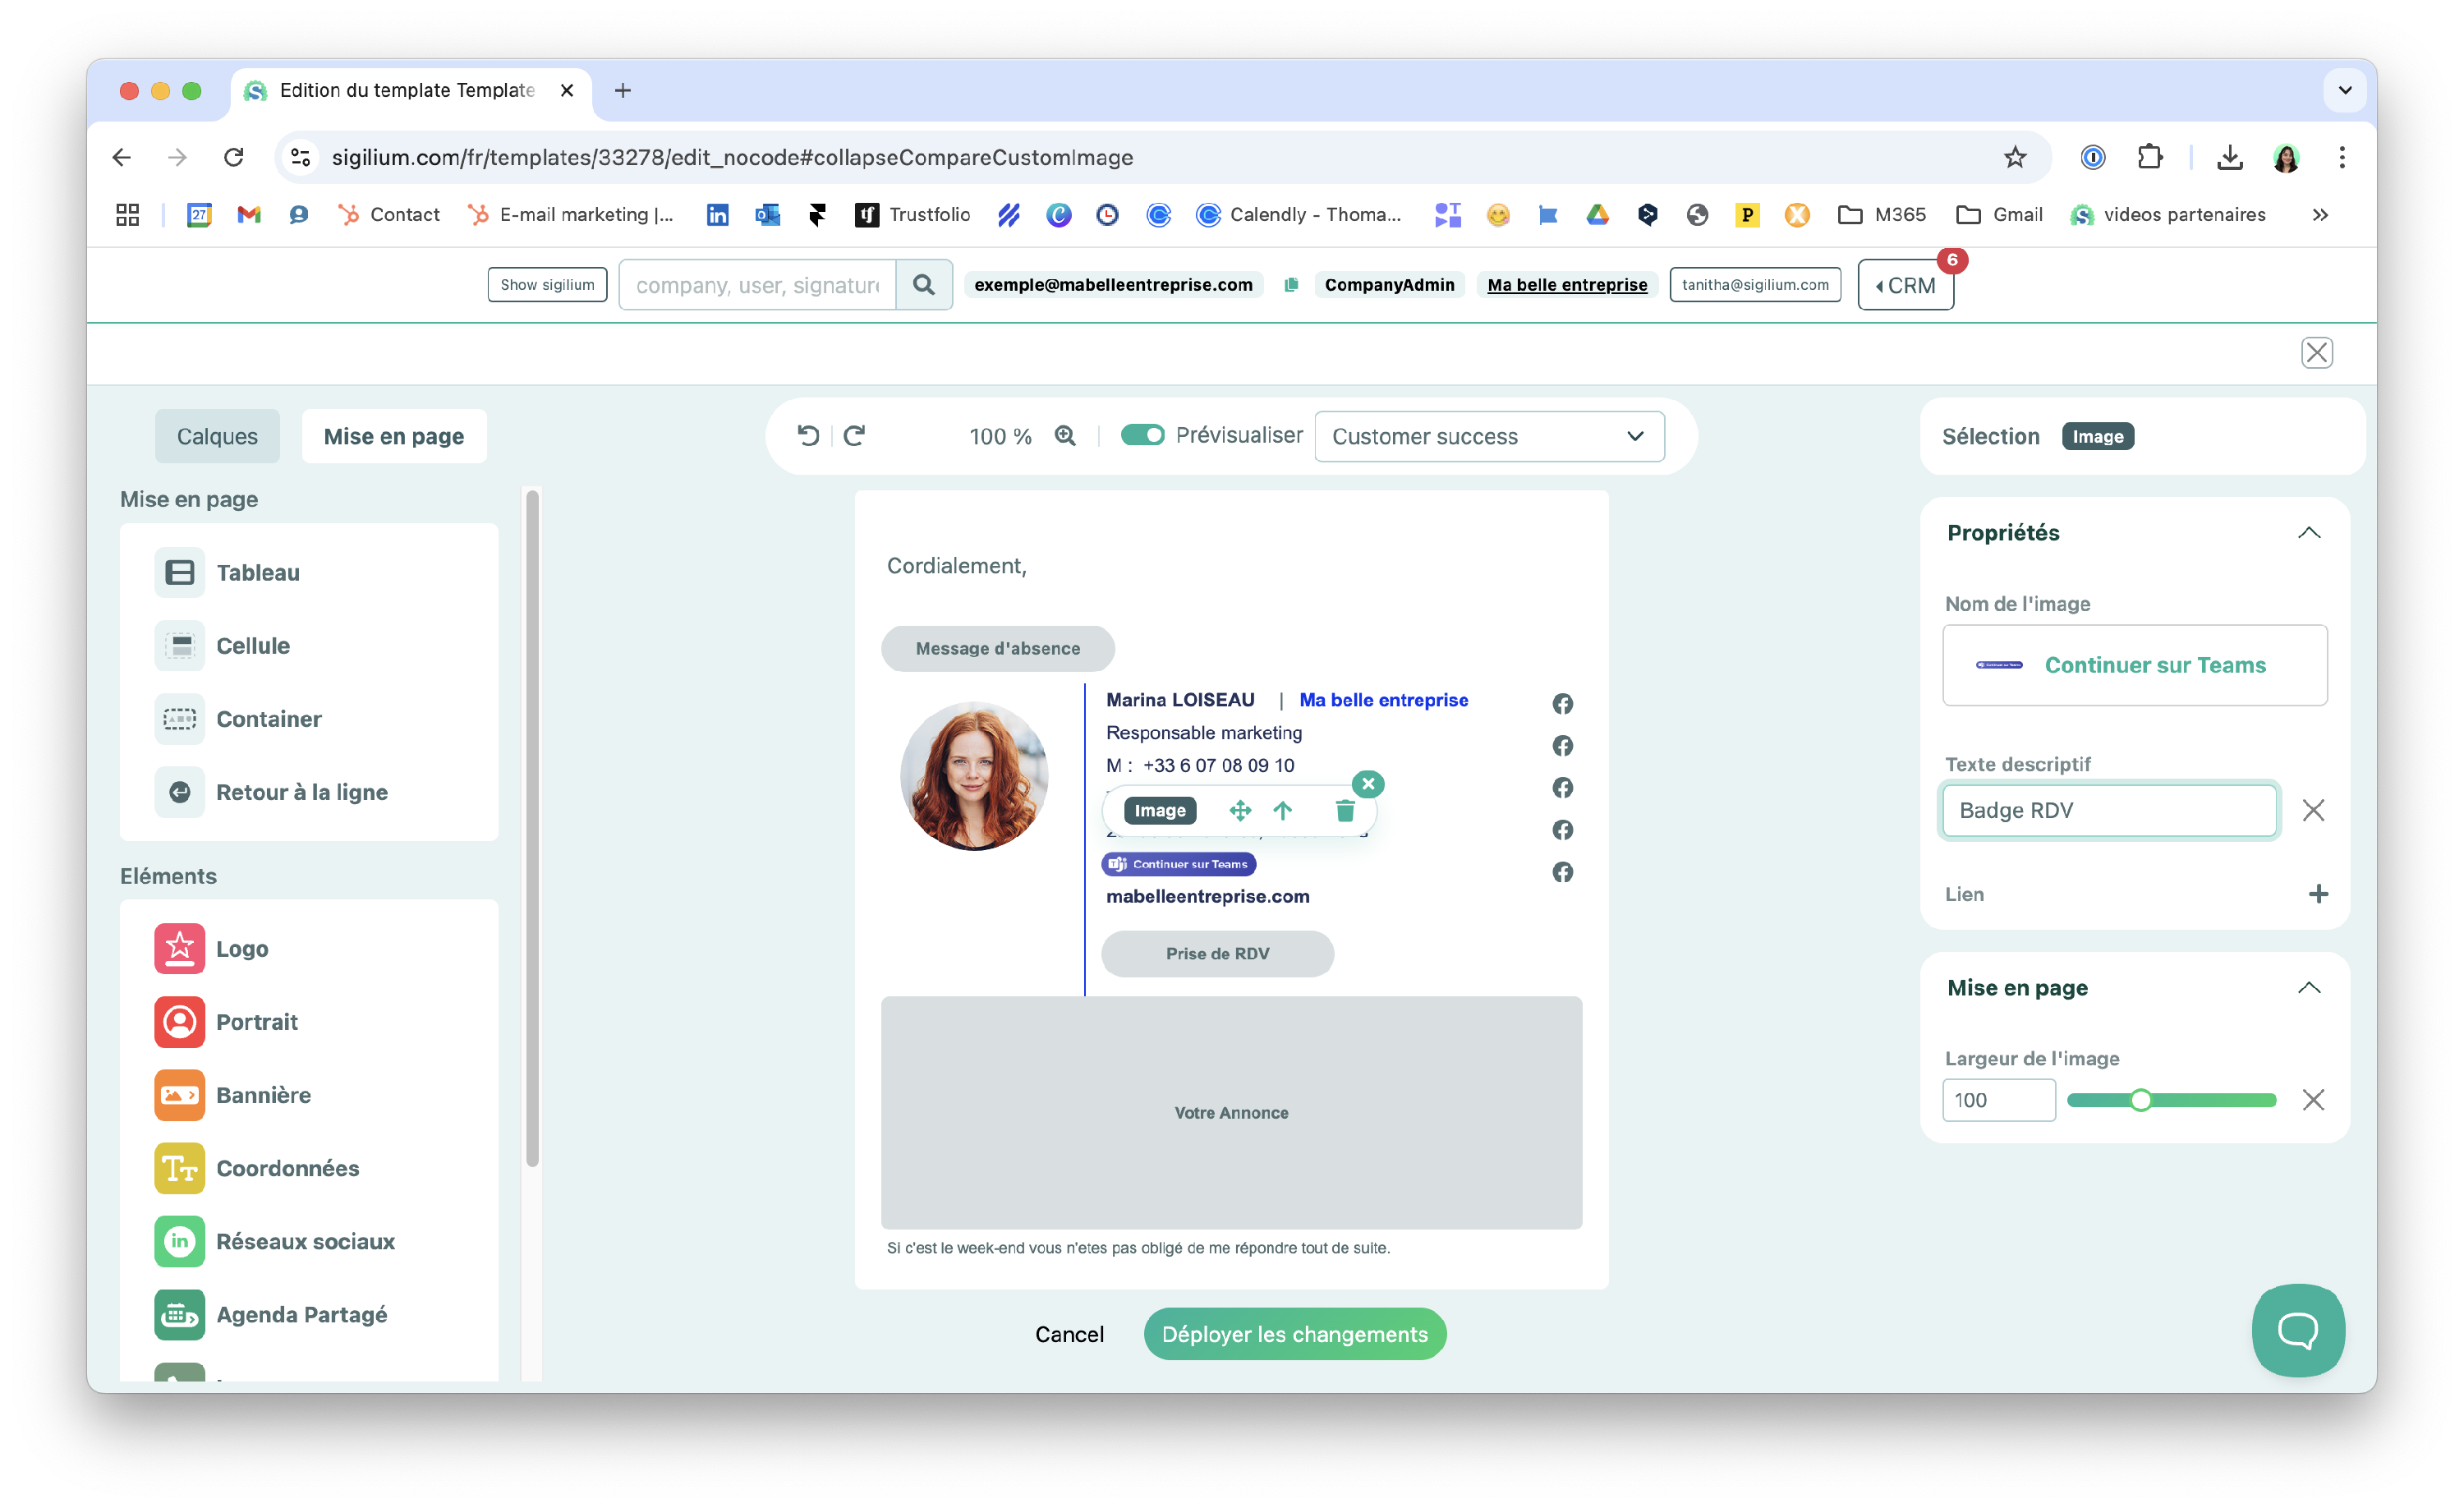
The button is a little small as it is, and the Call to Action isn't really visible.
💡 We recommend a width of 180px so that the button is clearly visible and effective.
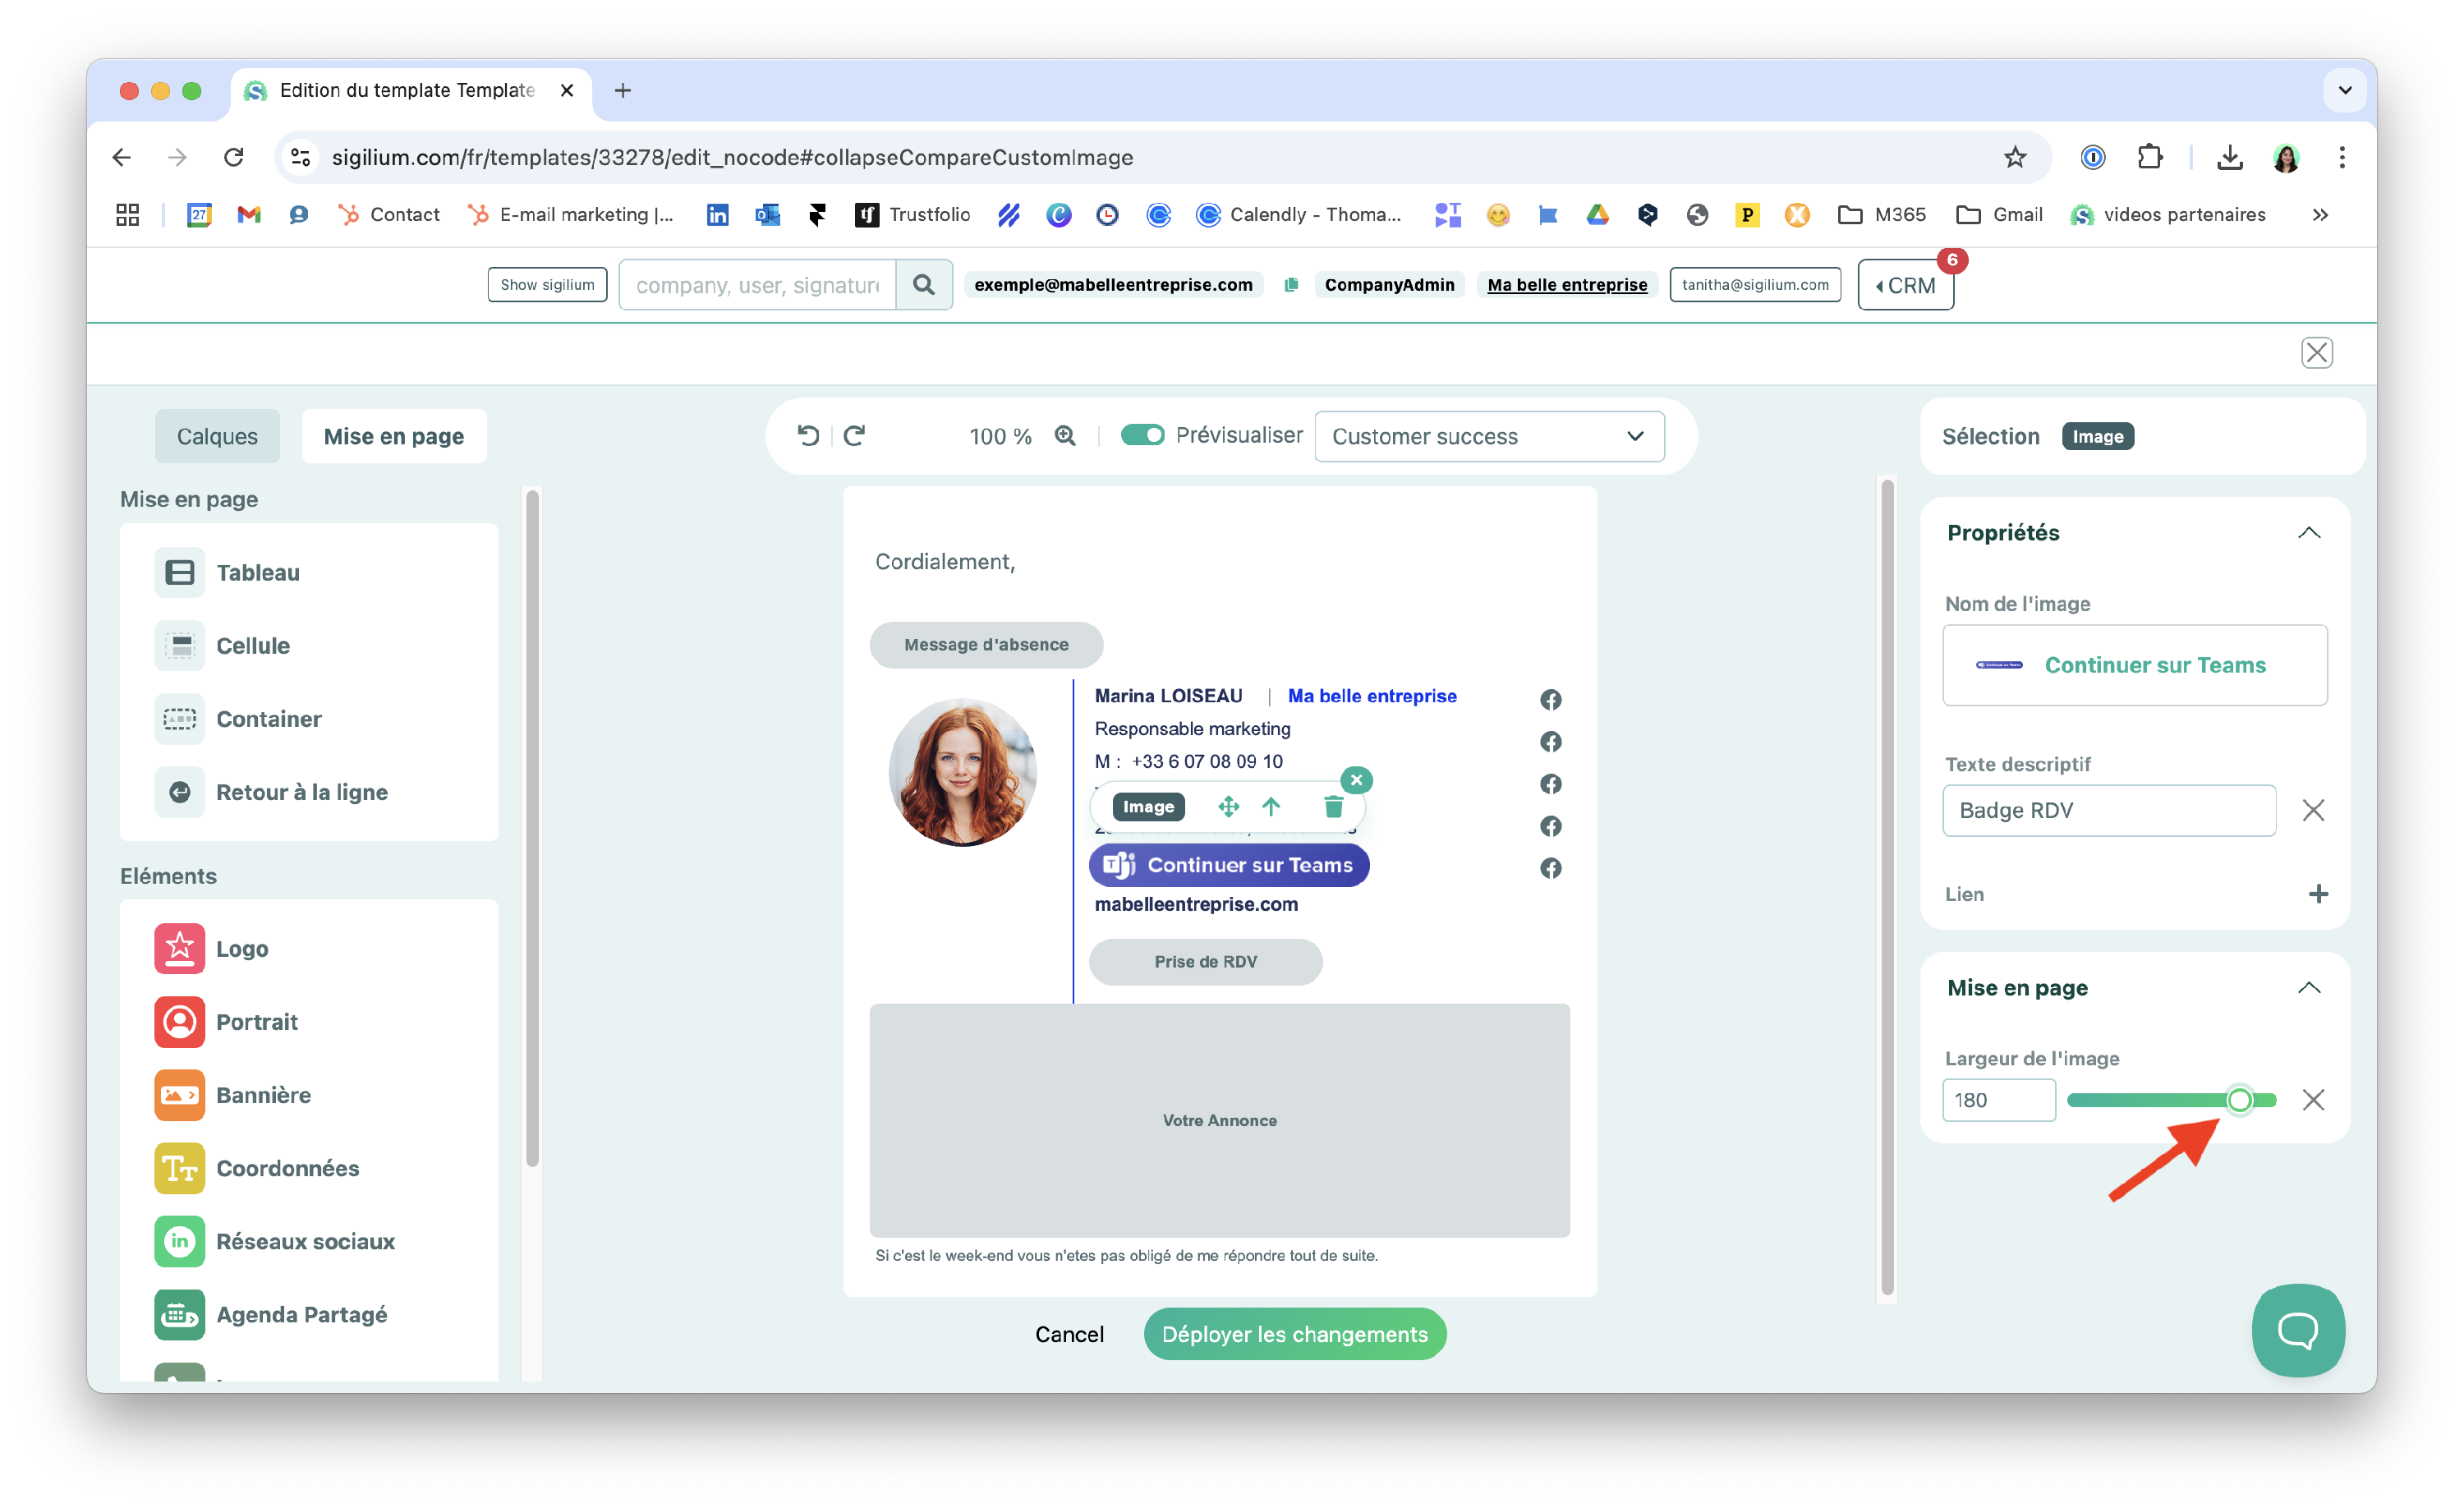
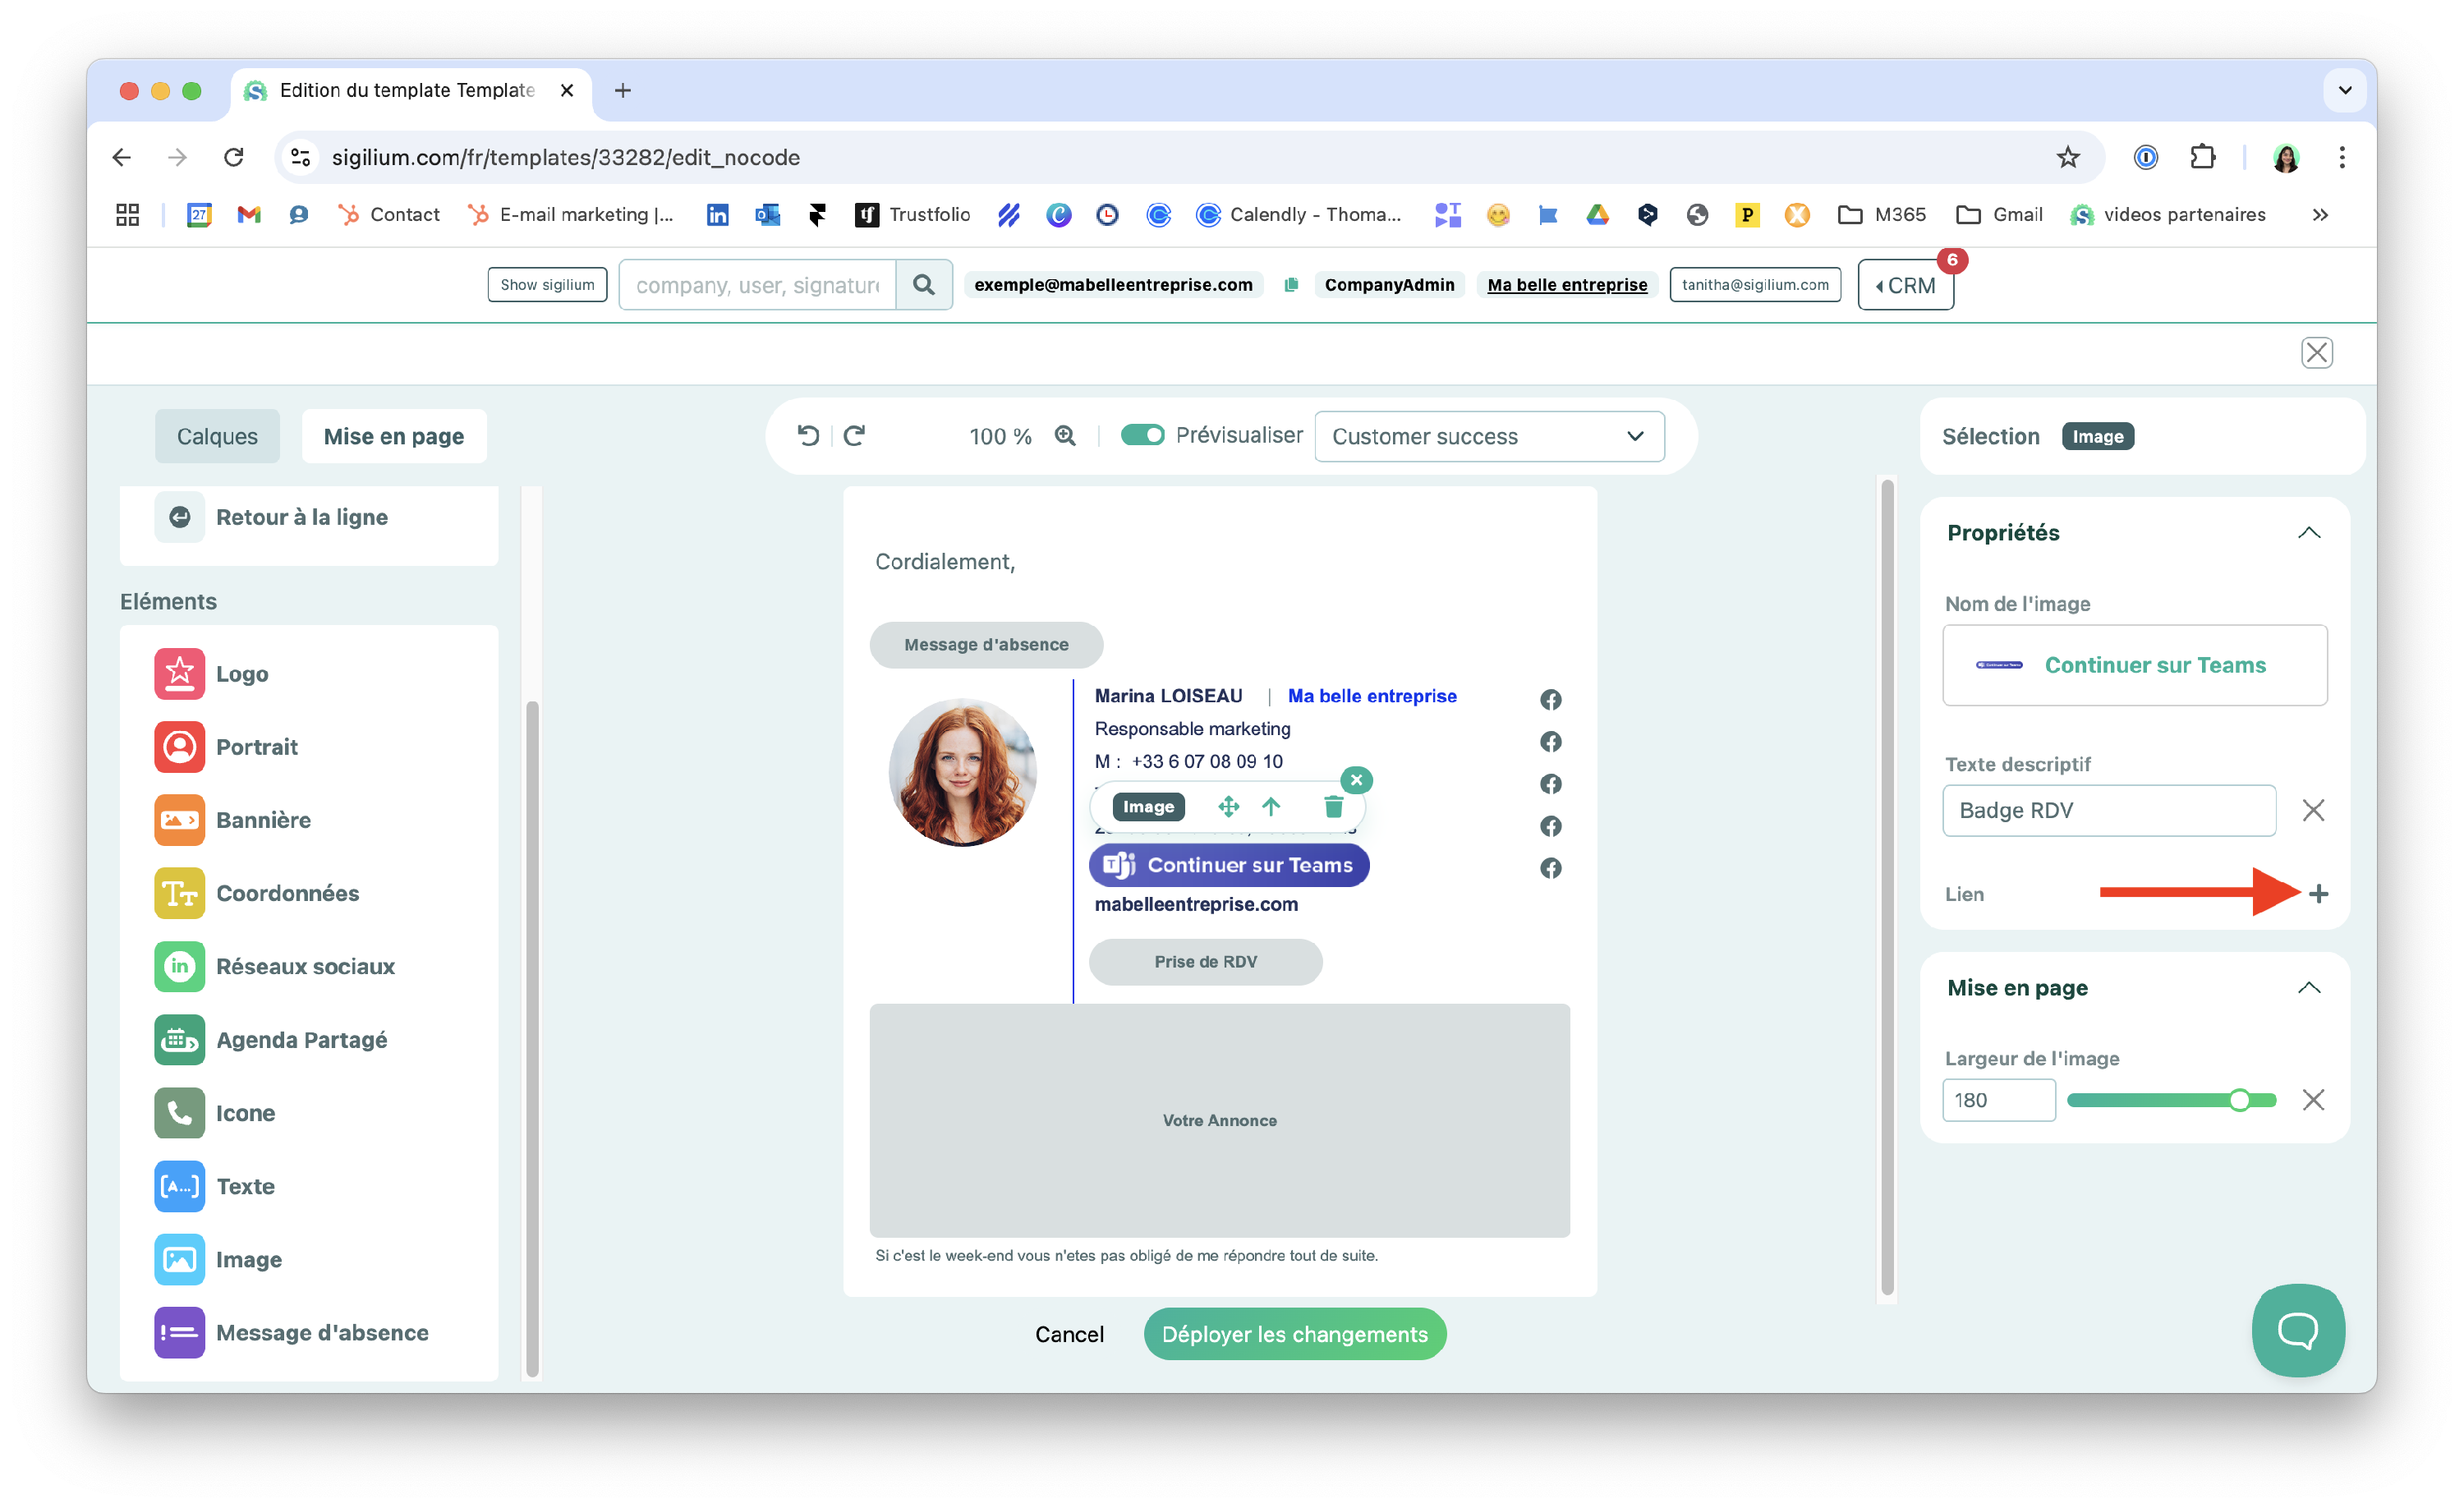
Now that the image has been imported, you need to assign a URL link to it so that the recipient is redirected each time they click on it.
1/ Open the Link tab and select Custom from the drop-down menu.
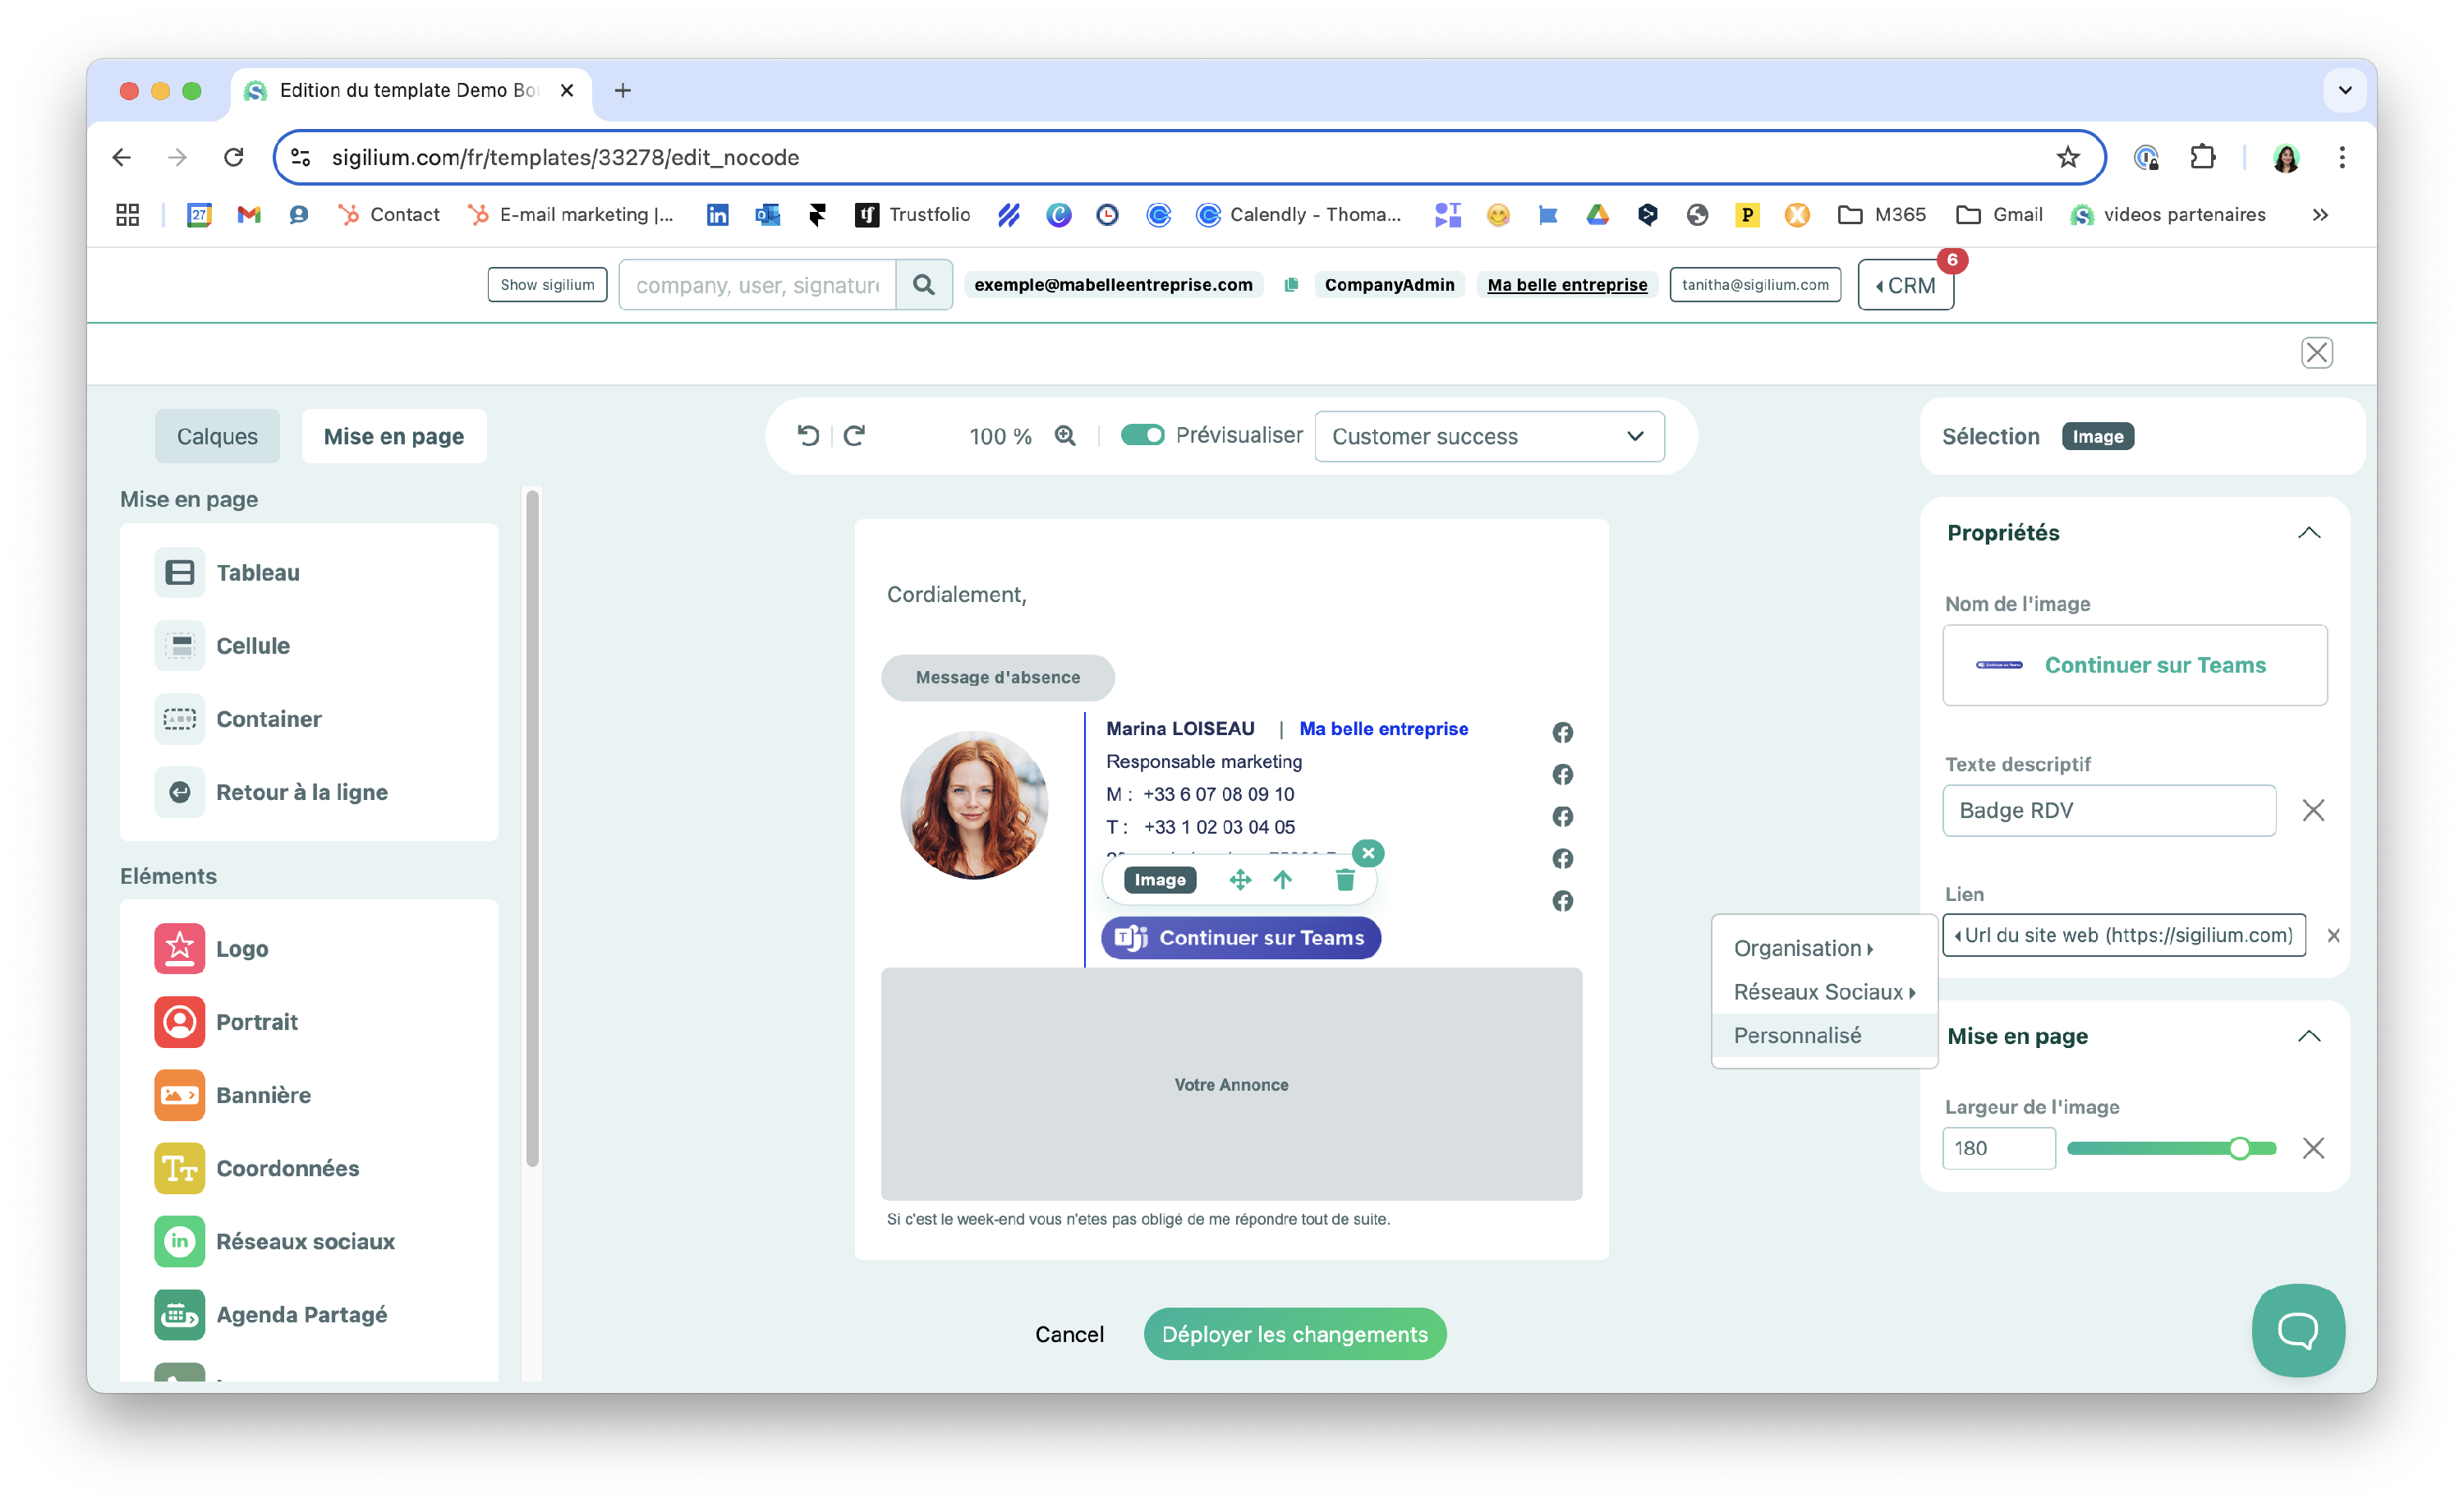
2/ Enter the desired URL.
In our case, it will be access to a Teams meeting.
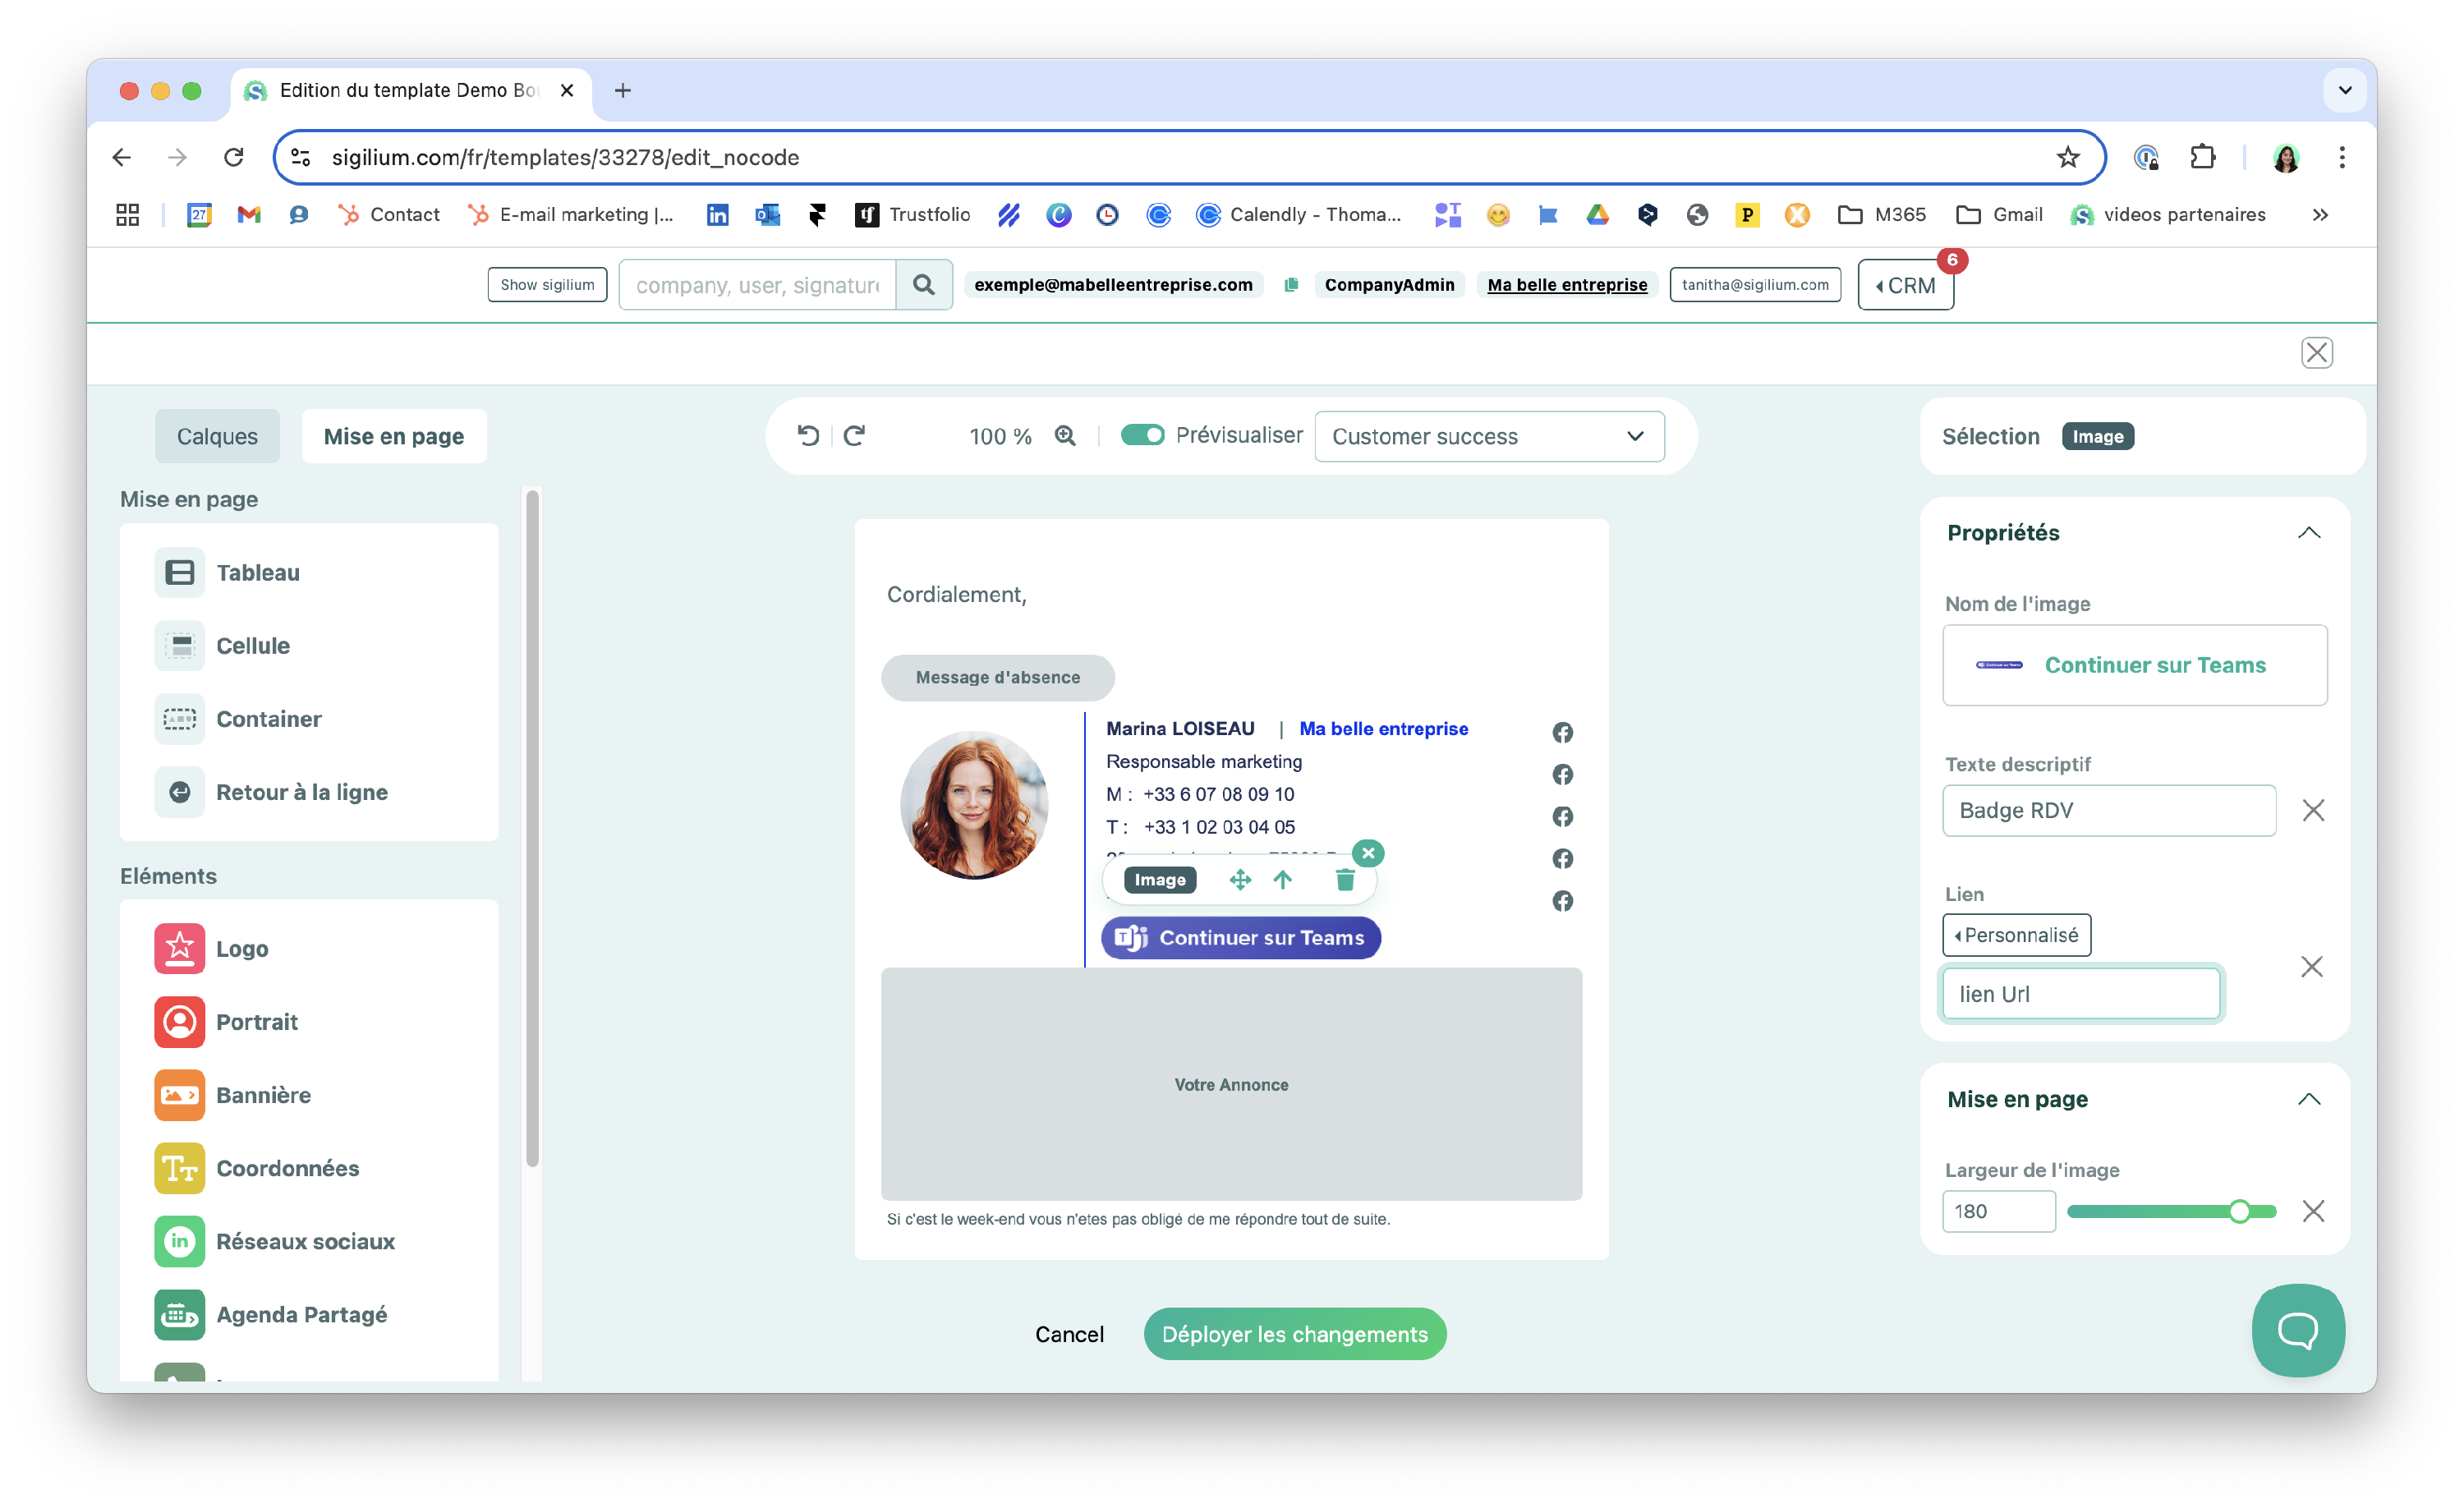
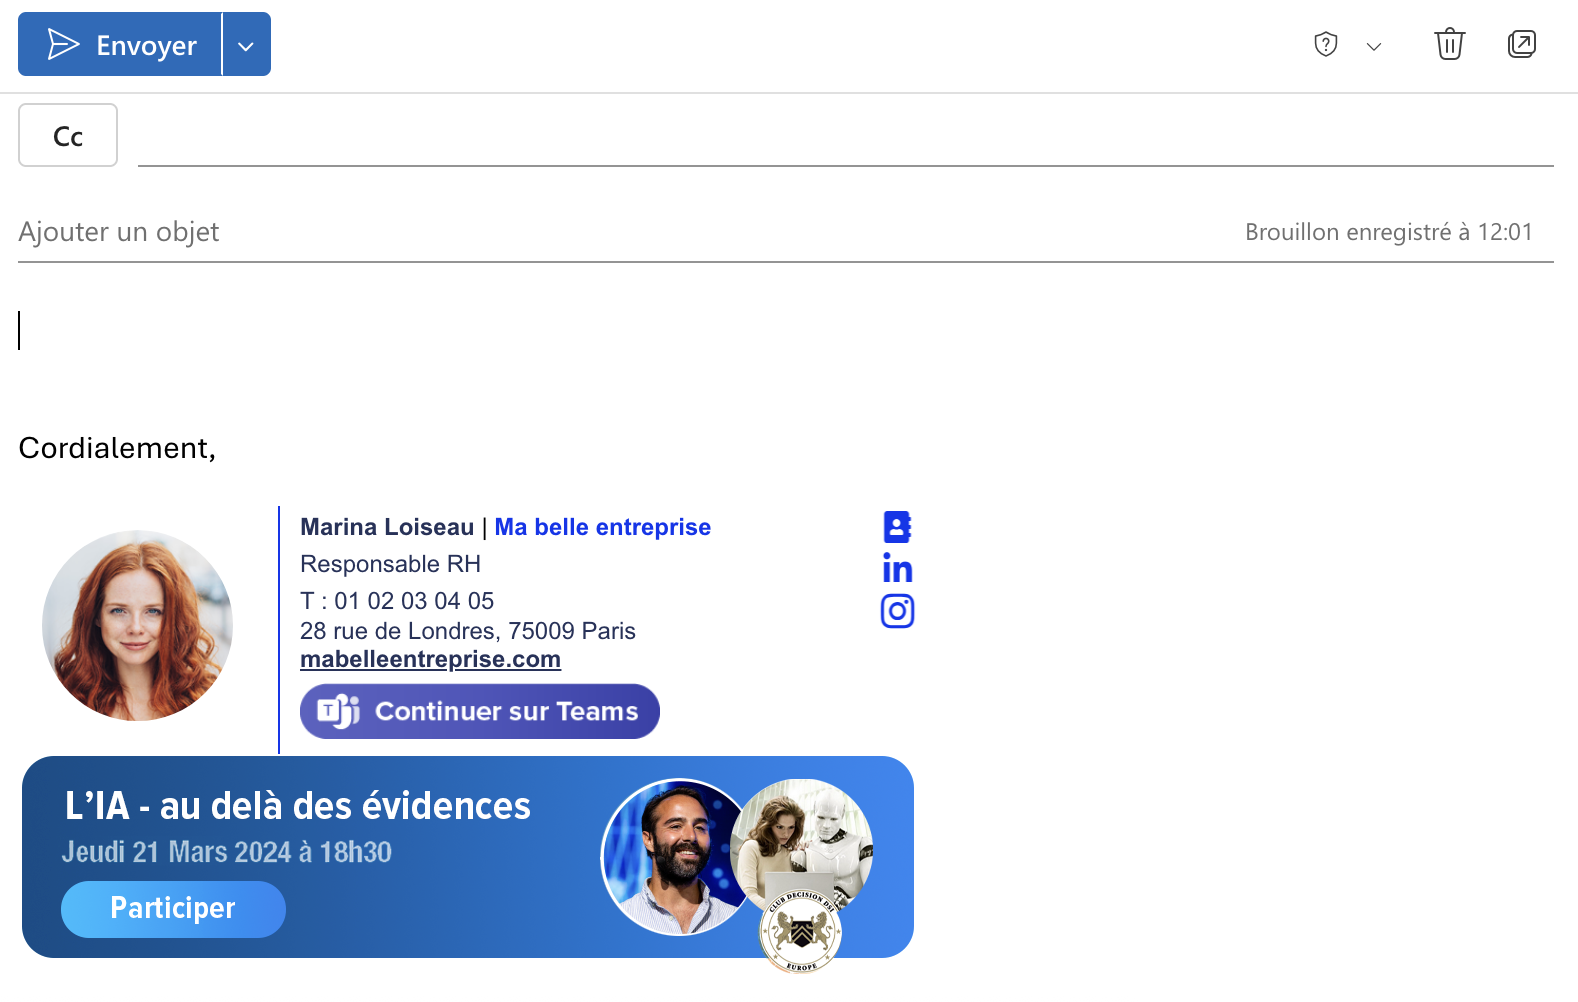
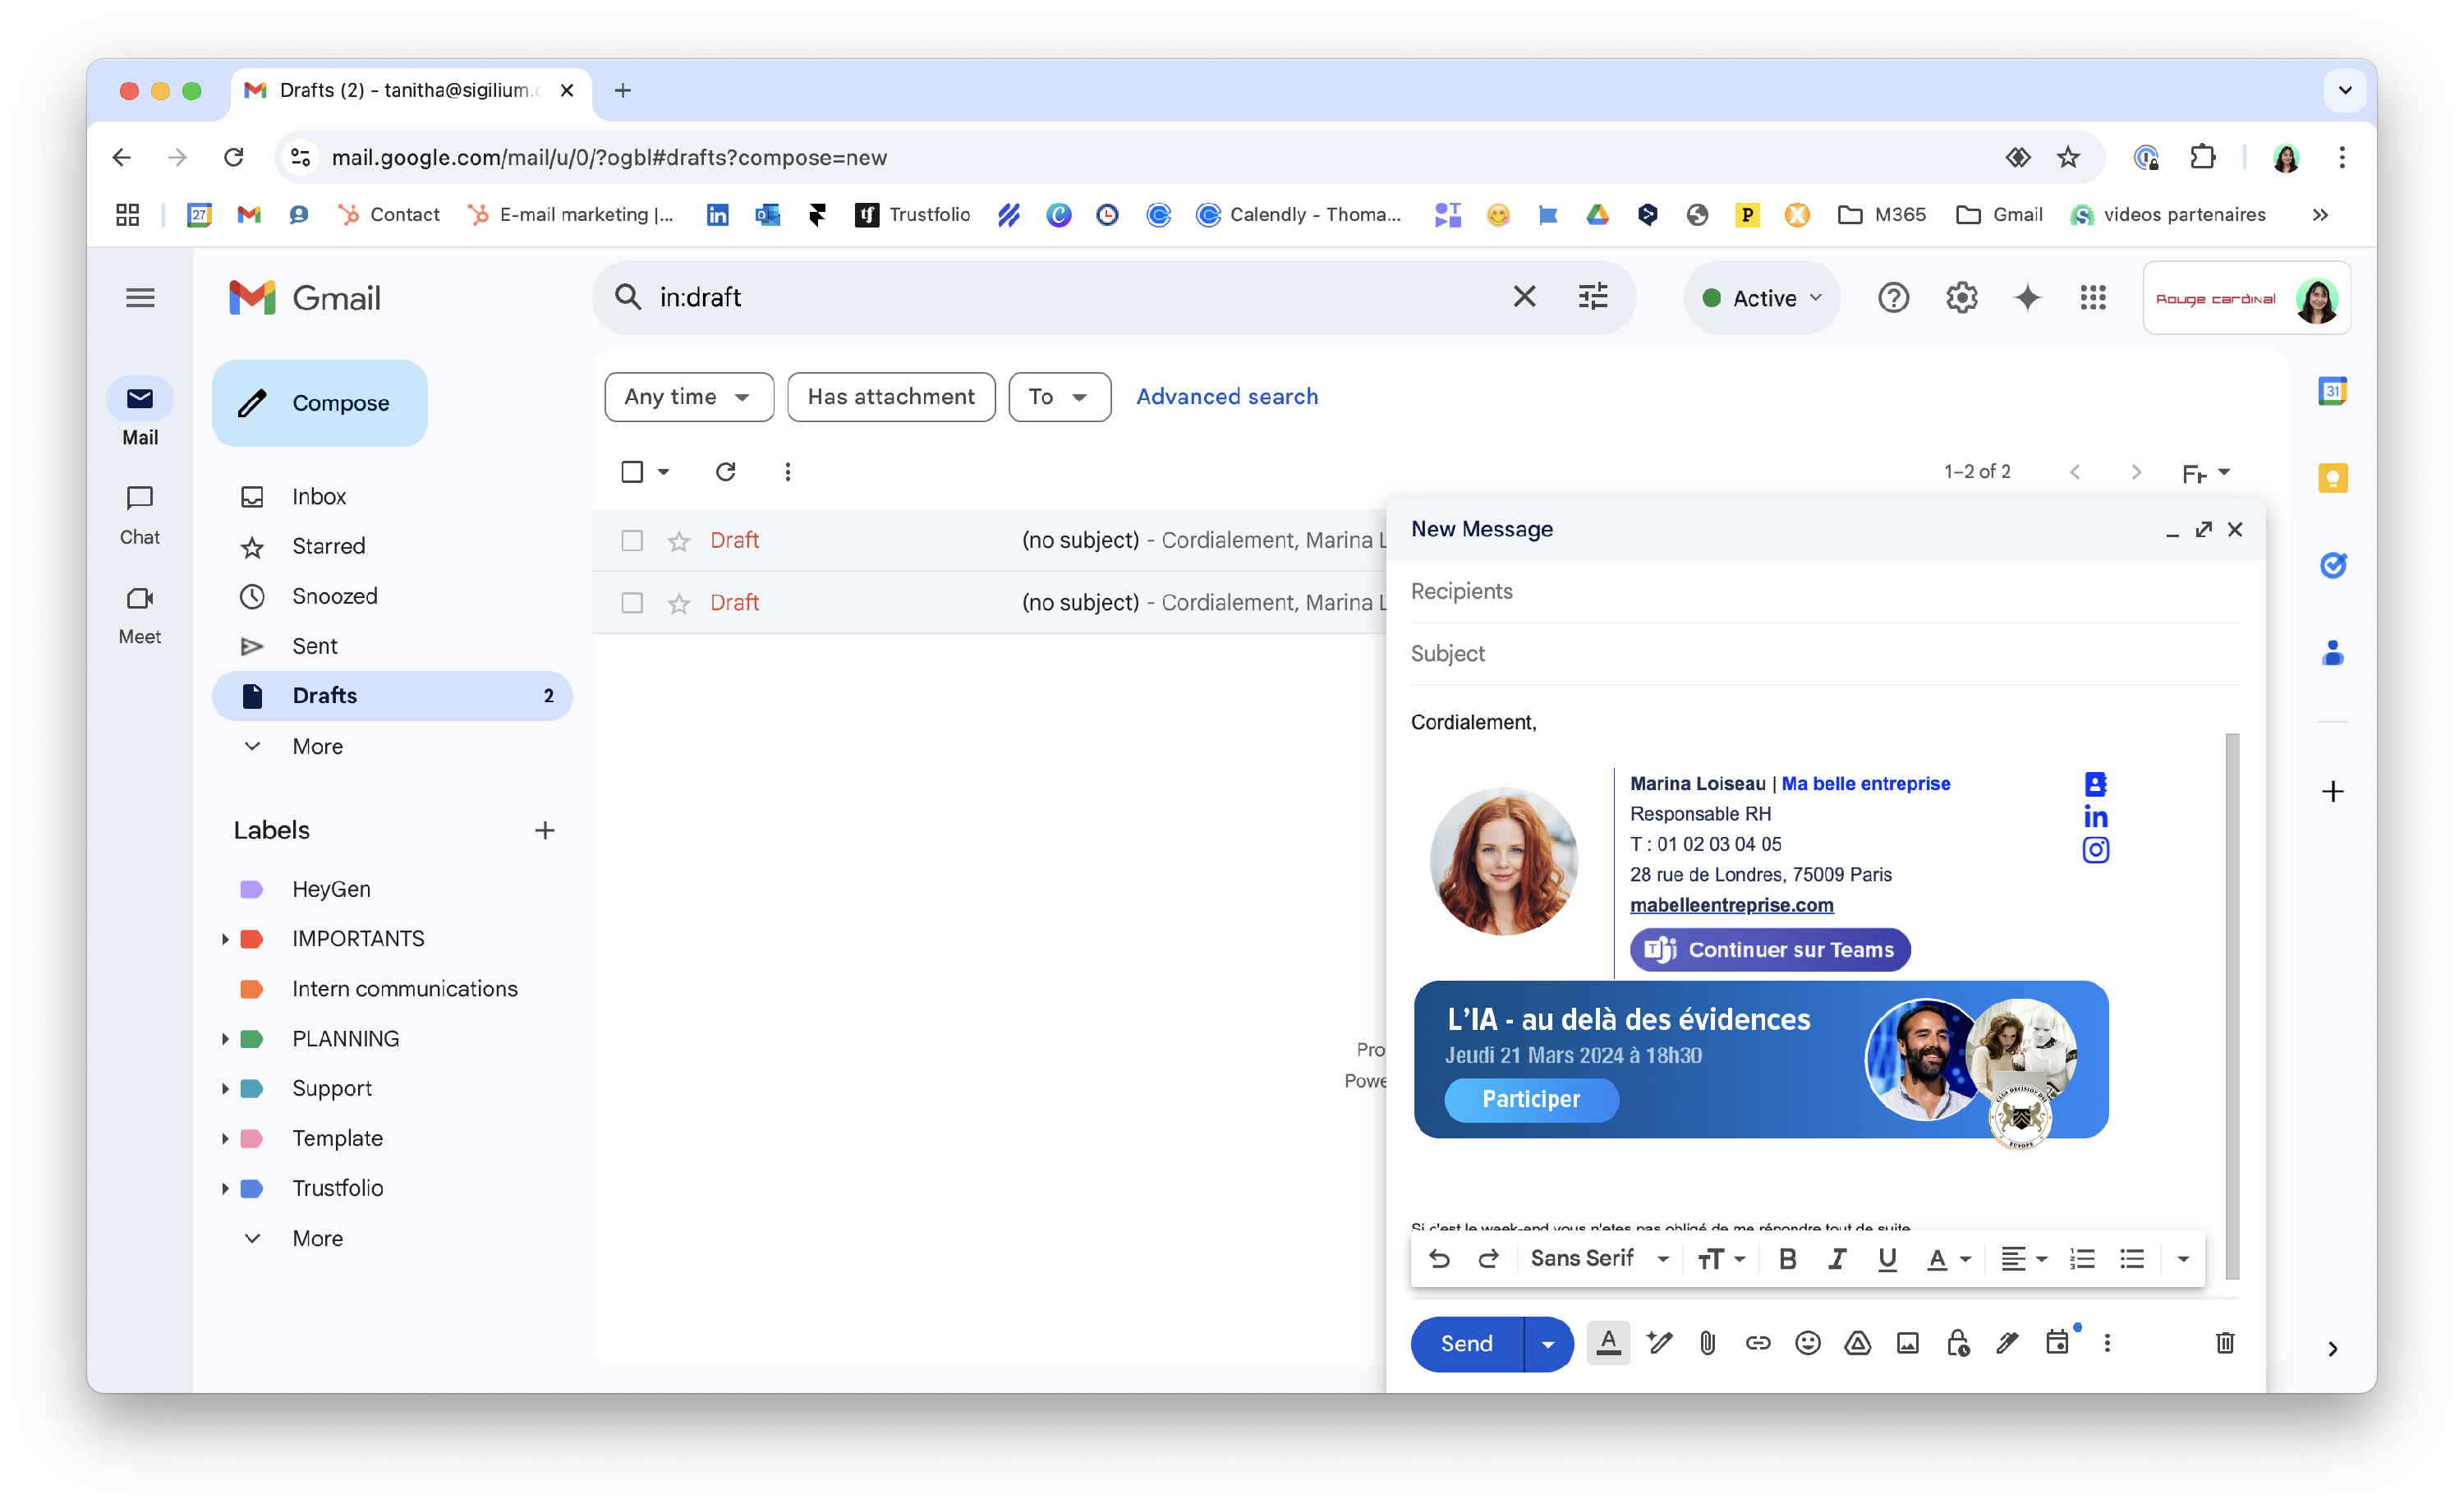
You can now deploy the changes and select the desired organizations to apply this new email signature template with two effective calls to action on two different topics.
Any questions ?
You can describe your problem orally in a few seconds leaving a message on the
+33 1 83 64 02 13
You would rather write it down? We are happy to help in response to your email at